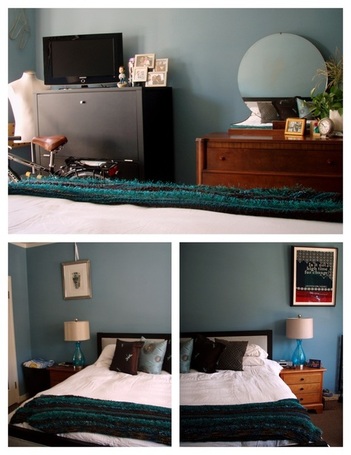
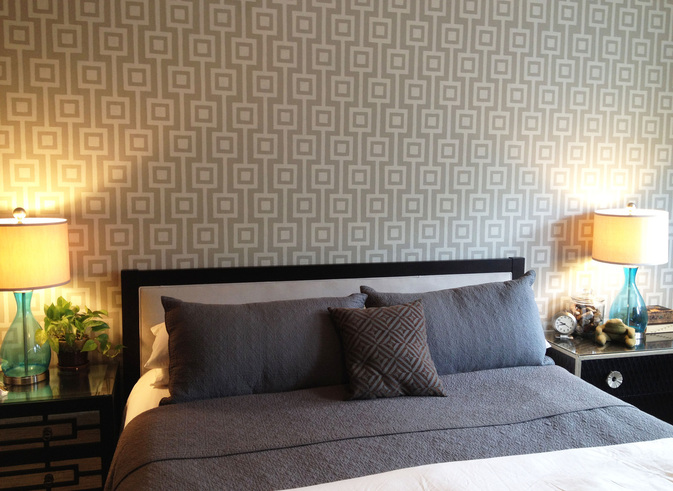
I suggested each of the clients select their very own nightstand, keeping in mind the color scheme we had established. They each chose something different and beautiful, and they compliment the space perfectly, hinting at their individual styles but still remaining cohesive with the space. The highlight of this project was painting one of the walls to look like wallpaper! AfterPainted Wallpaper TutorialInspired by this painted wallpaper, I decided this is the perfect way to create a focal point without hanging art on the wall, since most people don't like having art over their beds in San Francisco (earthquakes!) This paint treatment offers a bit of pattern in this room while allowing the occupants to sleep soundly. The process is easy, requires only a few tools, a somewhat steady hand, and time. Following is the tutorial for this project which includes the stencil template as well as general directions for how to go about transforming any wall into a showpiece!
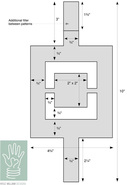
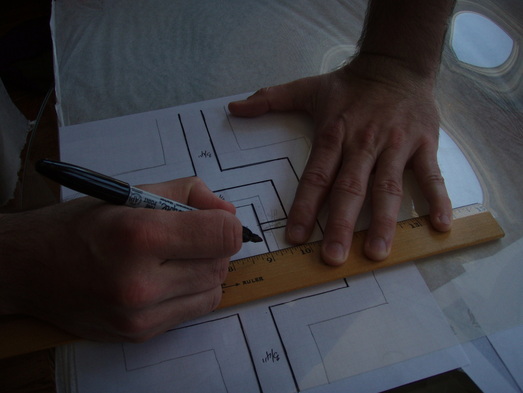
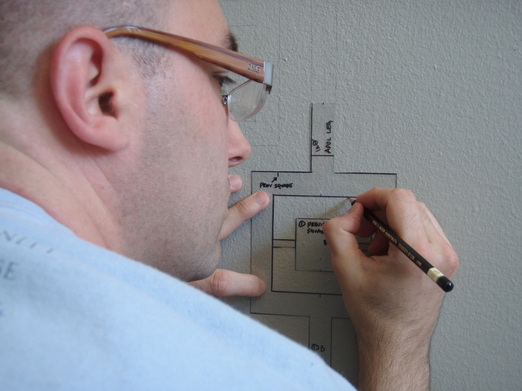
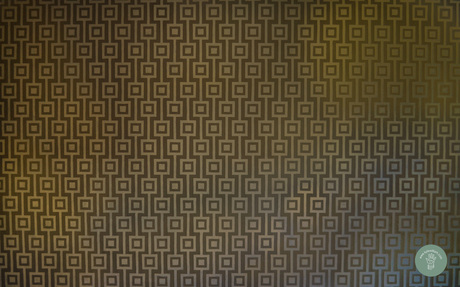
Let's Begin:Once you have selected your colors and painted the room with the base color, it's time to start the process of painting the design. Begin by printing the template out (above). Lay a piece of clear acetate over the stencil and carefully trace it out using the Sharpie permanent marker. Be sure to include the little horizontal bits that hold the center square in the stencil! Cut the stencil out using the Exacto knife, paying careful attention to the corners. Again, remember not to cut those little supports that are holding the center square. Once that's done, find the center of your wall and mark a vertical line using a pencil. Lightly trace around the stencil, being sure to add the "additional filler" between each motif. Once a few squares are drawn in, place the stencil between two motifs to the right or left of the line, and, making sure it's vertical, draw it in. Repeat on the other side, then measure and use that spacing to draw the rest of the vertical lines on the wall. Work your way along, taking frequent breaks. The process takes quite a while. once you're done drawing, mix some accent paint and Floetrol in a container. (Floetrol extends the drying time of the latex paint.) Using your small artists brush, begin to fill in the design, doing your best to keep each line straight. I worked in sections, painting different sections at the same time so that I was never touching a spot that was wet. Take your time; making sure you're painting the right place. Make a mistake? Just wash it off with a wet rag, let that spot dry, and try again. As I worked, I would feather out the ends of my painting so that there were no hard lines showing where I stopped and started. Painting the wall took a LONG time. It's a beautiful result, though, and for those who might not be interested in devoting hour upon hour to the project, as well as those brave enough to tackle the project, I offer a virtual gift: Desktop Wallpaper! Once the wall was completed, I took a photo of the large expanse of pattern and formatted it to fit most standard computer monitors. Select the appropriate size and download the file with my thanks for taking time to visit the website and read the blog.
Like what you see? Click the "like" Facebook button or share this post on Twitter with your friends. Thanks!
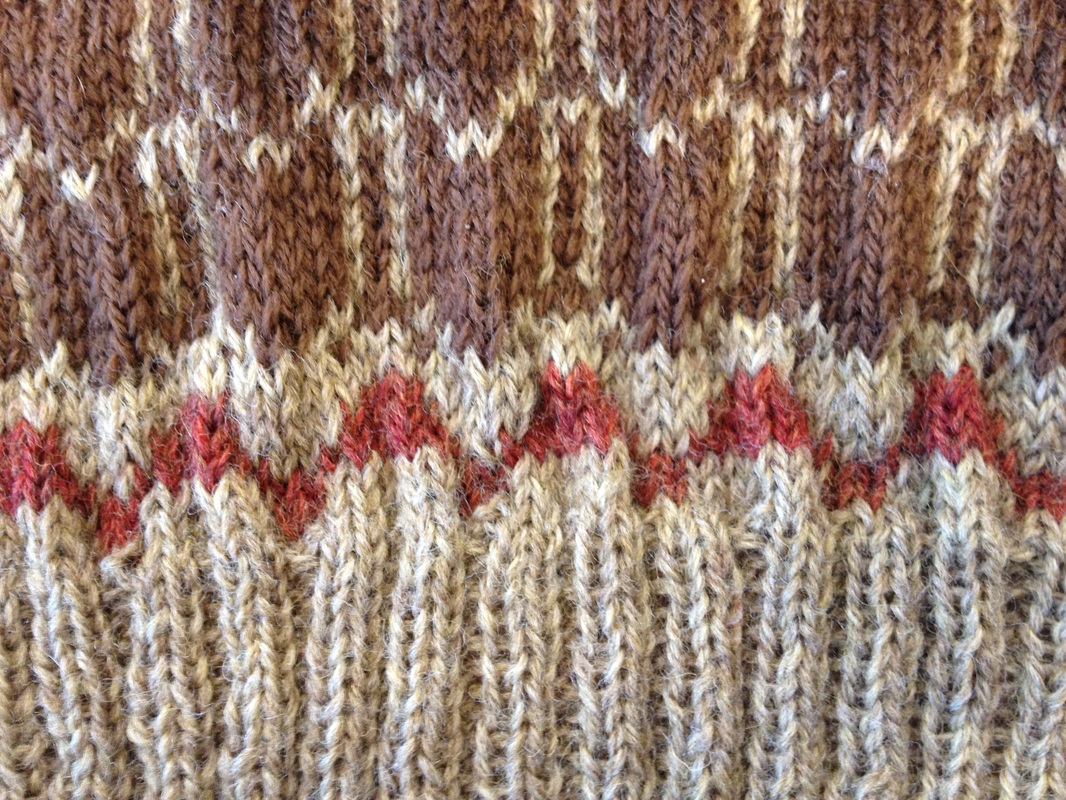
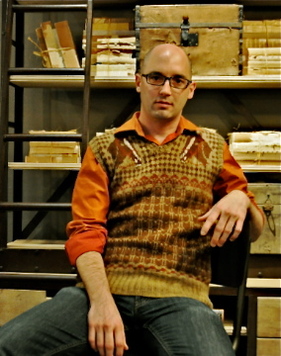
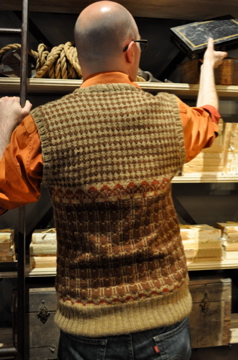
 My latest knitting pattern is featured in Knitty First Fall 2012! Analog is a vest pattern designed with HiKoo Simplicity in 2 colors and in 5 sizes (38, 41.5, 46.5, 50, and 53.5)". The stitch pattern was discovered during an afternoon of swatching and wondering why we hide the floats that exist in fair isle knitting. After days of working on stitch combinations, a well-balanced stitch pattern was developed that I think makes a fantastic vest! Once the vest was complete, I was lucky enough to have Michael Wade (aka Wondermike) photograph the finished project. Details of the project and the pattern can be seen HERE on Ravelry. I created a video totorial (below) to help explain the stitch pattern. It's not a difficult pattern but it does require even tensioning on the yarn floats. My suggestion: Practice working with a large gauge swatch to create even tension and be sure to keep your yarns in the proper positions. Questions/Comments about the pattern? Contact me. Also, if you do knit the vest, link it to the Ravelry page or email me a photo; I'd love to see your version!
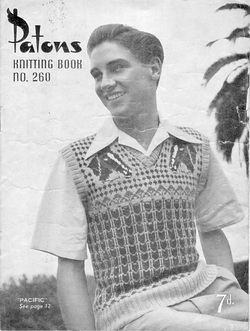
Where was it in the making that I realized this vest was not going to fit me? Honestly, probably about 2" into the pattern. It was too small. By a longshot. I kept trudging along, though... mezmerized by the patterning and thinking, "it's ok; it'll block out". Seriously. I was finishing up one of the intarsia horse heads as I finally came to my senses; this wasn't going to fit. No matter how much I wanted this gauge with this yarn, if I finish it, it'll be beautiful and too small... so if I really want to wear this horse vest, then I must rip. it. out. So, I did. Then, the next day, I started swatching again. I found that I really needed to be on US 5 needles (yes, 3 sizes up!) It was going to work this time, and started to re-knit the vest from the beginning. Do I feel bad about ripping out all that work? Not really. It was frustrating, but in reality, exercises like this are helpful. Working a "large" swatch (i.e. the front of the vest!) helps me to study and understand the pattern. In this case it also helped me figure out the quirks of the vintage pattern so that when it was time to do it over, I knew what I wanted to change. The thing about a vintage pattern is that the wording is different than in more modern patterns. Sometimes, working through one feels a bit like decoding a word problem! The details can be different too, like the ribbing length at the bottom of this vest. I actually like it - it's fun and true to the design and its era.
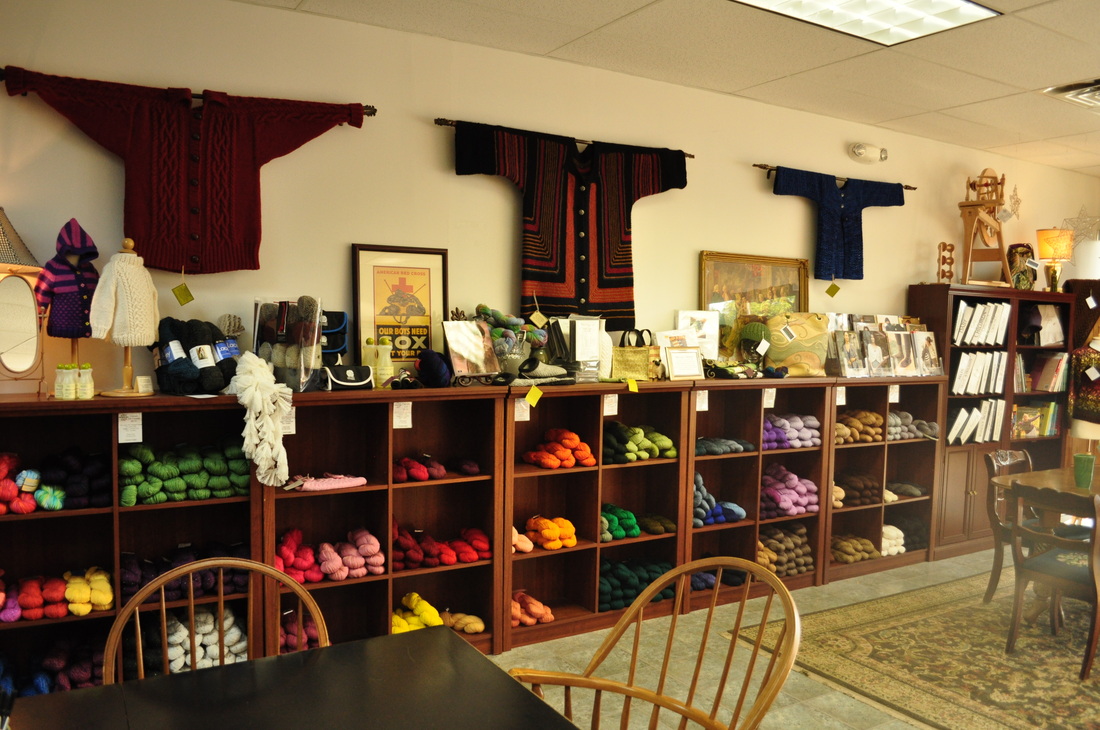
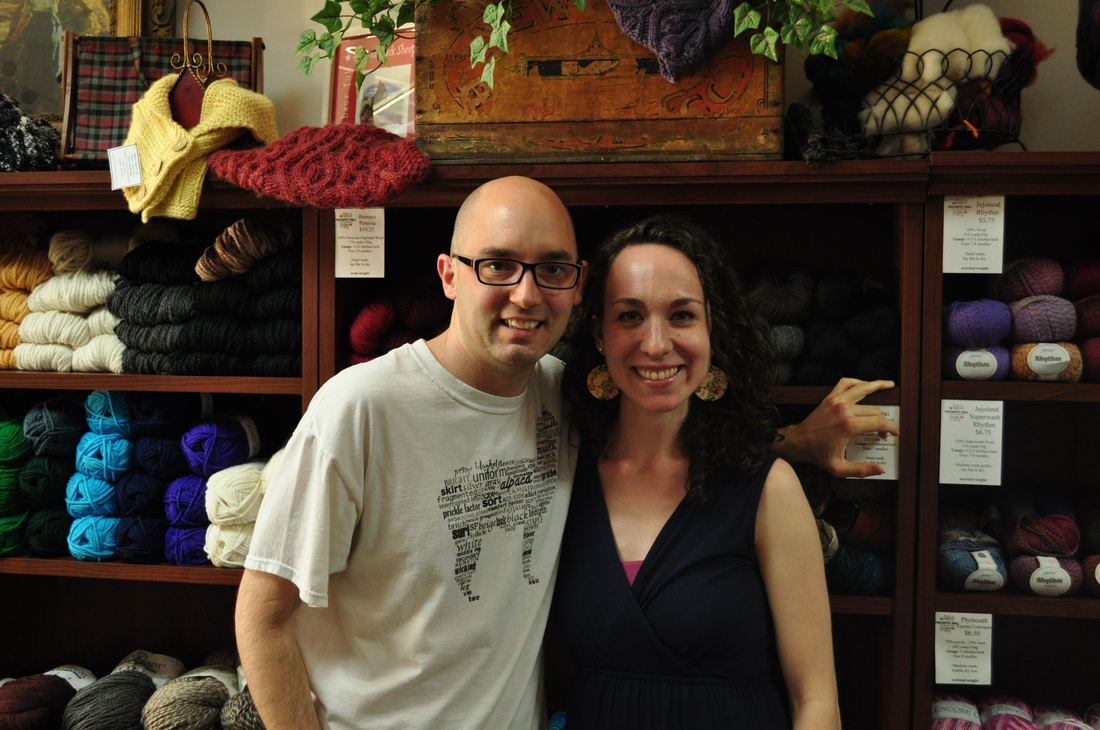
I have worn this vest a few times now... to work, and around town. Not one person has asked me if I knit it. I don't know if that's a compliment or not! I LOVE my horse vest and look forward to casting on for my next project! For those on Ravelry, here is the LINK to this project's page. As promised, here's the second blog post about the 2012 Men's Spring Knitting Retreat. We're traveling a bit back in time to before the retreat, where I'll talk about two different outings; Trumpet Hill yarns and Battenkill Fibers. Immediately after arriving in Albany, NY, Aaron and I headed over to Trumpet Hill Yarns; an adorable shop that is one of his favorite spots for knitting and spinning. We walked in to find Celeste and the gang all sitting in a knit/spin group, happily talking about the events of the day as the weather suddenly turned from cloudy to rainy. It was the only time it really rained during the trip and we all felt safe, knowing that if something happened the yarn shop has plenty of fiber, yarn, patterns and supplies to keep us satisfied until help arrived! This shop is a must-see for anyone visiting the area - it's full of friendly, knowledgeable fiber-enablers; full of creative ideas and, if you're not careful, you'll end up with a new project (or a new spinning wheel!)
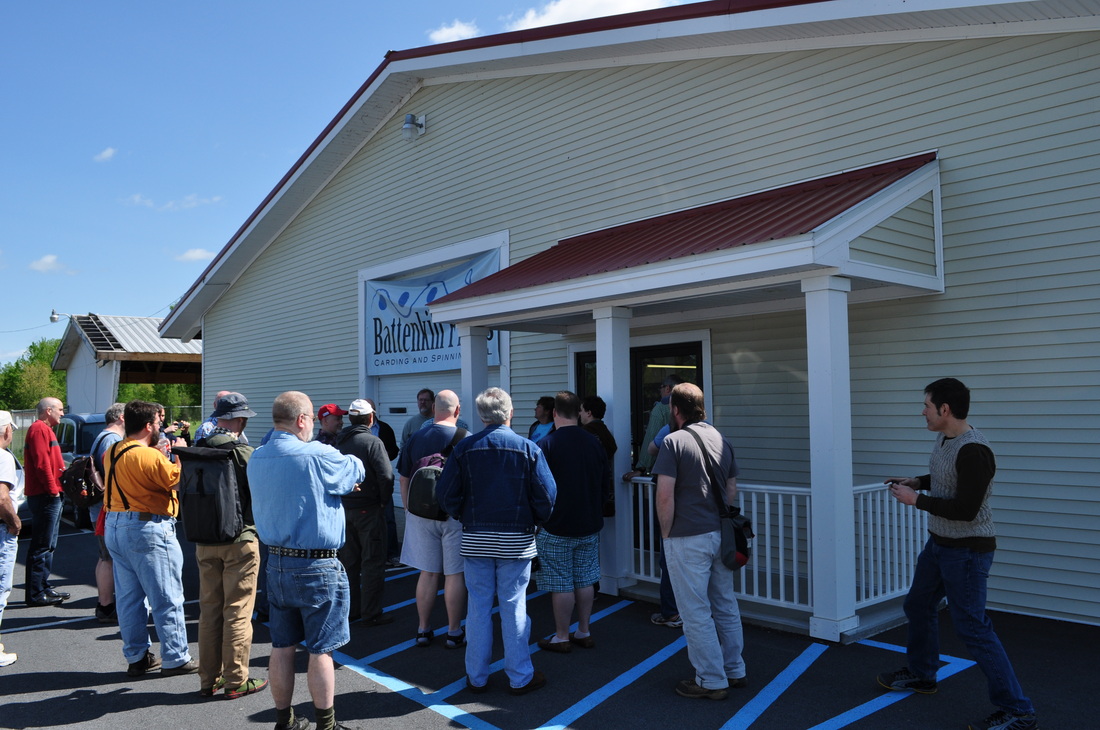
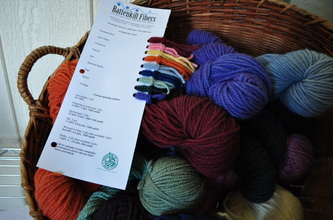
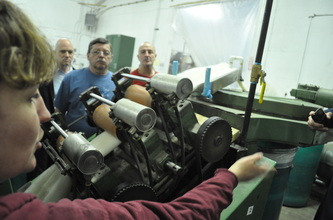
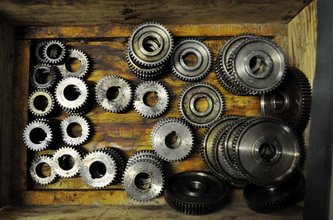
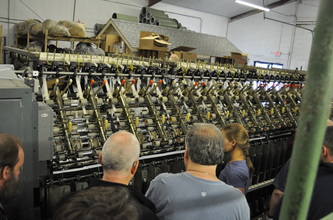
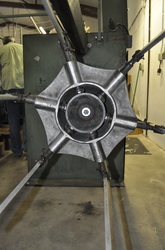
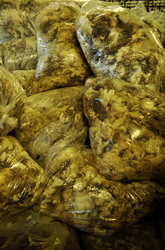
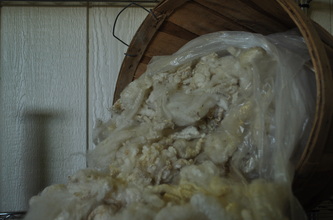
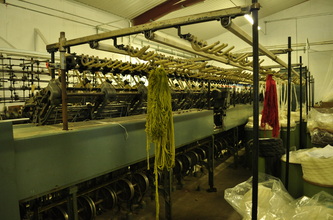
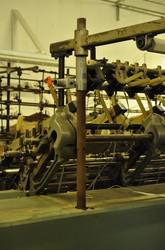
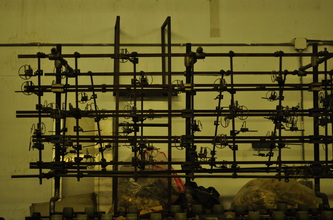
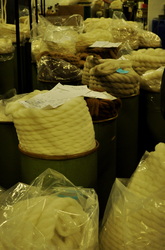
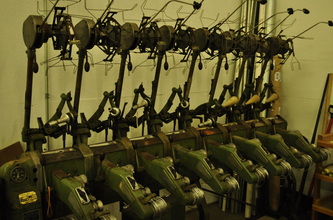
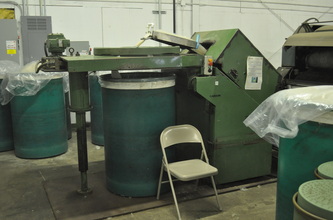
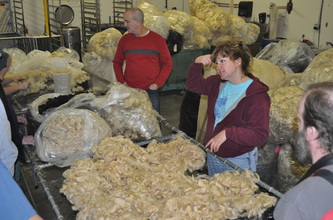
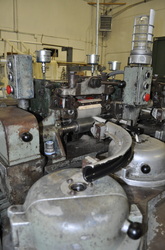
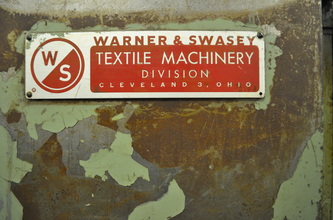
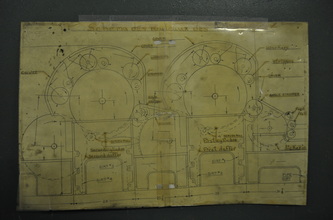
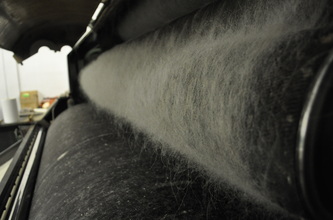
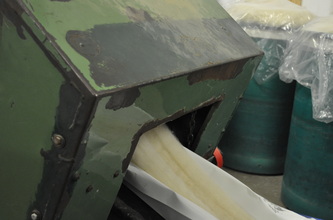
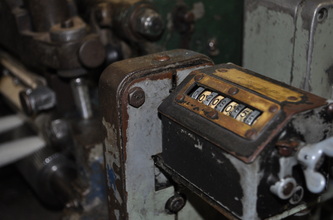
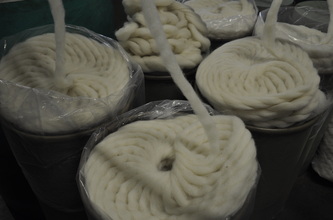
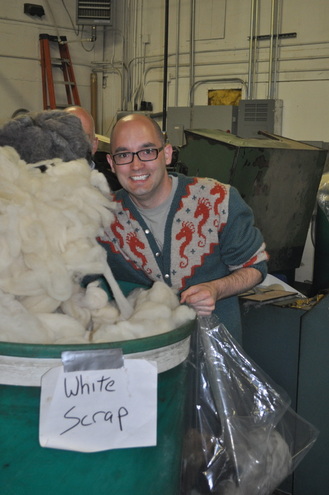
Thursday morning we ventured off to Battenkill Fibers; a custom carding and spinning mill in Greenwich, NY. They welcomed about 30 guys from the retreat in our pre-retreat outing, and took time to show us some of the processes involved in transforming fleece and fiber into yarn. They had a number of projects in the works and we were all in awe as we went from step to step learning how much work goes into making yarn. Here are a few random photos from the visit to the mill. I made some short videos to share with you some of the steps for turning fiber into yarn. First, we learned a bit about how a fleece gets skirted (this video). Then, we watched how they clean the fibers, and many different steps (and machines!) it takes to turn fleece into yarn. This machine takes the fiber and "flicks" it open. I apologize; I didn't take notes on the different machine names or their "technical" responsibilities... but if you ever visit Battenkill Fiber Mill, they'll certainly explain it all to you! The next video shows the fiber flying through that little hole in the wall into a room that's exclusively to catch the fiber as it floats to the ground. The operator of this machine sweeps the fibers up from that room and they go into a carding machine from there. (Yes, a few of us thought of just sitting in that room to experience the "rain of fiber!") Once the fiber is cleaned, carded, and drafted out, it goes into the pin drafting machine. This machine makes the roving even and prepares it for spinning. (I am SO glad I don't have to clean these machines!) From there, the fiber is spun into singles on a GIANT machine, and then plied on ANOTHER machine... then, the plied yarn is skeined into hanks. There's so much work that goes into creating yarn that many of us don't think about. Even commercial yarn has been hand worked by many talented people. Here's one last video showing the process of making hanks of yarns, talking about the plying machine and then the skeining machine: The tour was a bit overwhelming. So many machines, and questions that could be asked. By the time I had asked one question, 5 more had popped into my head. I have a new appreciation for fiber and the artists who make it for us at the mills after visiting Battenkill! Of course, I knew it was an involved process before but WOW. This was a real treat to get to tour a mill and learn and share more about the processes.
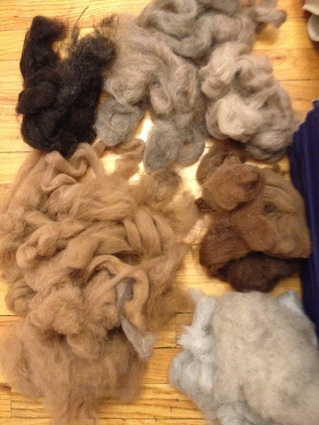
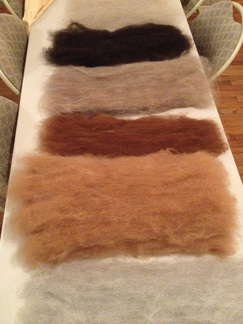
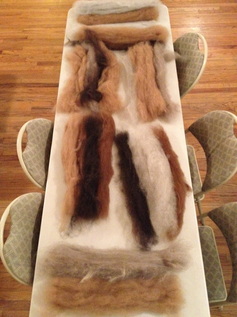
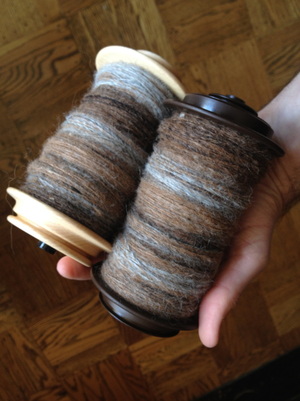
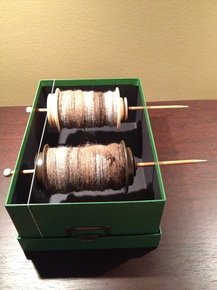
(I told you lots of work goes into preparing fiber!) -- OK. now that the fiber is all ready to go, remember I wanted to create a 2-ply yarn that would have sections of color. I didn't want to make yarn with long color changes (like Noro) - but more mottled looking "barber poled" yarn. To accomplish this, I decided to tear off a bit of each ball of fiber and use them in a random order as I spun. I'd work bits 1-7, then stop and tear a piece off of each ball again, put the pieces in the bag and randomly select them. As I got one bobbin nearly full, I began the second, repeating the process. As I got close to the end of the balls, I unwound the remaining fiber, and looking at the longest remaining length of fiber decided I could do about 5 more repeats. I broke that piece into 5 sections, then evenly divided the other pieces and added them to the last repeats. If a ball only had enough fiber for 2 or 3 more repeats, I only added it to 2 of the remaining repeats. Once those final rounds were divided, I kept them separate and then randomly spun them onto the bobbin. At the very end, I went back to the first bobbin to try to evenly distribute the singles.
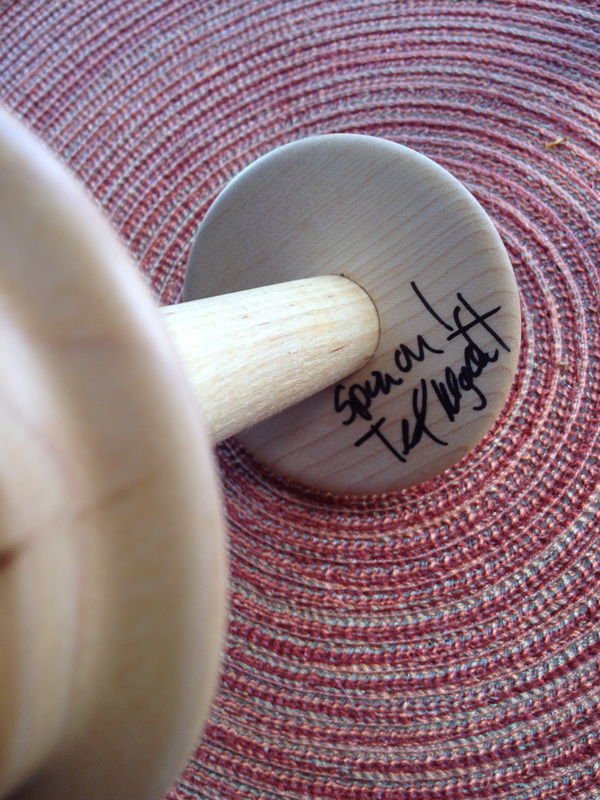
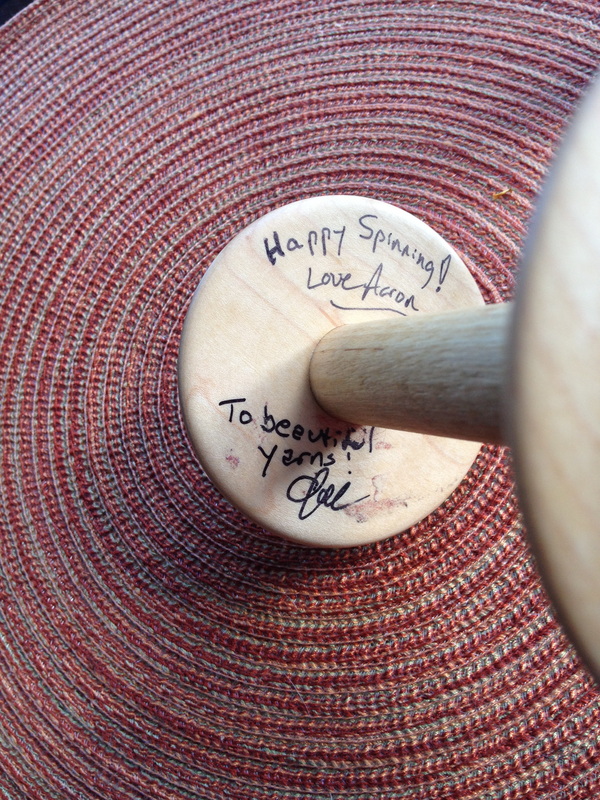
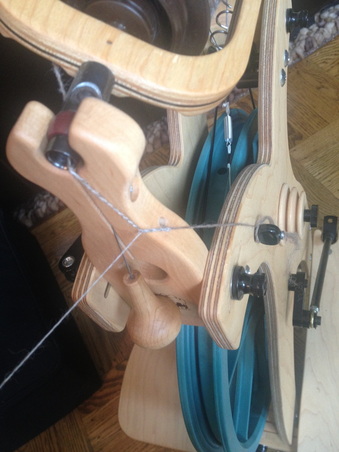
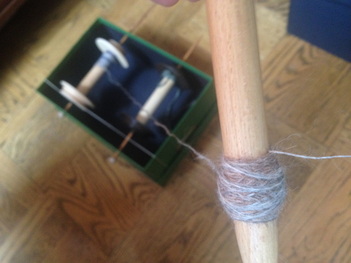
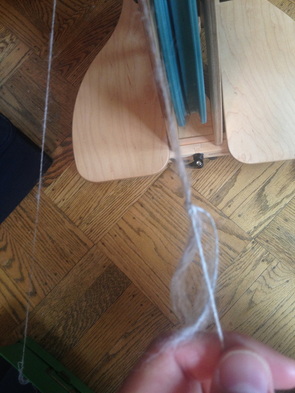
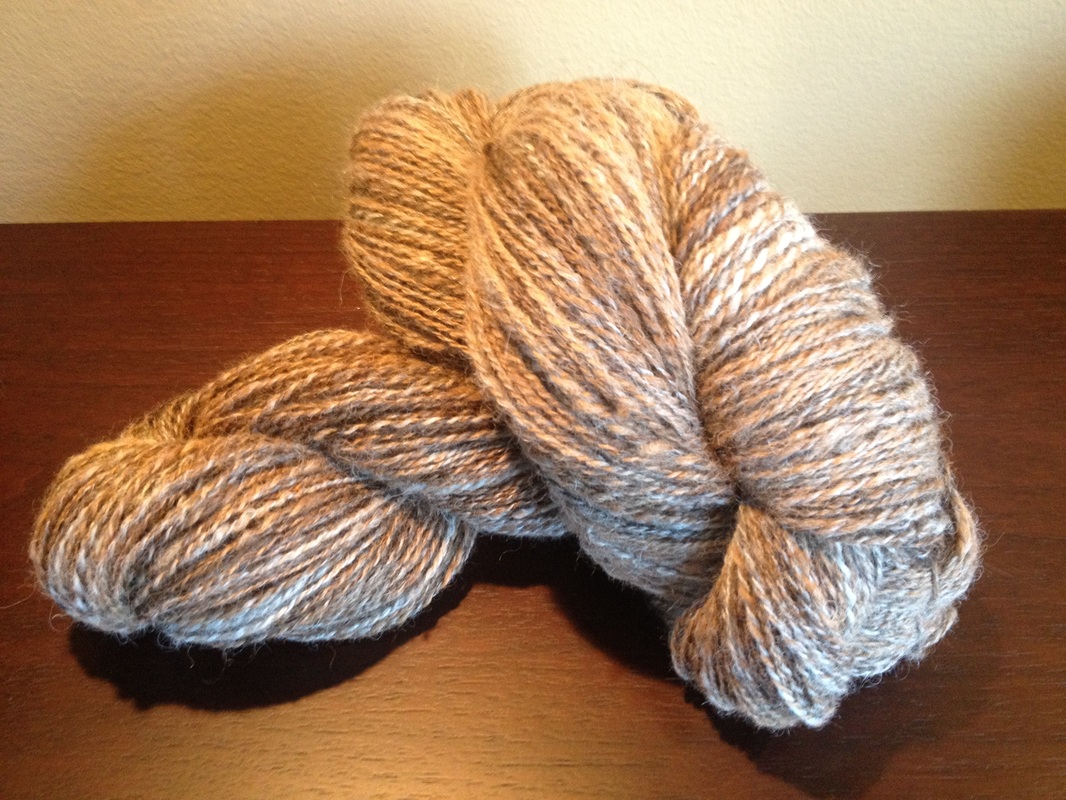
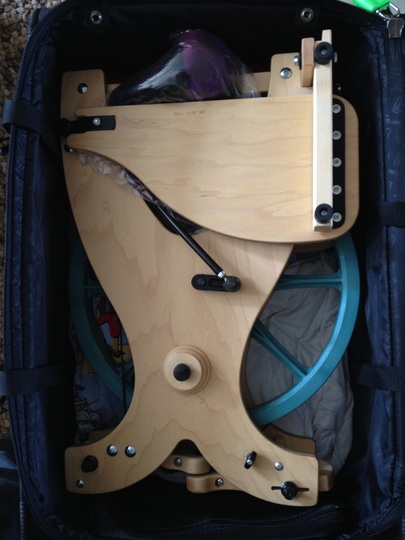
As I ply the two singles together, inevitably there will be one bobbin that has more on it than the other. When I asked Ted Myatt what to do when this happens, he taught me a trick to use all your singles. With the singles still attached to the plied yarn, secure the shorter single. Using a distaff, create a center-pull ball with the remaining fiber. Once that's completed, join the end of the longer single with the end of the shorter single (either by spit splicing or tying a knot). Remove the wound fiber from the distaff and (this part works best with a friend!) continue to slowly ply the yarn while attempting to keep the ball of fiber from tangling up. After you are done plying, you'll end up with a loop at the end, connecting the two plies. Tie a small knot here and you're done! Look: no wasted singles! After all of this is done, The yarn is wound off of the bobbin (did you know you should stand about 10 feet from the wheel when hanking up the yarn? It's another tip I learned during the retreat - standing a bit away from the bobbin allows for some room for the twist energy to distribute itself along the length; it's the same reasoning for putting your lazy kate far away from the wheel when plying). Tie the yarn up, give it a good soak and let it hang dry. I ended up with 2 HUGE hanks of hand spun yarn from my 6oz of fiber! I haven't decided what this yarn will be yet. For now, I'm going to let it be a reminder of the retreat. That's about it for Part 2 of the MSKR12 retreat review. I love writing blog posts about the event because it gives me time to relive the experience. One note on my packing: I had to check my bag because of my wheel but I wanted to share with you how cute and snuggly my Sidekick fit into the luggage! The fiber I got during the retreat acted as extra padding and there was enough room for my clothes, knitting, etc. as well. I'm looking forward to the next time I am able to take my wheel on an adventure! |
Archives
July 2023
Categories
All
|
ExploreFor Fun
|
Support |
Connect |
© 2006-2023 Kyle William. All Rights Reserved.

 RSS Feed
