
|
As promised, here's the second blog post about the 2012 Men's Spring Knitting Retreat. We're traveling a bit back in time to before the retreat, where I'll talk about two different outings; Trumpet Hill yarns and Battenkill Fibers. Immediately after arriving in Albany, NY, Aaron and I headed over to Trumpet Hill Yarns; an adorable shop that is one of his favorite spots for knitting and spinning. We walked in to find Celeste and the gang all sitting in a knit/spin group, happily talking about the events of the day as the weather suddenly turned from cloudy to rainy. It was the only time it really rained during the trip and we all felt safe, knowing that if something happened the yarn shop has plenty of fiber, yarn, patterns and supplies to keep us satisfied until help arrived! 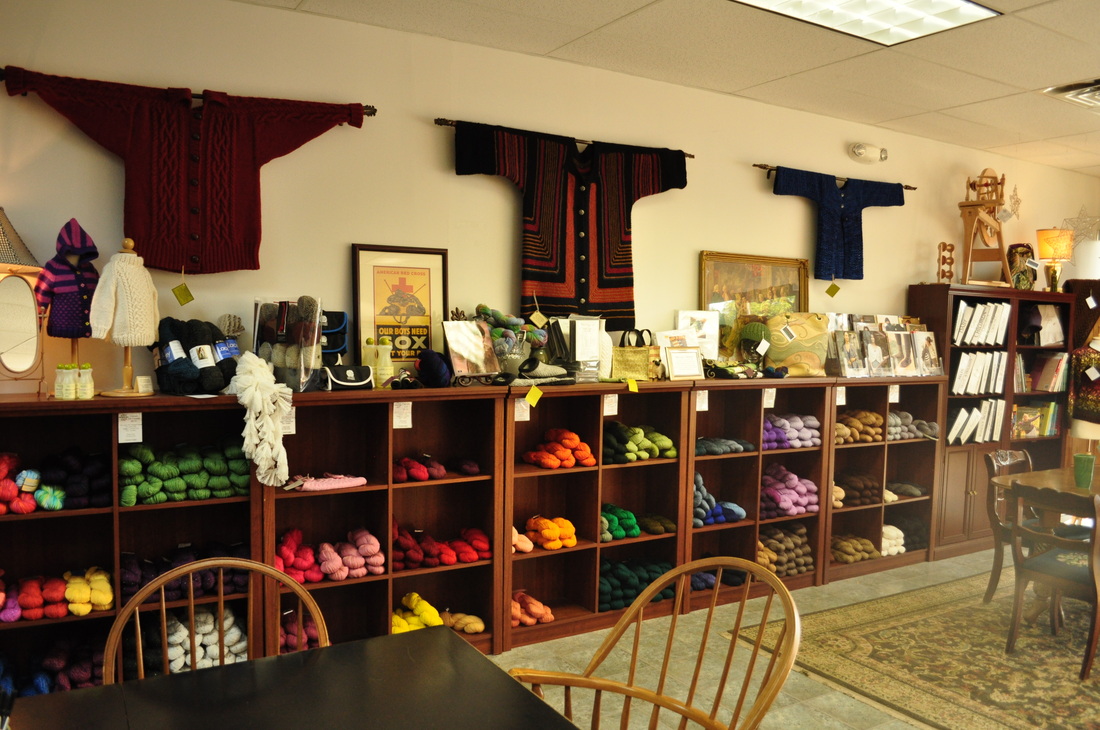 Trumpet Hill uses knitting as art This shop is a must-see for anyone visiting the area - it's full of friendly, knowledgeable fiber-enablers; full of creative ideas and, if you're not careful, you'll end up with a new project (or a new spinning wheel!) 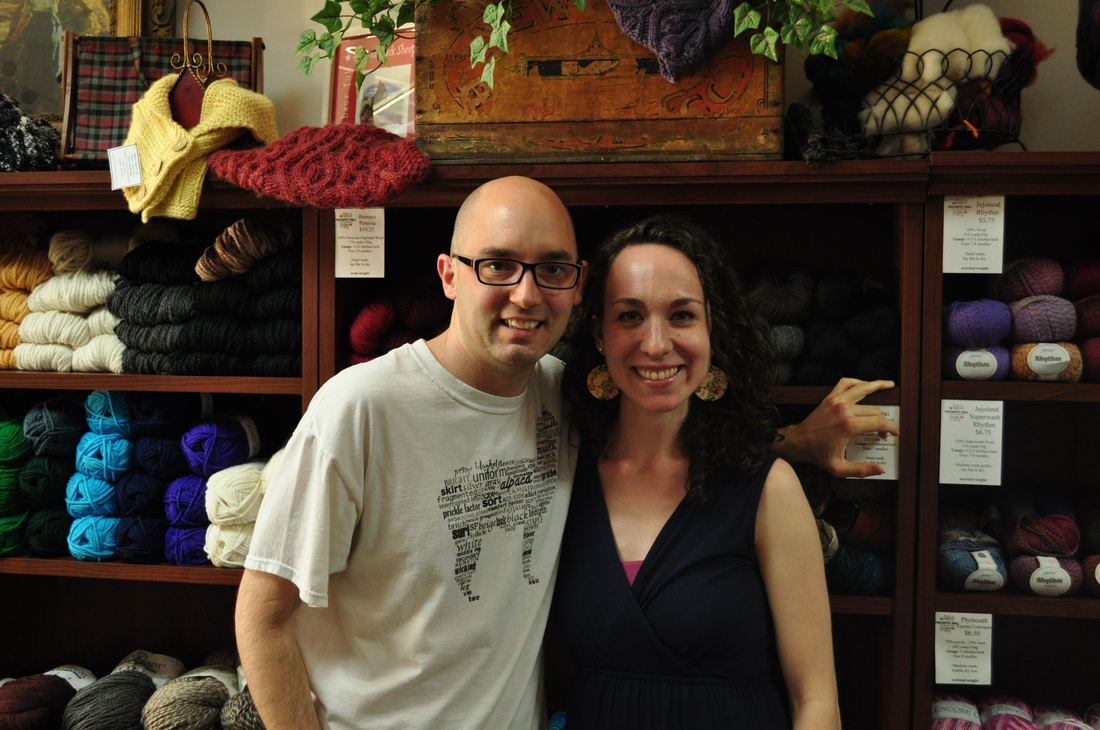 Kyle & Celeste
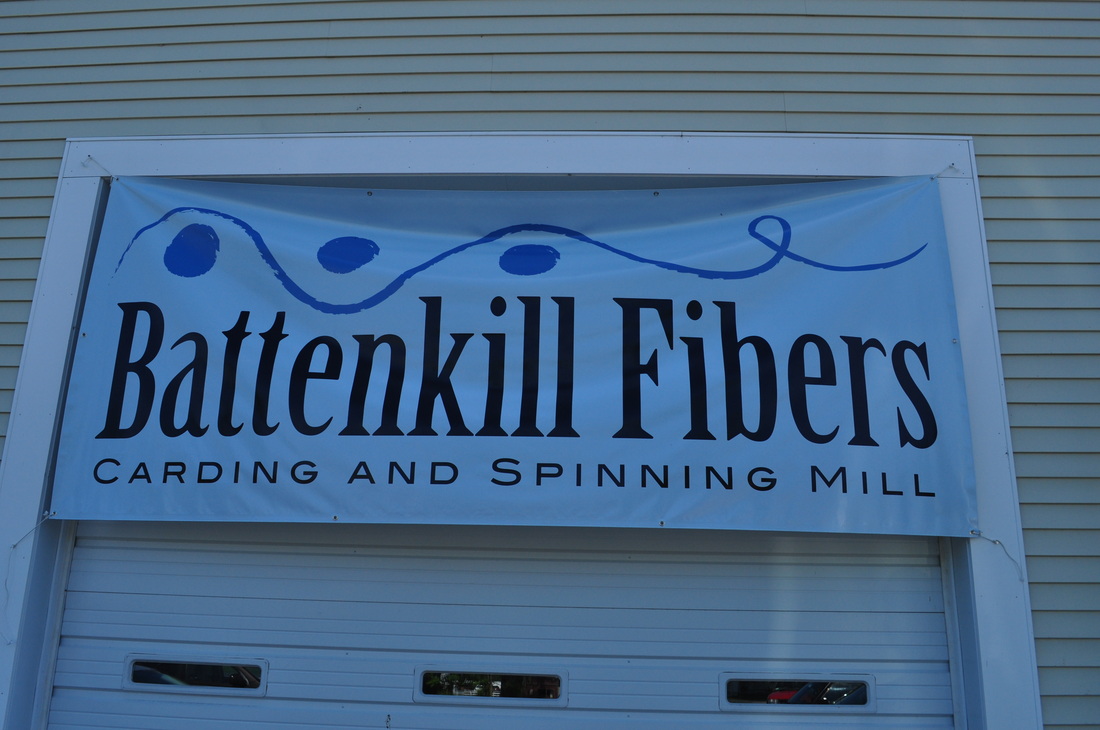
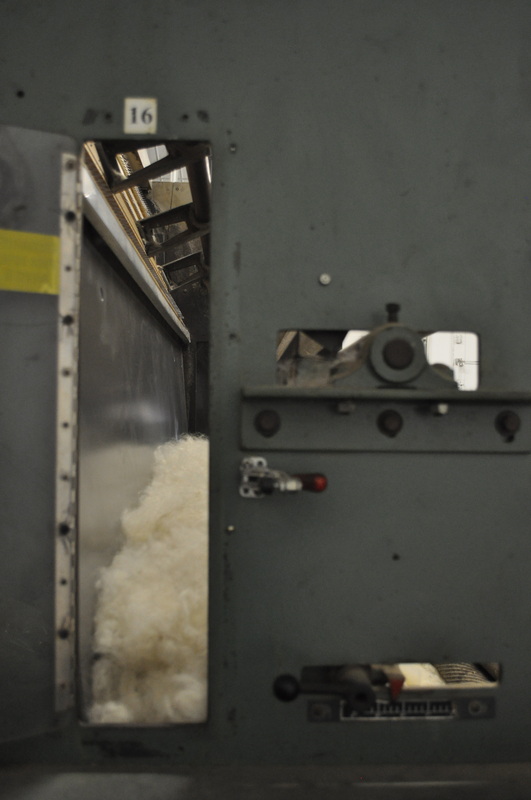
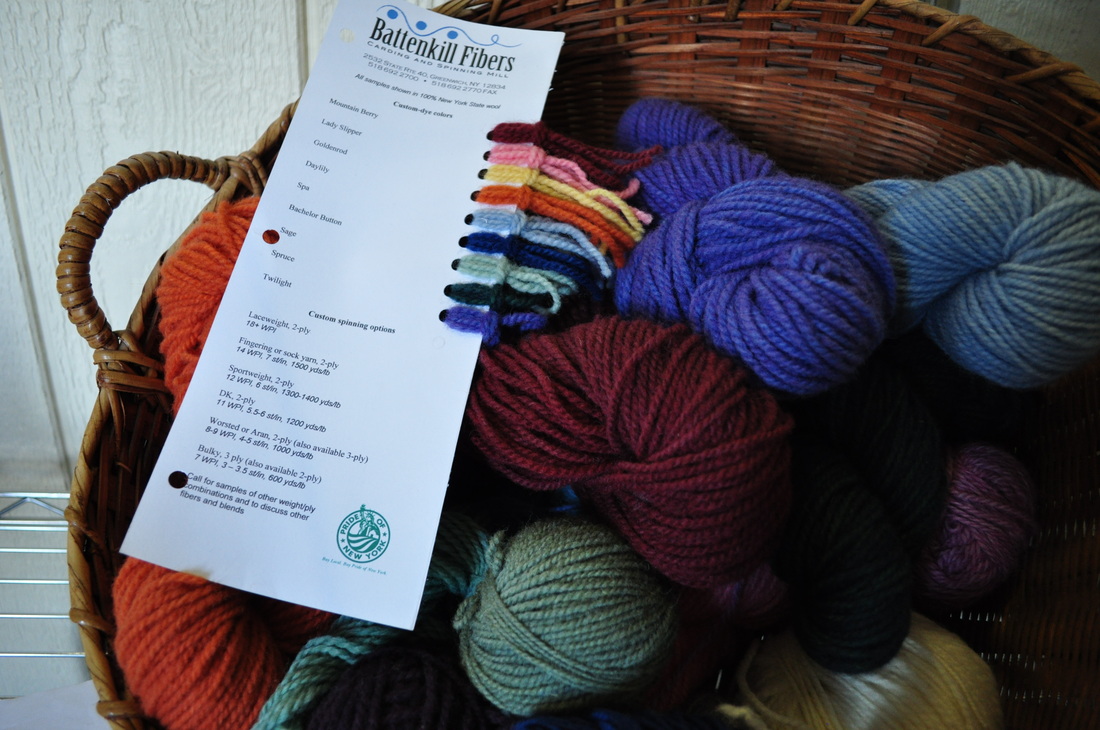
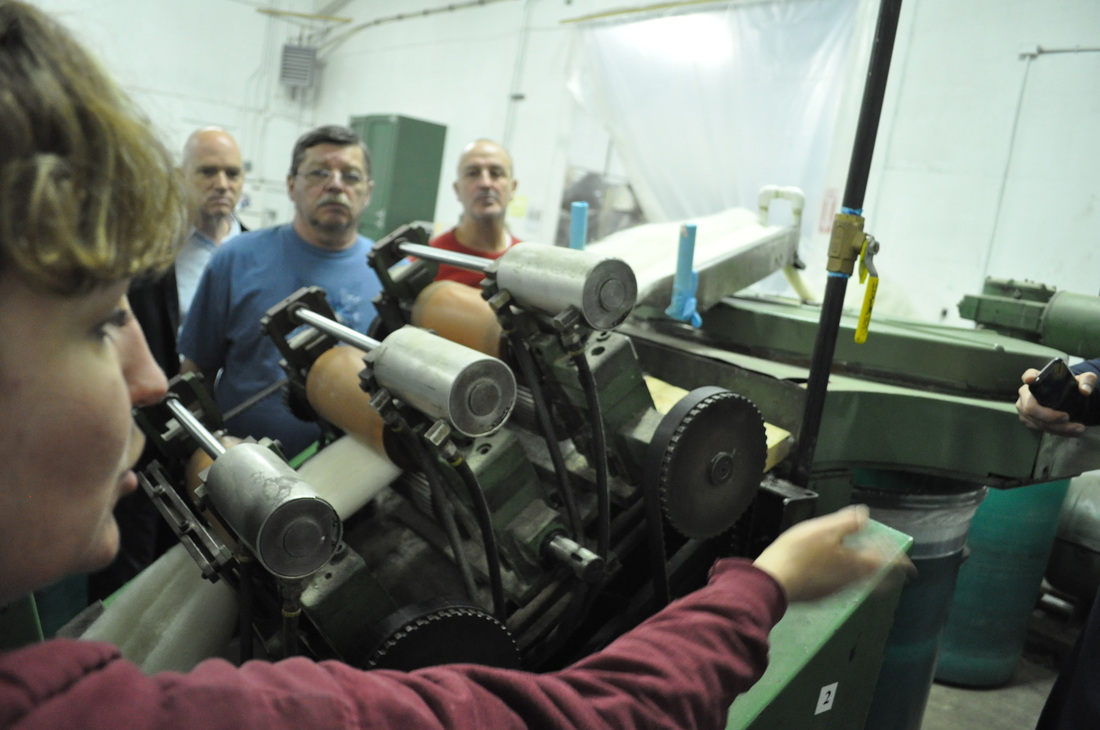
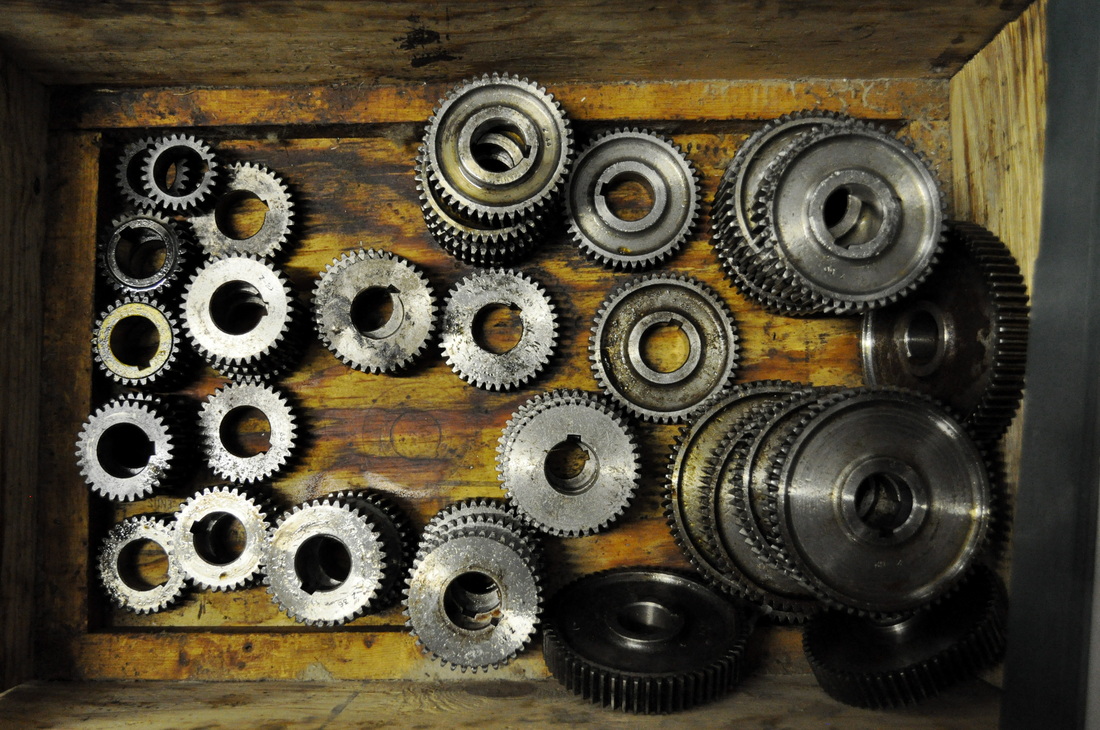
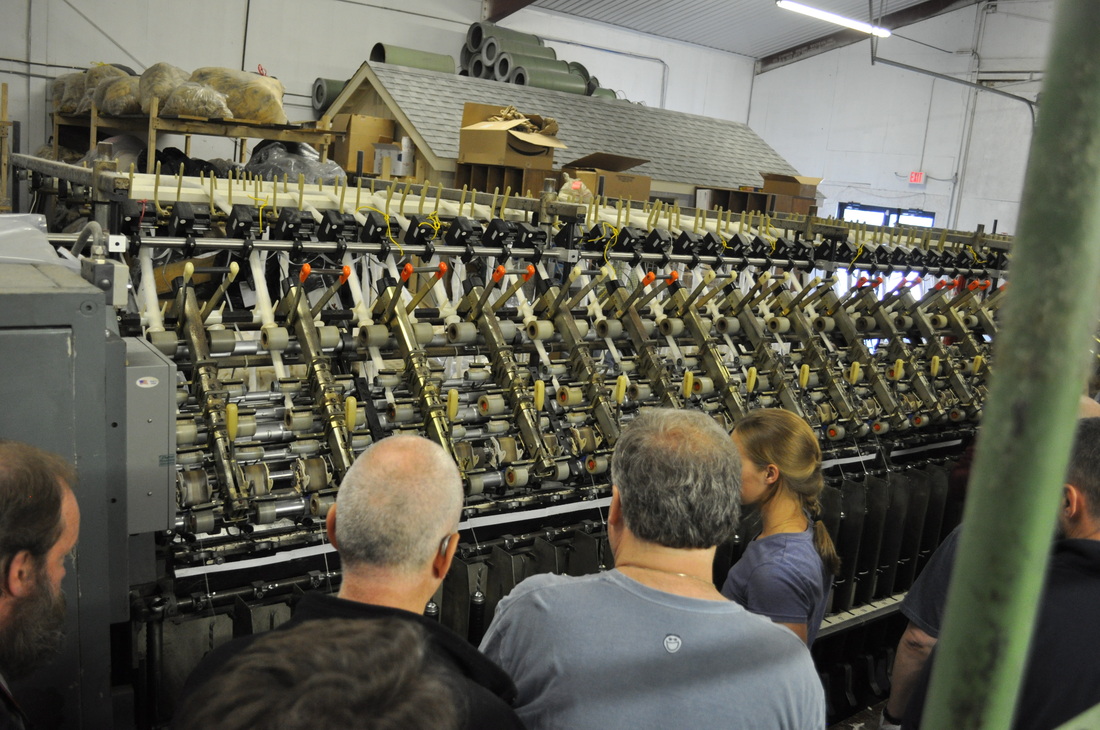
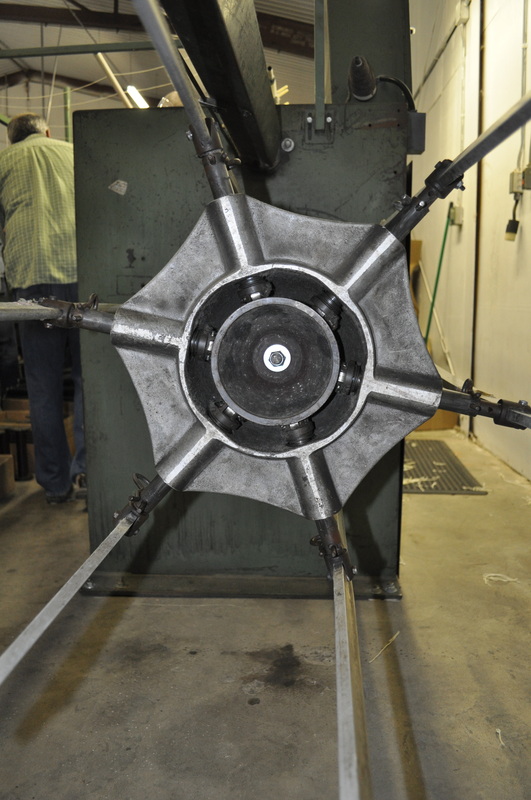
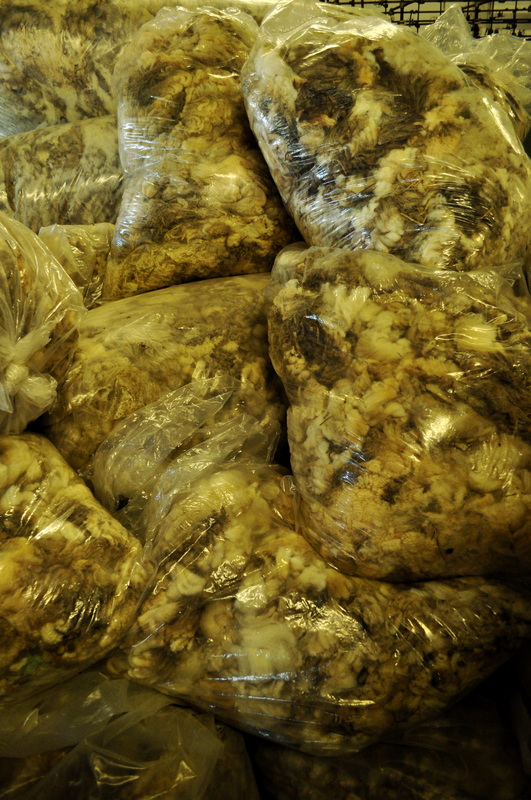
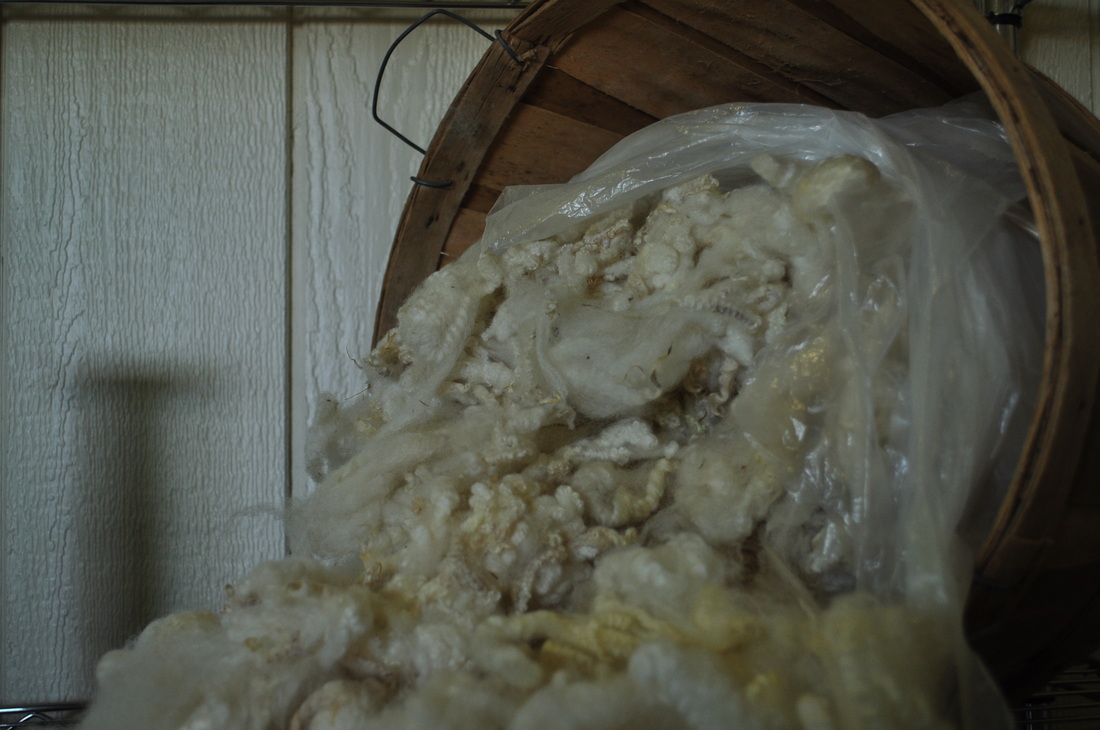
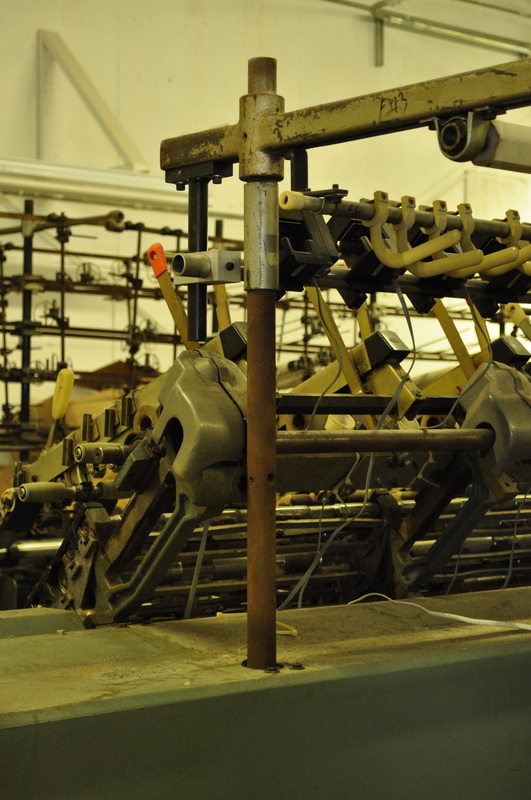
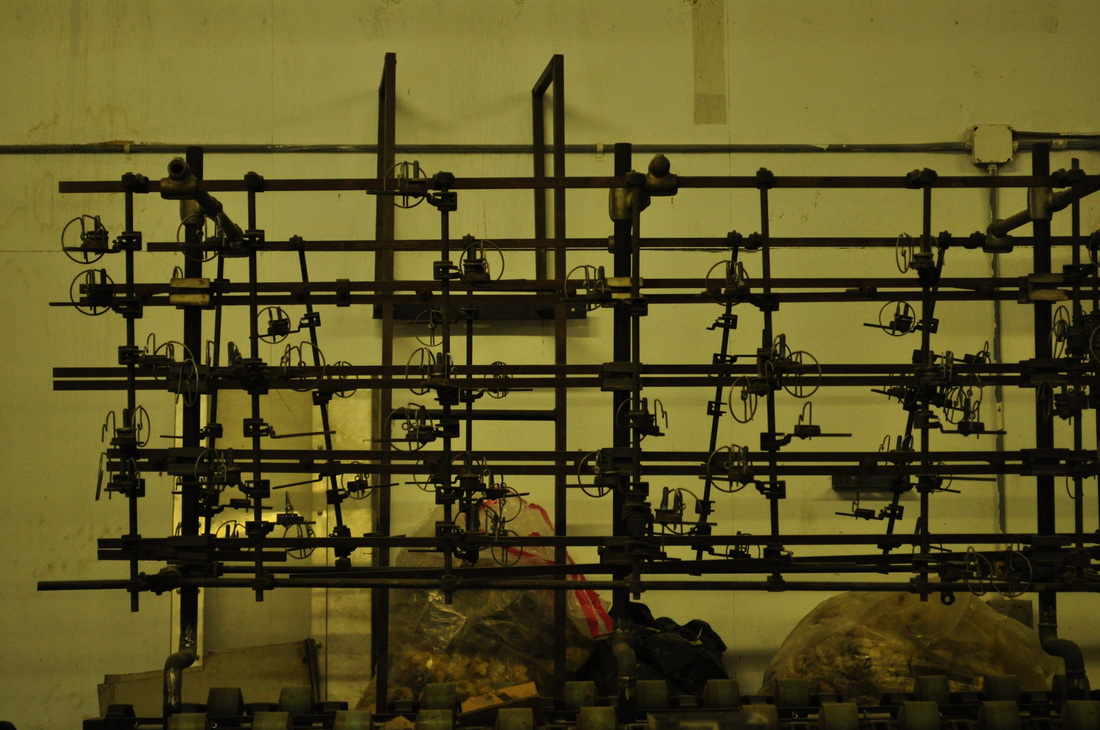
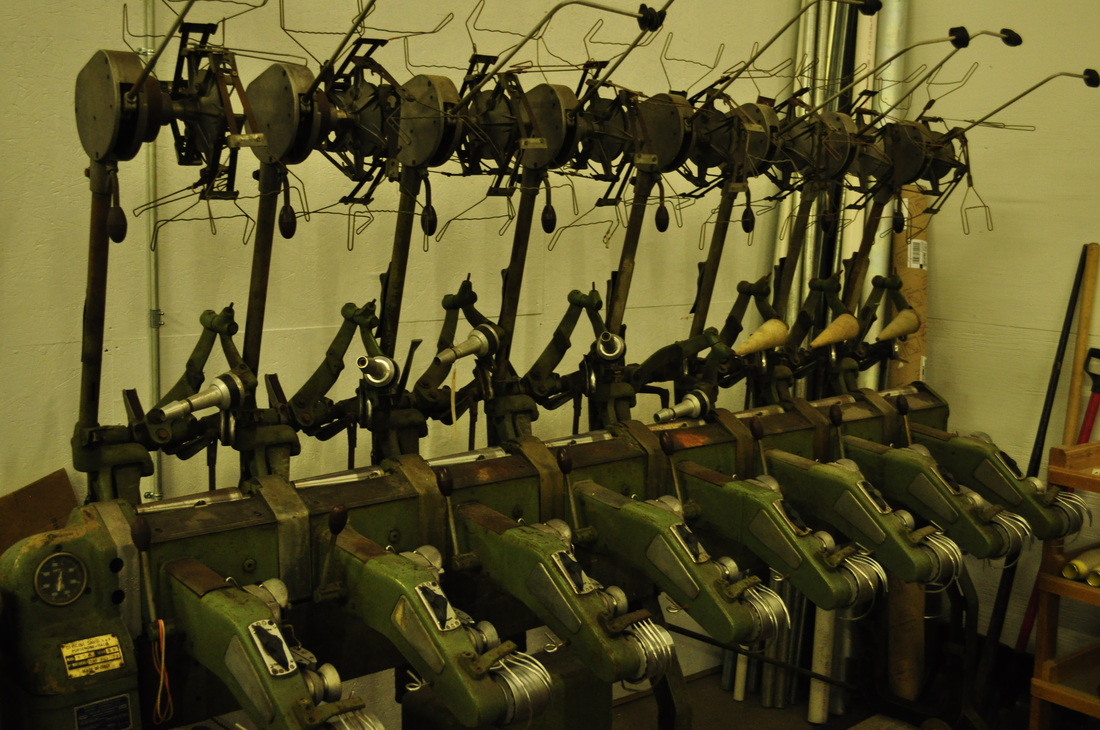
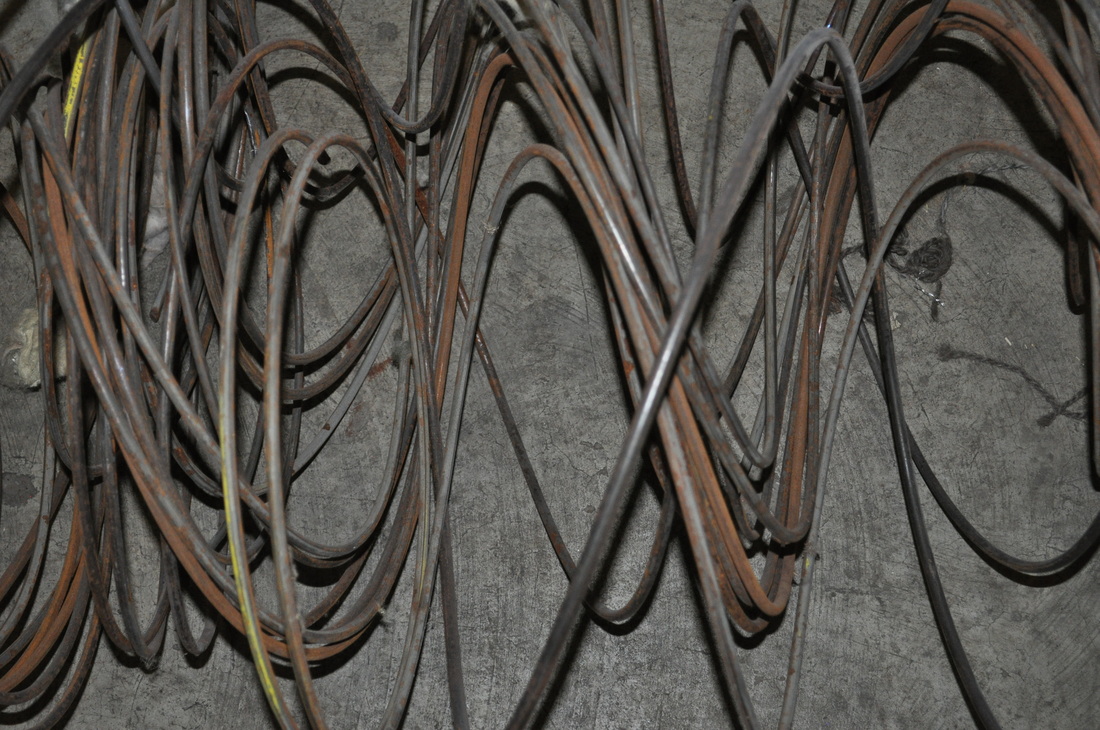
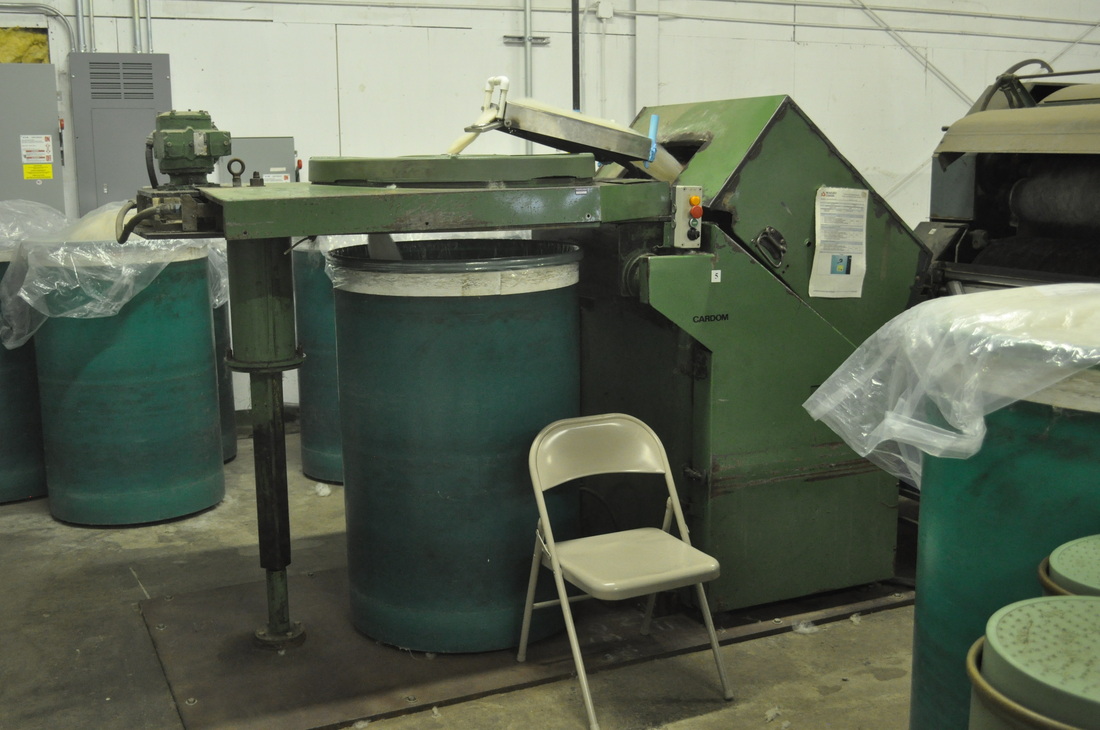
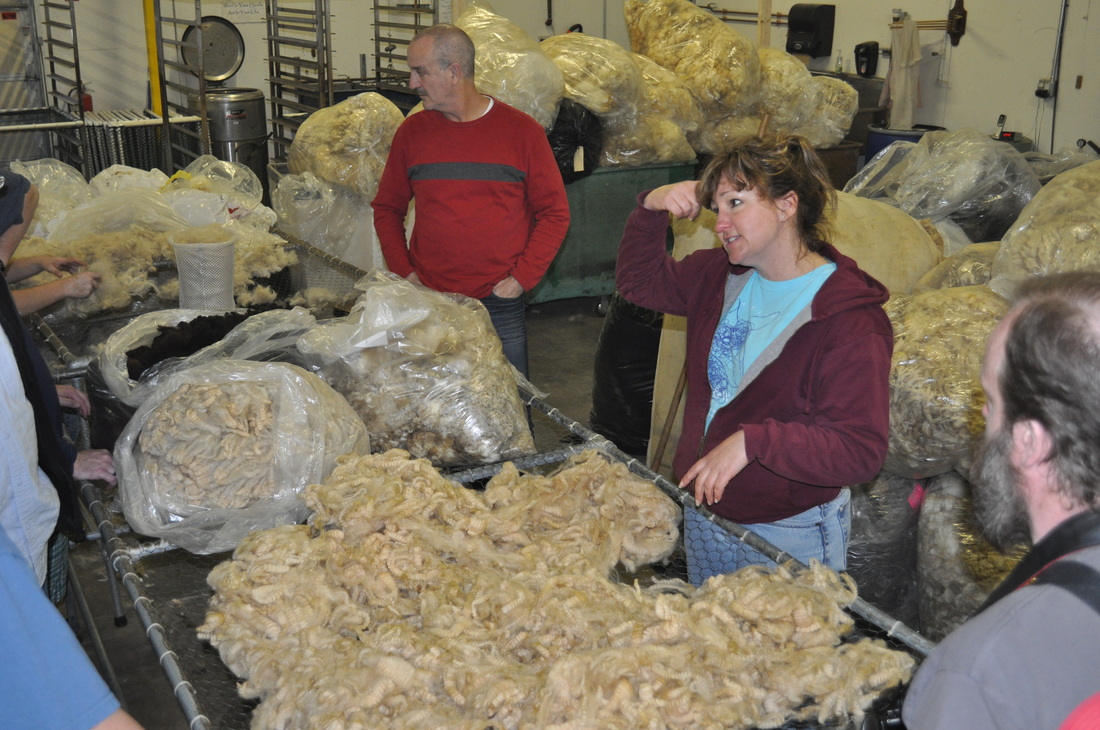
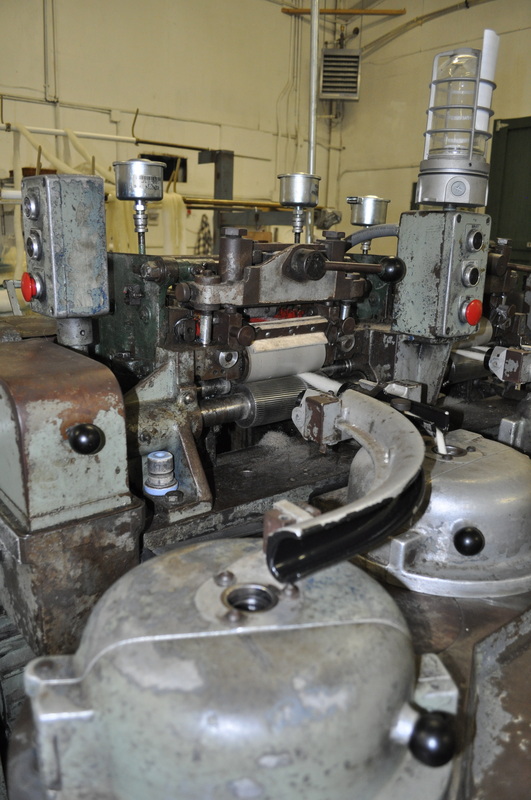
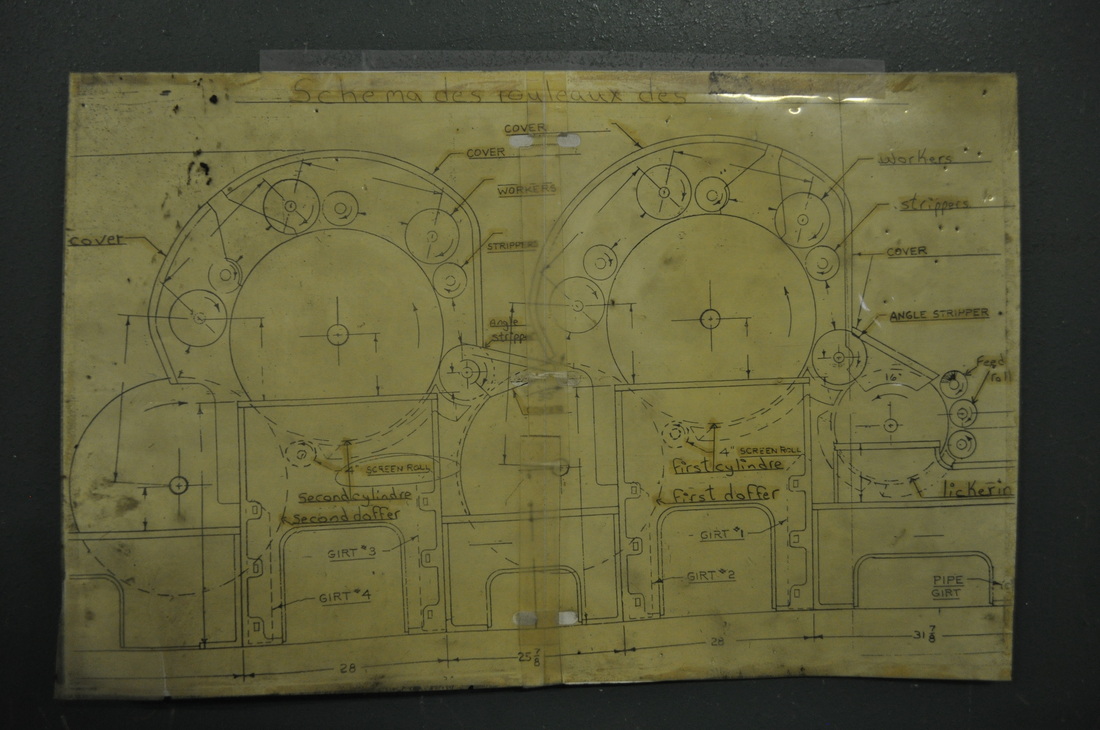
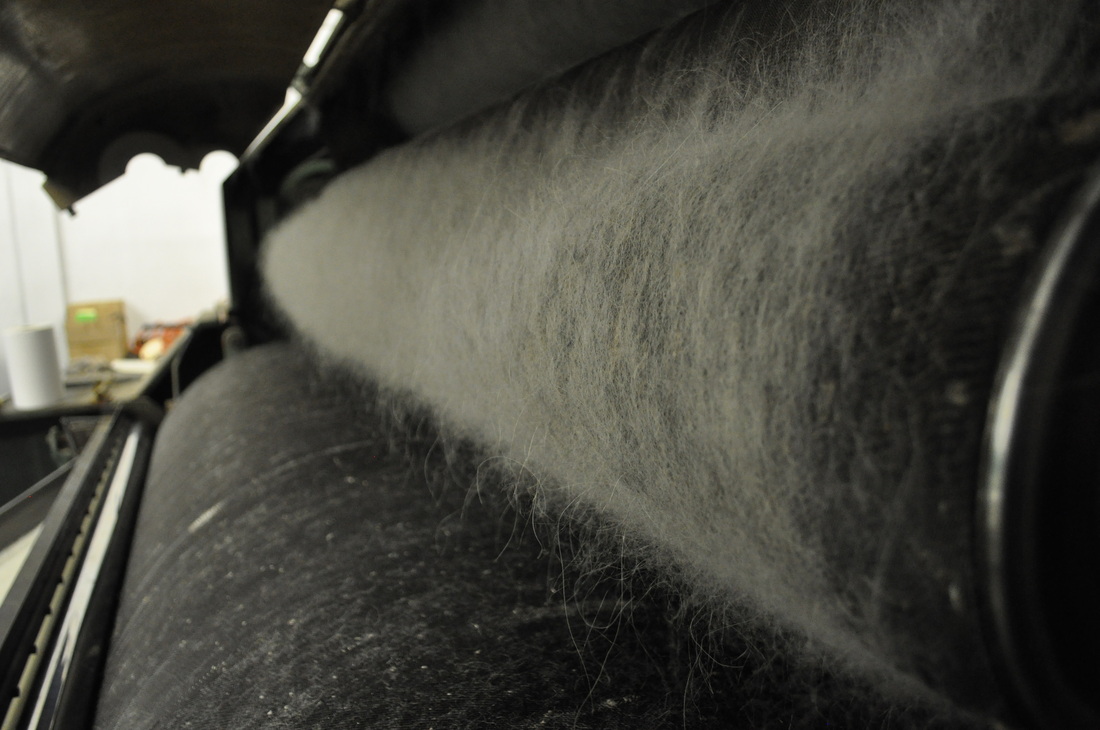
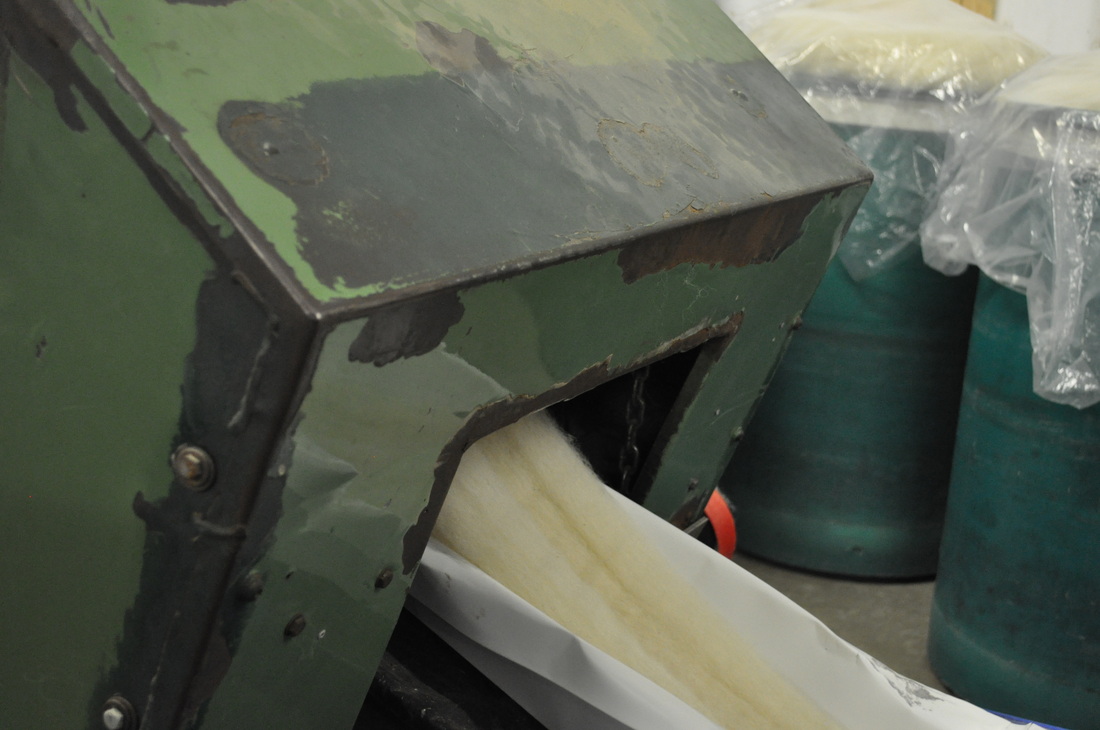
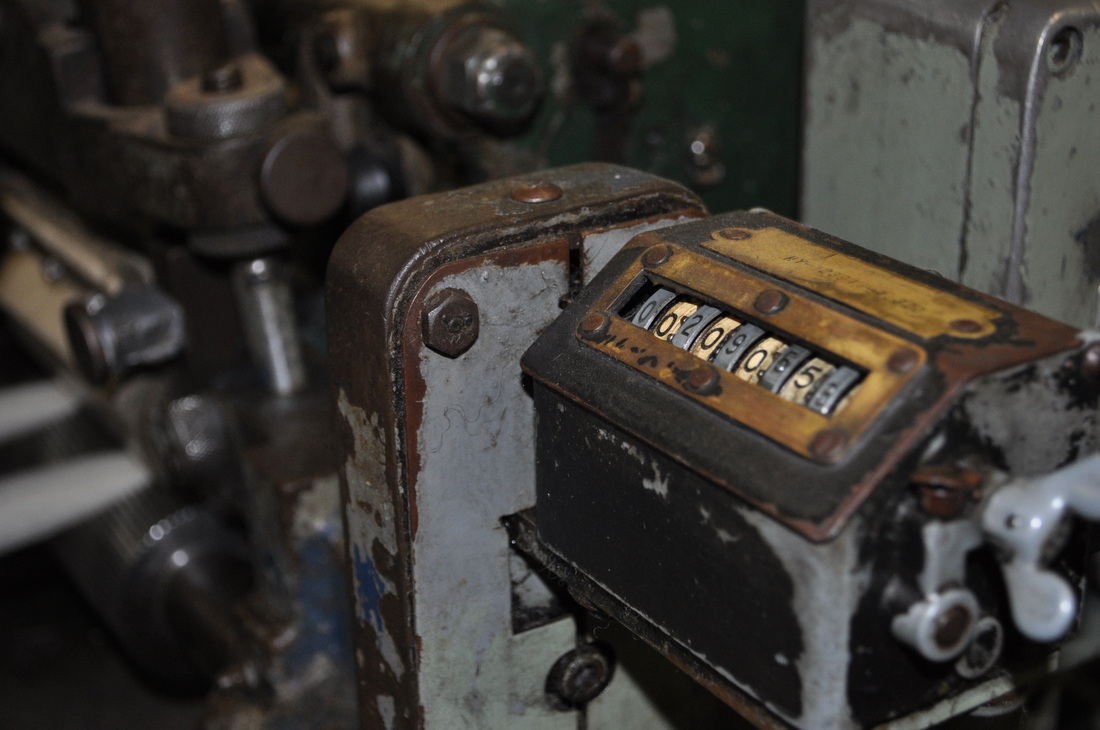
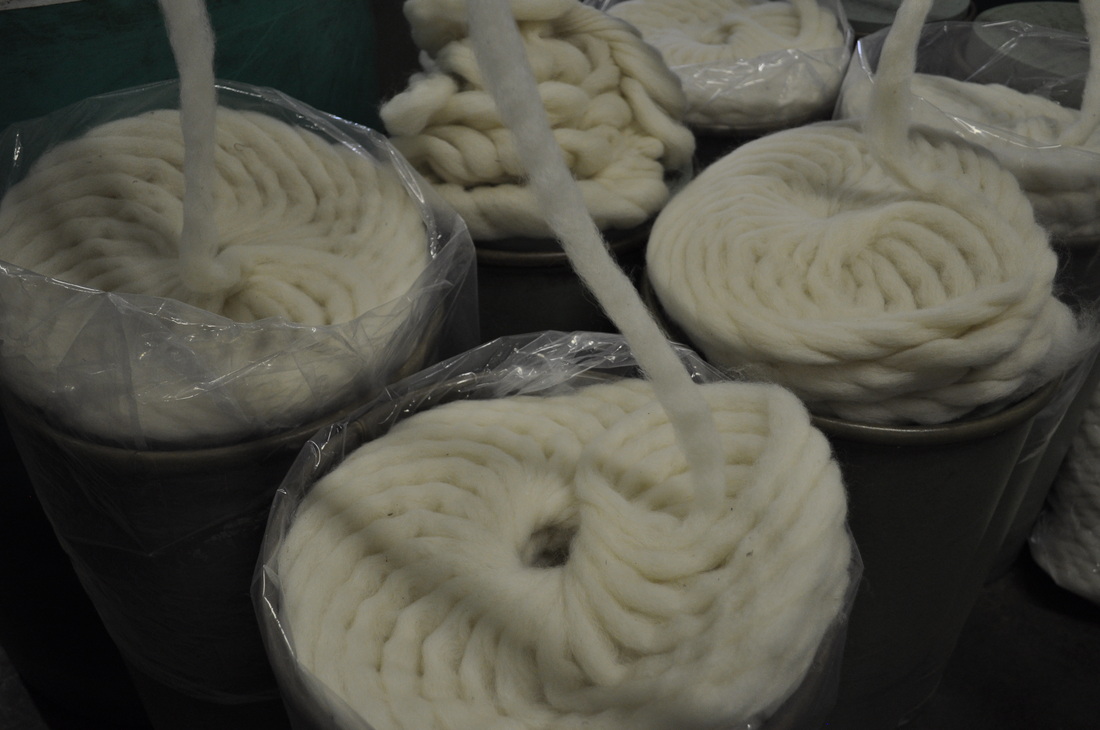
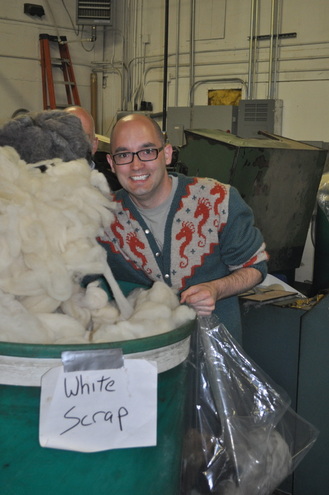
 Thursday morning we ventured off to Battenkill Fibers; a custom carding and spinning mill in Greenwich, NY. They welcomed about 30 guys from the retreat in our pre-retreat outing, and took time to show us some of the processes involved in transforming fleece and fiber into yarn. They had a number of projects in the works and we were all in awe as we went from step to step learning how much work goes into making yarn. Here are a few random photos from the visit to the mill. I made some short videos to share with you some of the steps for turning fiber into yarn. First, we learned a bit about how a fleece gets skirted (this video). Then, we watched how they clean the fibers, and many different steps (and machines!) it takes to turn fleece into yarn. This machine takes the fiber and "flicks" it open. I apologize; I didn't take notes on the different machine names or their "technical" responsibilities... but if you ever visit Battenkill Fiber Mill, they'll certainly explain it all to you! The next video shows the fiber flying through that little hole in the wall into a room that's exclusively to catch the fiber as it floats to the ground. The operator of this machine sweeps the fibers up from that room and they go into a carding machine from there. (Yes, a few of us thought of just sitting in that room to experience the "rain of fiber!") Once the fiber is cleaned, carded, and drafted out, it goes into the pin drafting machine. This machine makes the roving even and prepares it for spinning. (I am SO glad I don't have to clean these machines!) From there, the fiber is spun into singles on a GIANT machine, and then plied on ANOTHER machine... then, the plied yarn is skeined into hanks. There's so much work that goes into creating yarn that many of us don't think about. Even commercial yarn has been hand worked by many talented people. Here's one last video showing the process of making hanks of yarns, talking about the plying machine and then the skeining machine: The tour was a bit overwhelming. So many machines, and questions that could be asked. By the time I had asked one question, 5 more had popped into my head. I have a new appreciation for fiber and the artists who make it for us at the mills after visiting Battenkill! Of course, I knew it was an involved process before but WOW. This was a real treat to get to tour a mill and learn and share more about the processes.
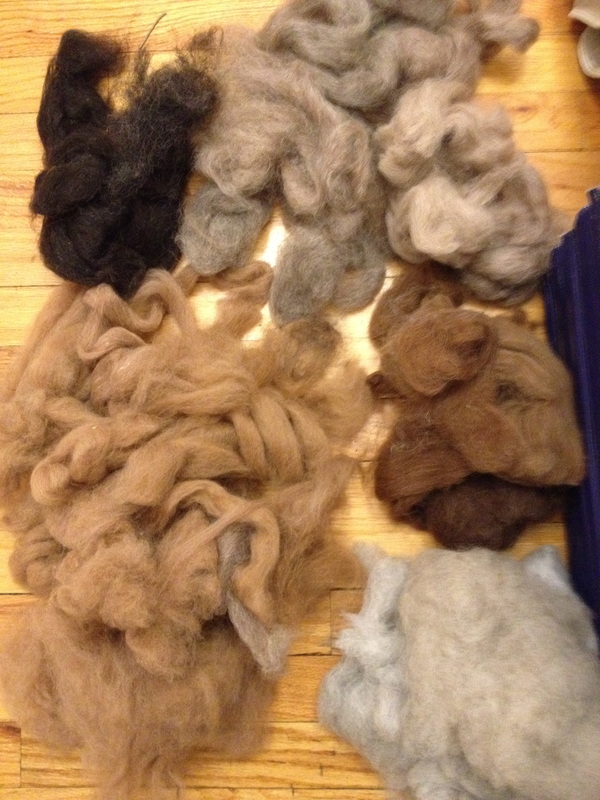
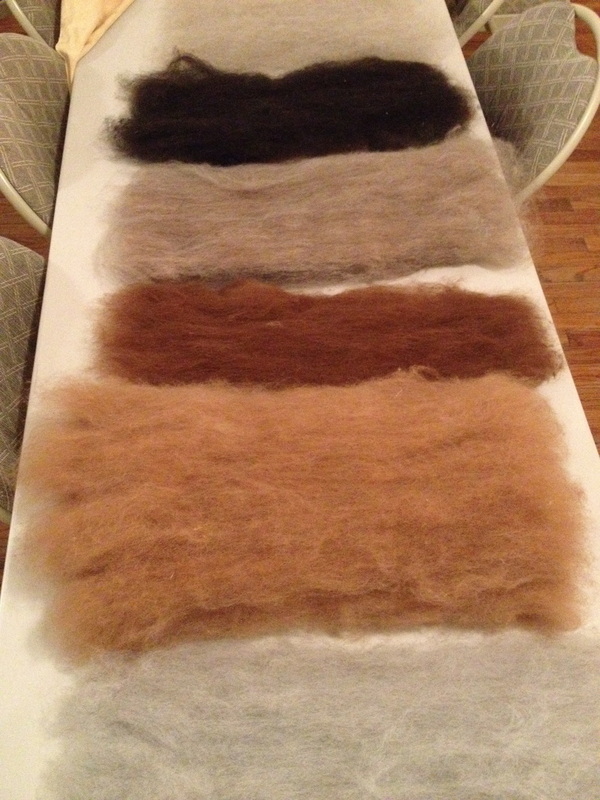
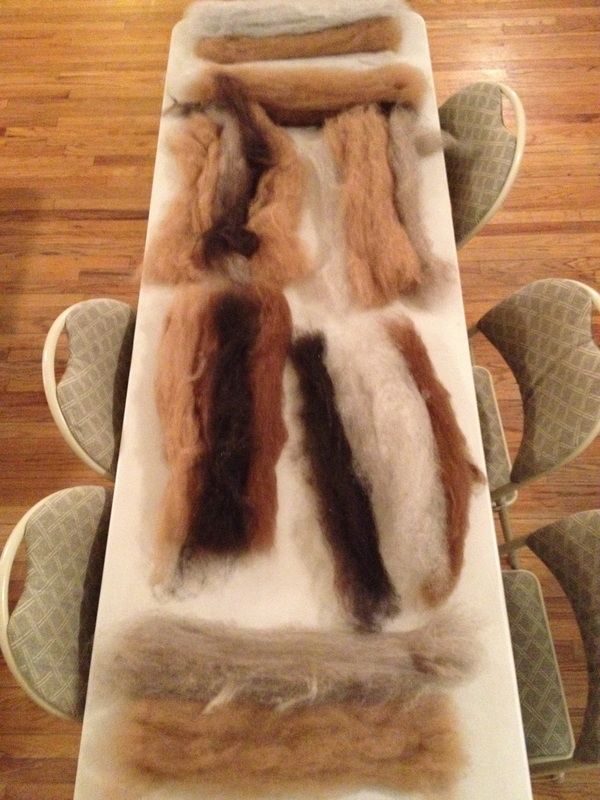
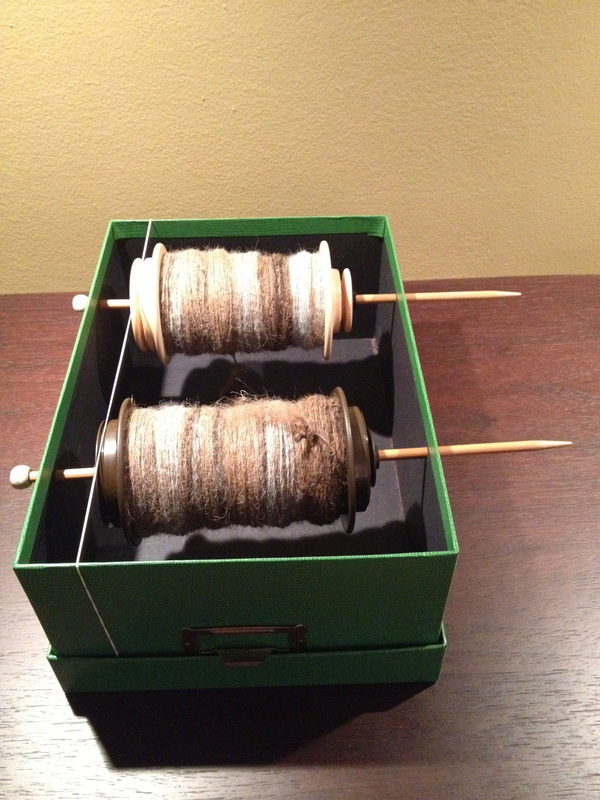
(I told you lots of work goes into preparing fiber!) -- OK. now that the fiber is all ready to go, remember I wanted to create a 2-ply yarn that would have sections of color. I didn't want to make yarn with long color changes (like Noro) - but more mottled looking "barber poled" yarn. To accomplish this, I decided to tear off a bit of each ball of fiber and use them in a random order as I spun. I'd work bits 1-7, then stop and tear a piece off of each ball again, put the pieces in the bag and randomly select them. As I got one bobbin nearly full, I began the second, repeating the process. As I got close to the end of the balls, I unwound the remaining fiber, and looking at the longest remaining length of fiber decided I could do about 5 more repeats. I broke that piece into 5 sections, then evenly divided the other pieces and added them to the last repeats. If a ball only had enough fiber for 2 or 3 more repeats, I only added it to 2 of the remaining repeats. Once those final rounds were divided, I kept them separate and then randomly spun them onto the bobbin. At the very end, I went back to the first bobbin to try to evenly distribute the singles.
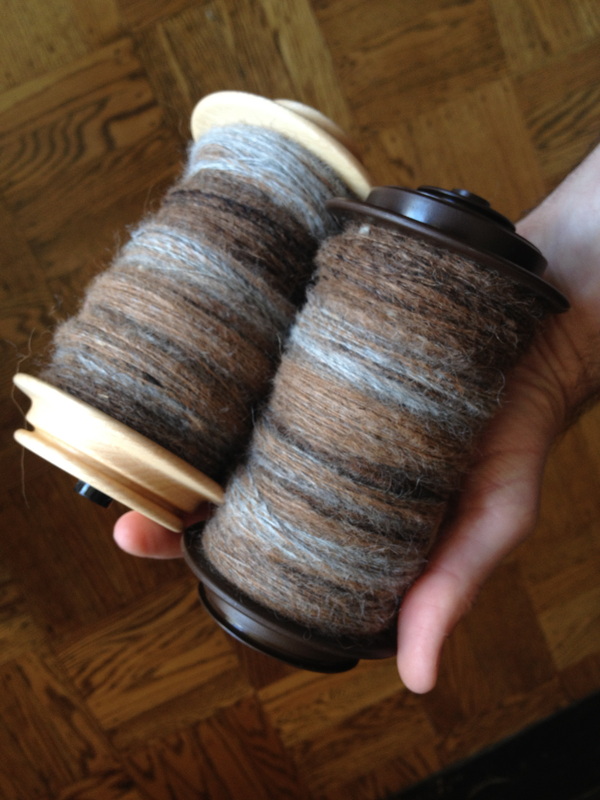
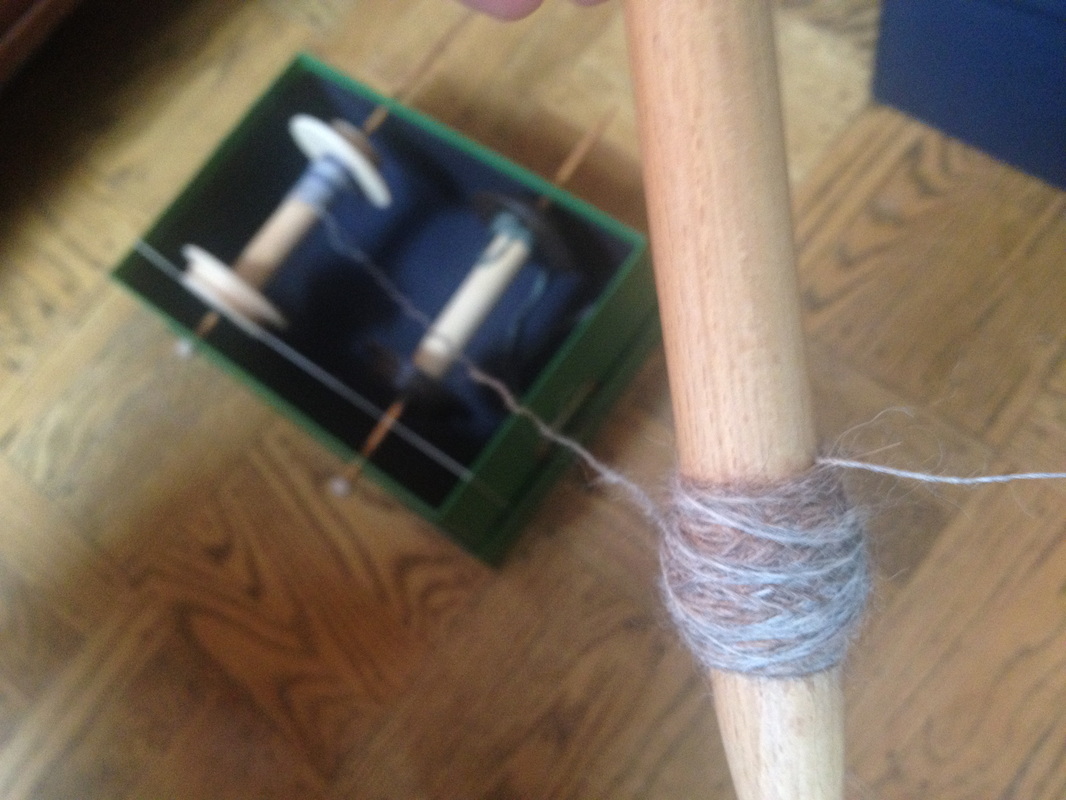
As I ply the two singles together, inevitably there will be one bobbin that has more on it than the other. When I asked Ted Myatt what to do when this happens, he taught me a trick to use all your singles. With the singles still attached to the plied yarn, secure the shorter single.  Using a distaff, create a center-pull ball with the remaining fiber. Once that's completed, join the end of the longer single with the end of the shorter single (either by spit splicing or tying a knot).
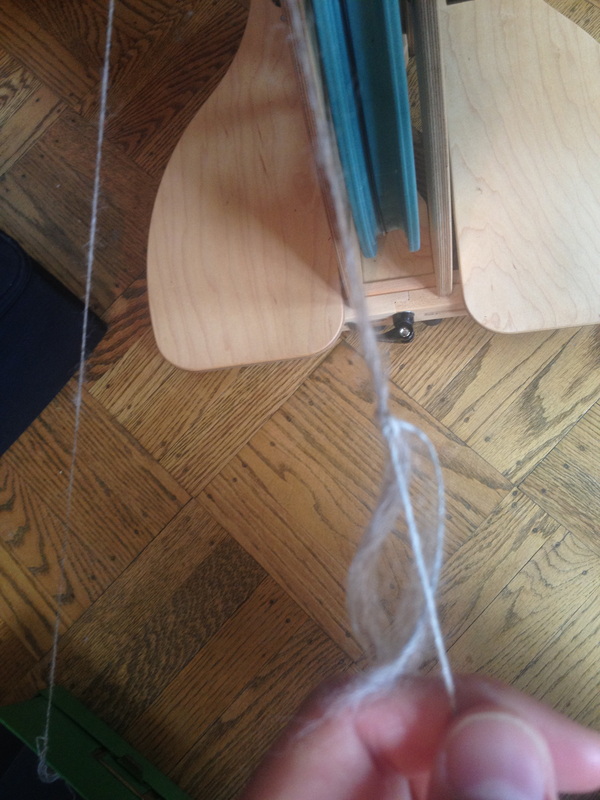
Remove the wound fiber from the distaff and (this part works best with a friend!) continue to slowly ply the yarn while attempting to keep the ball of fiber from tangling up. After you are done plying, you'll end up with a loop at the end, connecting the two plies. Tie a small knot here and you're done! Look: no wasted singles! After all of this is done, The yarn is wound off of the bobbin (did you know you should stand about 10 feet from the wheel when hanking up the yarn? It's another tip I learned during the retreat - standing a bit away from the bobbin allows for some room for the twist energy to distribute itself along the length; it's the same reasoning for putting your lazy kate far away from the wheel when plying). Tie the yarn up, give it a good soak and let it hang dry. I ended up with 2 HUGE hanks of hand spun yarn from my 6oz of fiber! I haven't decided what this yarn will be yet. For now, I'm going to let it be a reminder of the retreat. 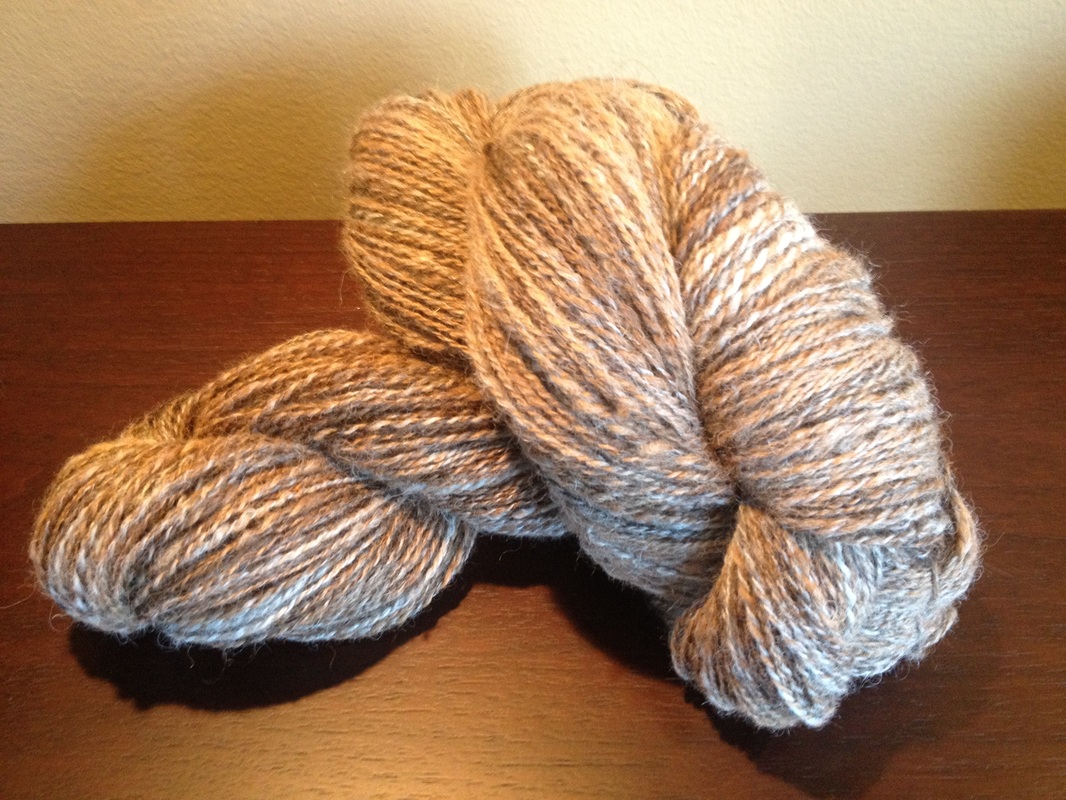 That's about it for Part 2 of the MSKR12 retreat review. I love writing blog posts about the event because it gives me time to relive the experience. One note on my packing: I had to check my bag because of my wheel but I wanted to share with you how cute and snuggly my Sidekick fit into the luggage! The fiber I got during the retreat acted as extra padding and there was enough room for my clothes, knitting, etc. as well. I'm looking forward to the next time I am able to take my wheel on an adventure! 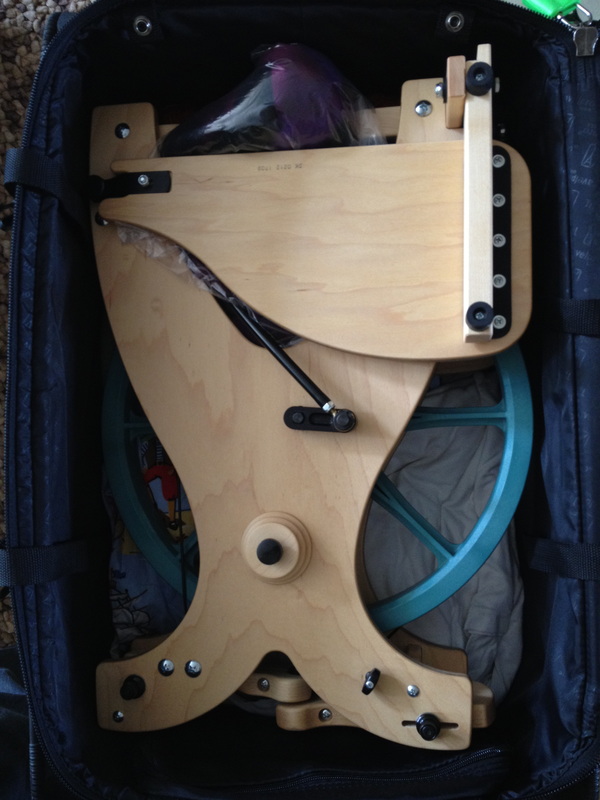 OK, let's talk... obsessed knitter to obsessed knitter. I have an overwhelming stash of sock yarn, and I'm not even a compulsive sock knitter like some people I know! I'm sure that almost every knitter has a stash that is out of control (even if we don't see it that way!)... and other projects and shiny things distract us from our goals... so, at the suggestion of a friend, I have created a self-imposed sock club! I decided this year that I'll knit at least 6 pairs of socks; one pair every other month, in addition to my other knitting and designing. One sock a month; that's not too difficult, right? Right! Time to get organized! While noone was home, (important because as a fiber artist I can't reveal the actual amount of yarn in my stash... also important because non-fiber people don't understand and I have to begin dispensing anti-anxiety medication!), I hauled out my ENTIRE yarn stash, and all the patterns of socks that I have been intending to make... After I selected patterns (I chose 7 so that there's one extra just in case something goes awry) I went through my sock yarns and matched fiber to pattern and bagged each project up in 1 gallon ziplock baggies. These are stored in a plastic storage tub and are all ready to be cast on! In Ravelry, I spent some time queuing each of the projects up, and attaching the yarns to each of the projects. 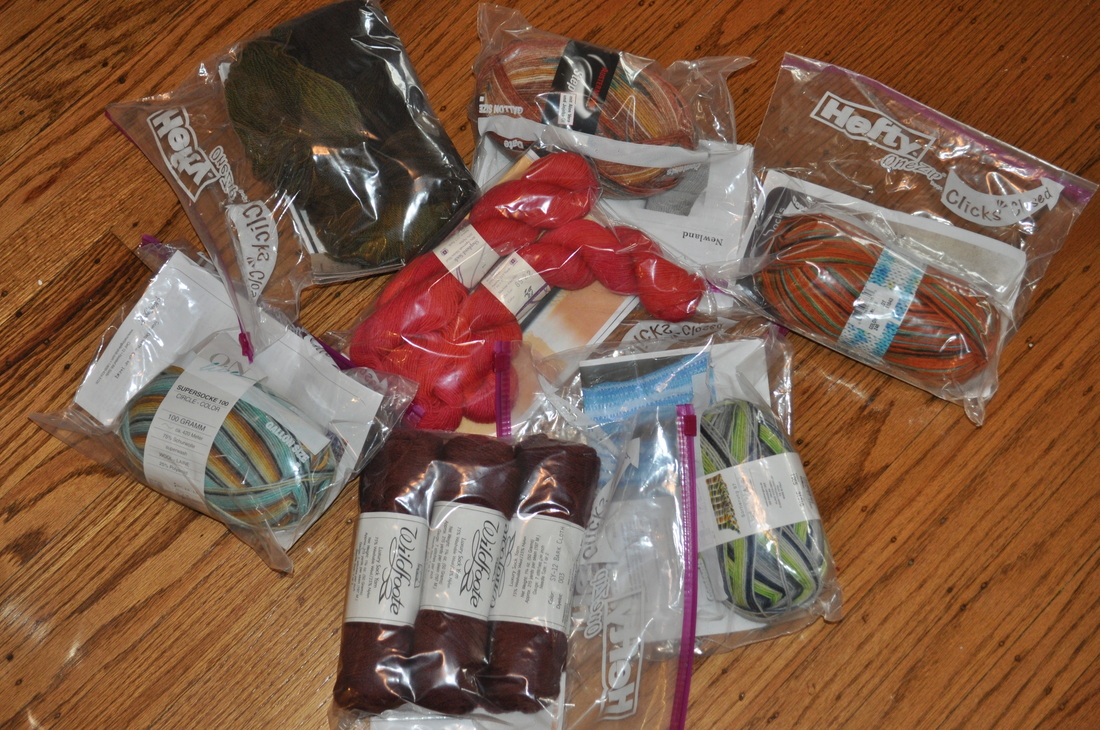 It's the morning of February 1, 2011. The sun is bright and the sky is clear in San Francisco. I got my bucket of projects out and wrote each project name on a piece of paper, and put them in a dish for the drawing. (The dish happens to be one of my own wheel thrown and altered ceramic pieces, featuring the image of none other than Elizabeth Zimmerman!)  Take a deep breath, and select the lucky first project for the self-imposed sock club! 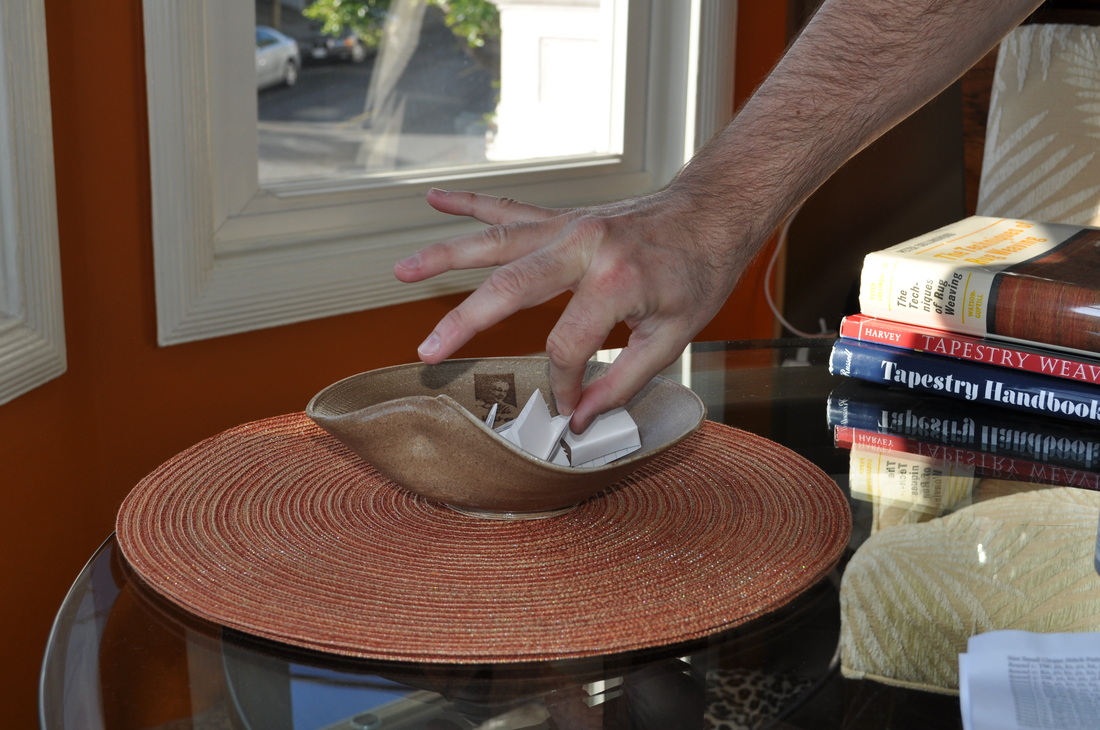 The winner is: Sideways Socks by Lanna Grossa! I am happy that this is the first pair of socks. Most of the sock is knit flat on circular needles, then grafted up the back. The toe allows for a few minutes of work on double pointed needles... I recommend it for knitters who say they don't love knitting socks - I expect they will move quickly once I get going on them, and I'm already feeling good about using what I already own!  If you are on Ravelry, you will be able to see my up-to-date progress on this project by clicking HERE (My Ravelry ID is kylewilliam)  I'm using Online Supersocke 100 Circle for these socks. The long color stripes in this yarn make it perfect for a lengthwise sock pattern!
Hopefully this is inspiring for you and it helps you to create a self-imposed club of your own! Make a club with sweater patterns... scarves... hats... mittens... whatever you are obsessed with for 2011. Create some order in your craft and help yourself justify the ginormous quantity of fiber and goodness that is surely sitting ready to go in your own stash! Happy Knitting! |
Archives
July 2023
Categories
All
|


 RSS Feed

|
ExploreFor Fun
|
Support |
Connect |
© 2006-2023 Kyle William. All Rights Reserved.