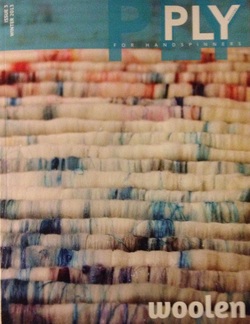
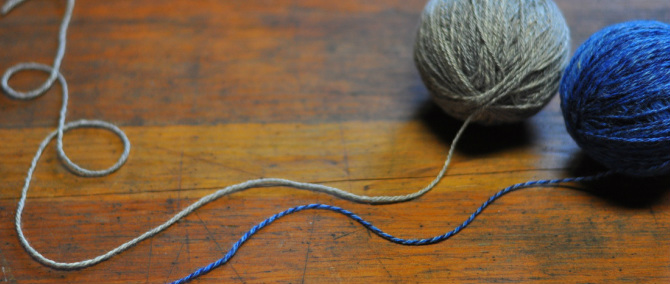
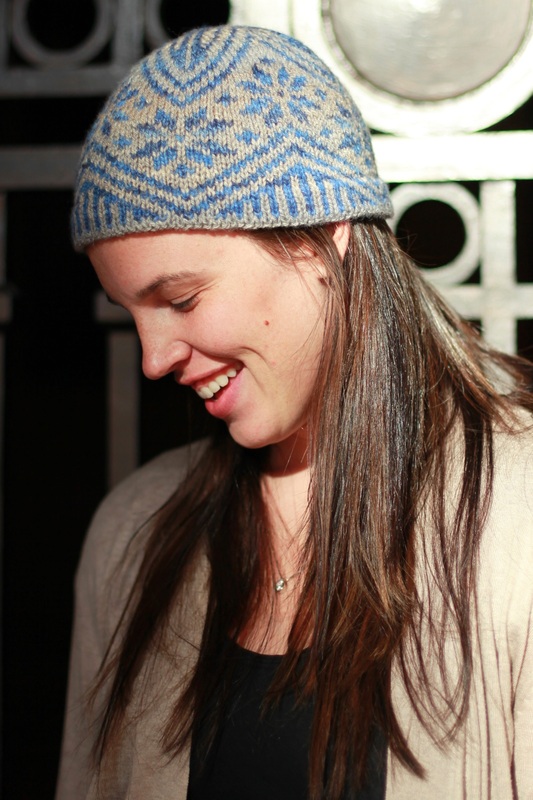
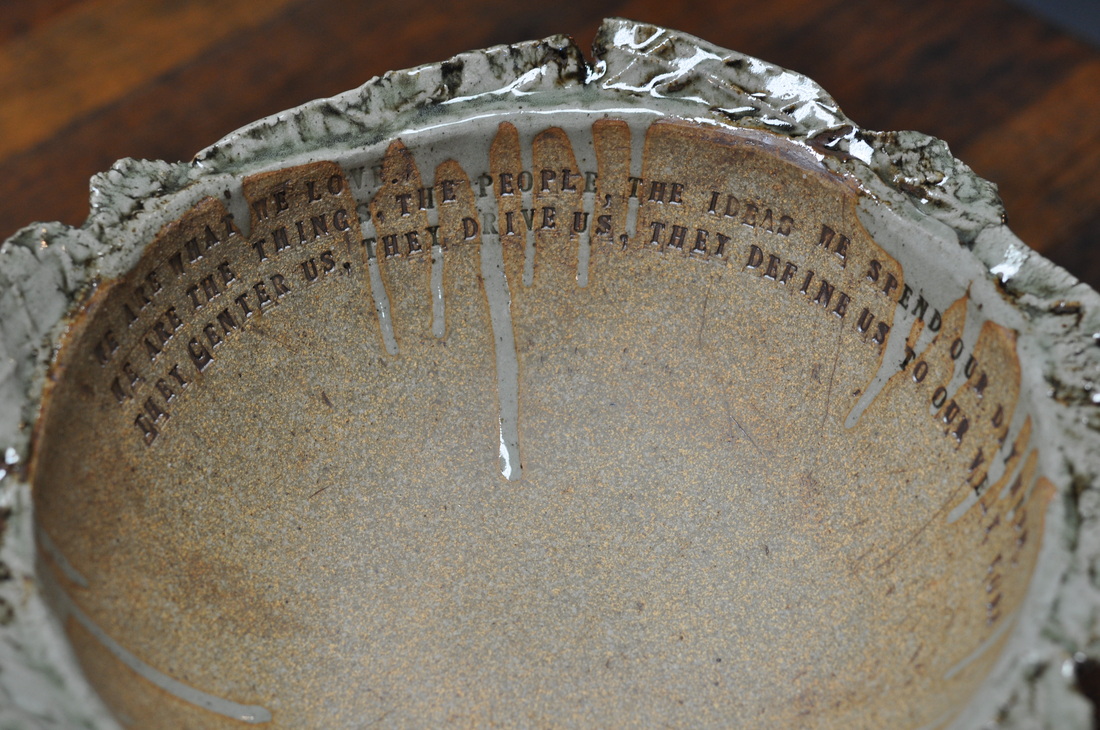
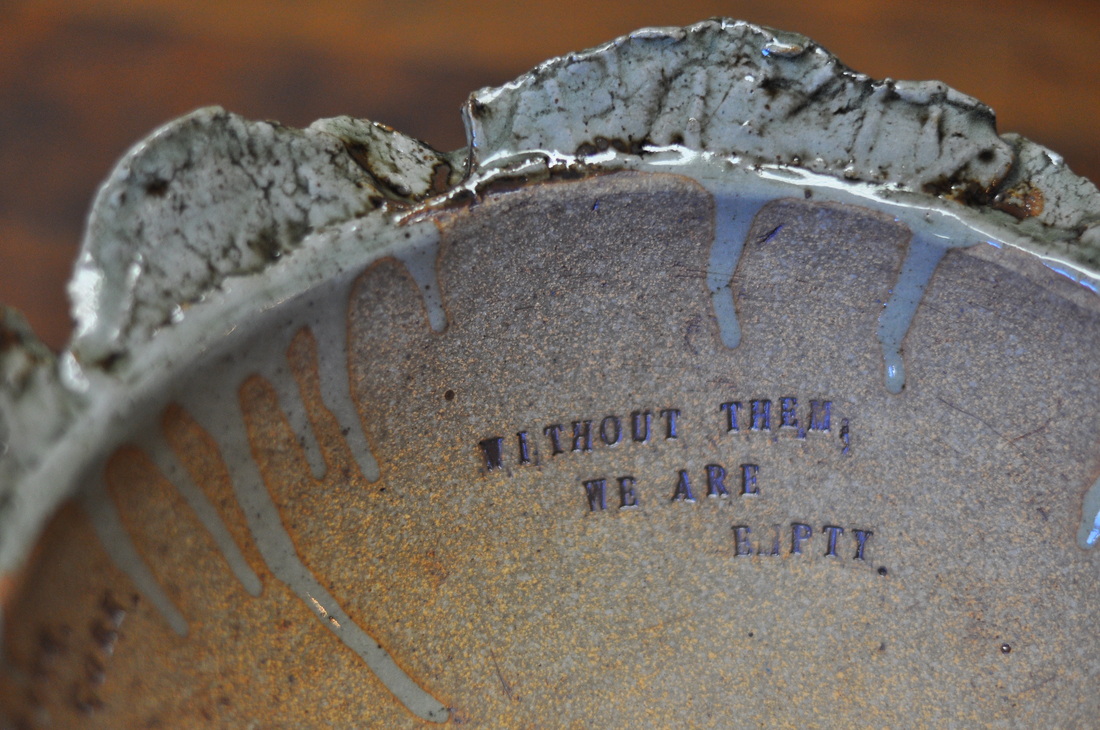
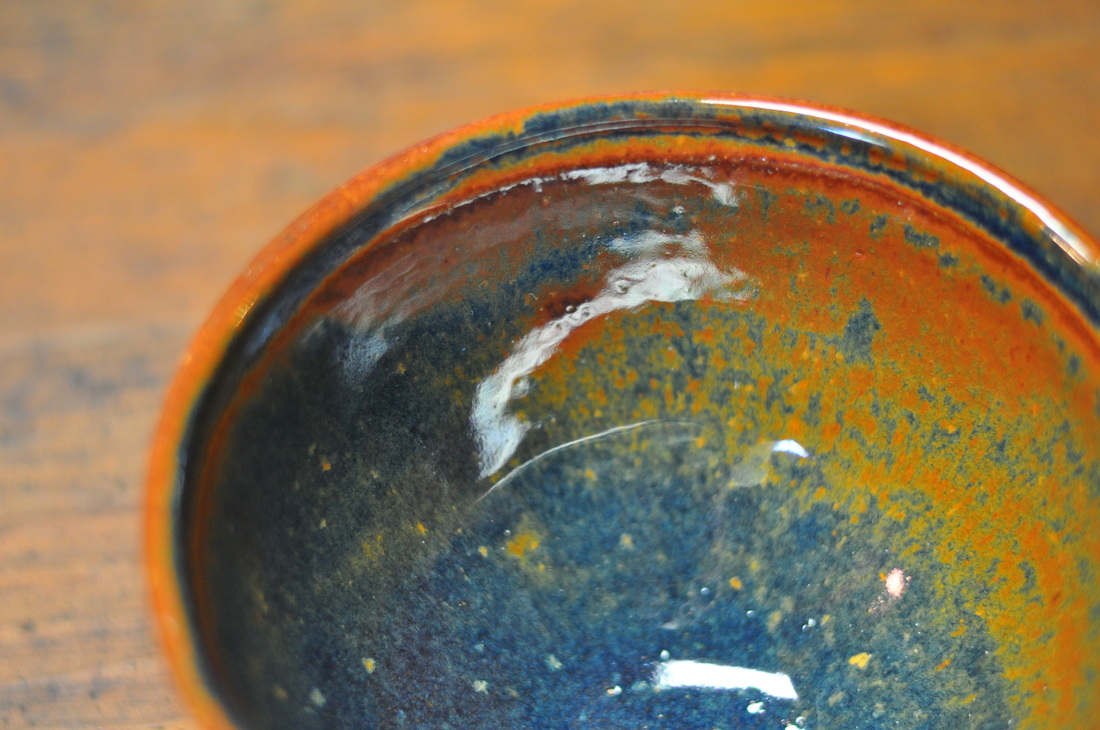
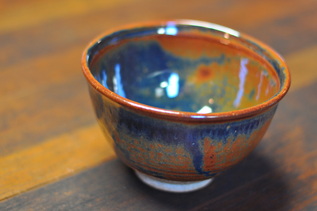
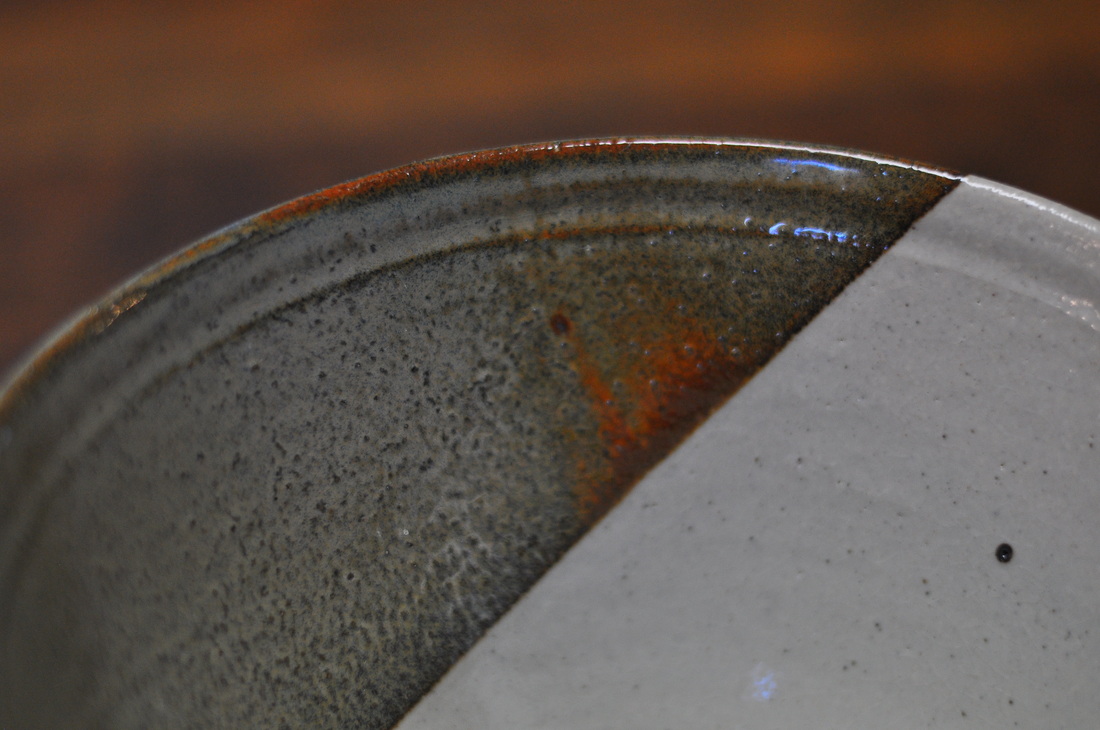
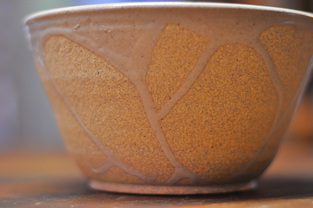
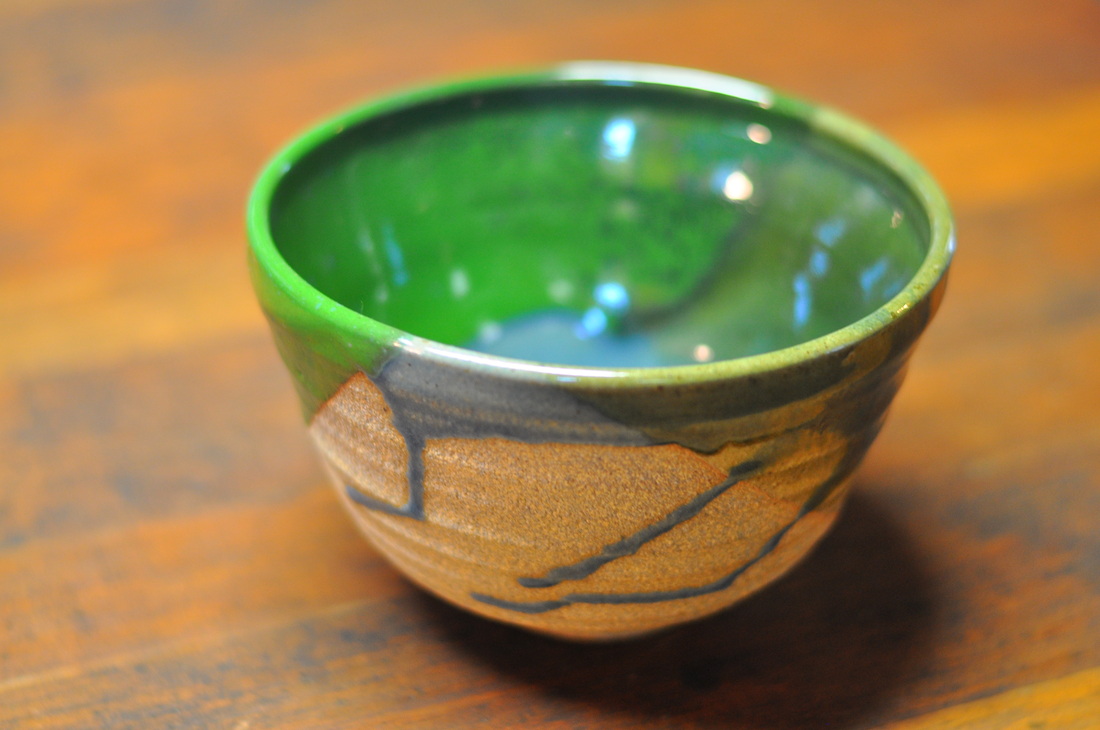
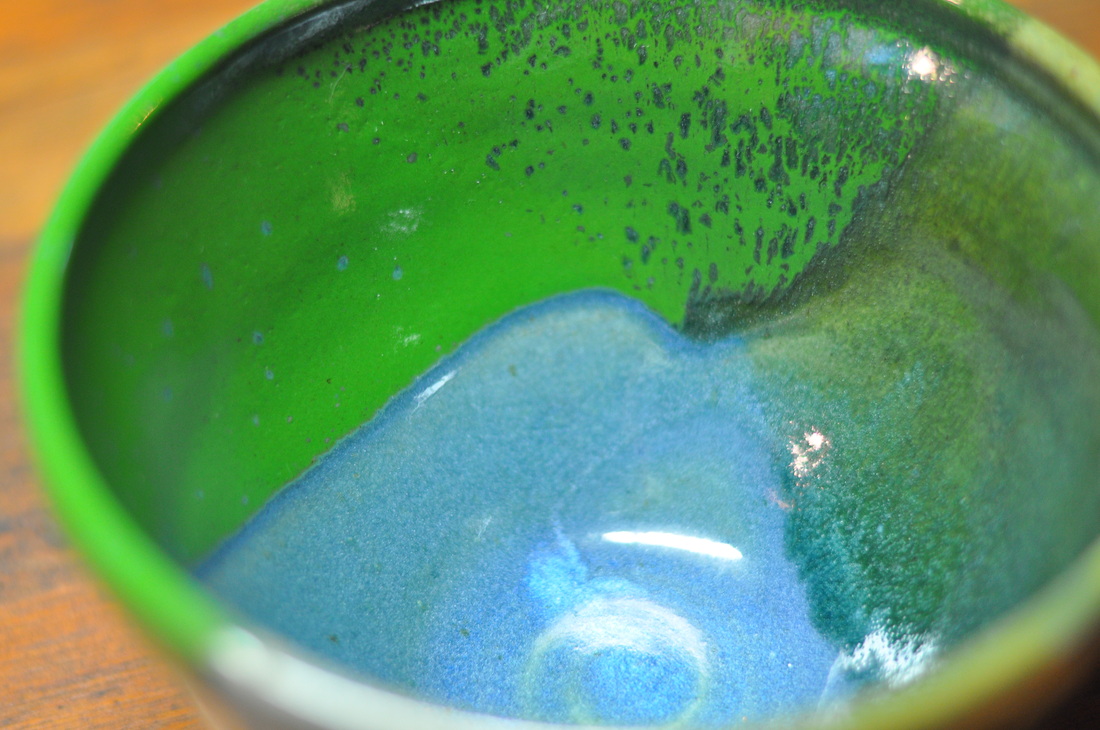
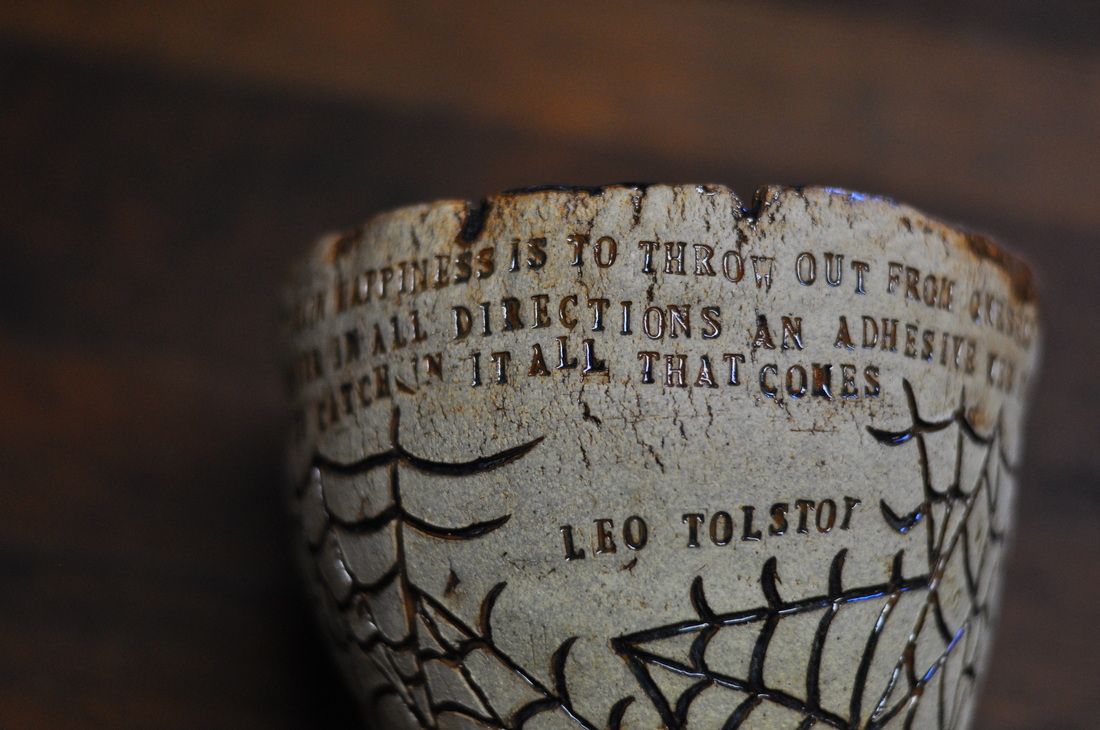
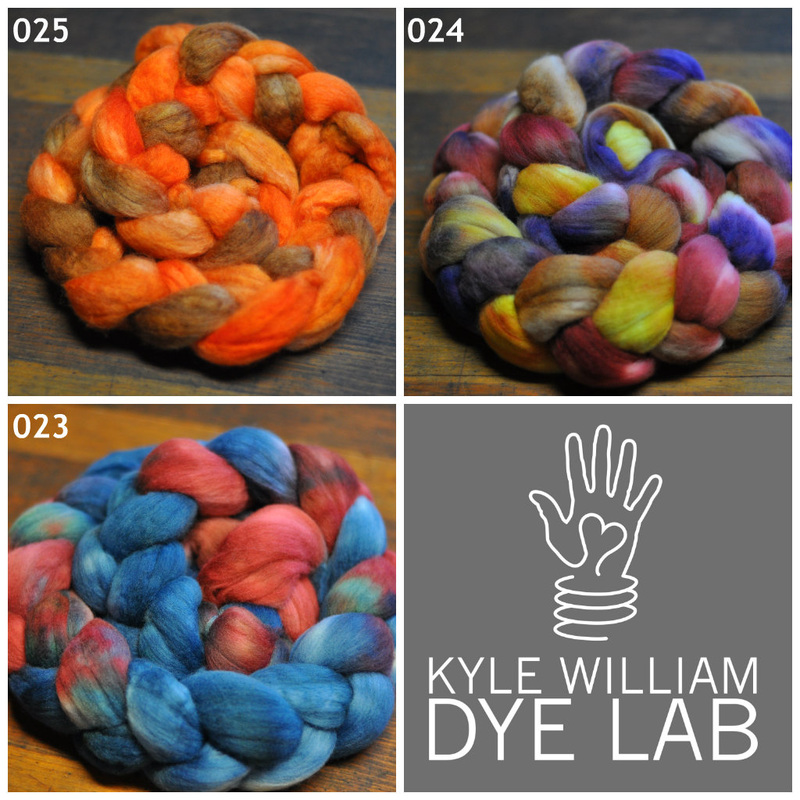
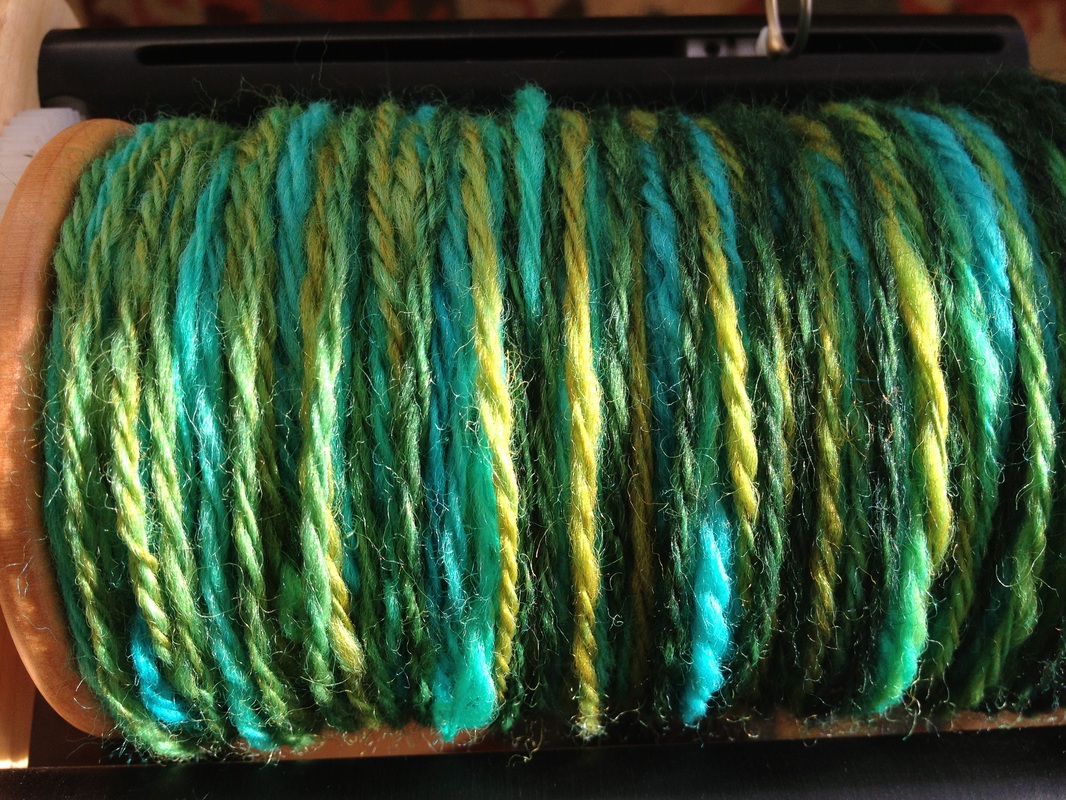
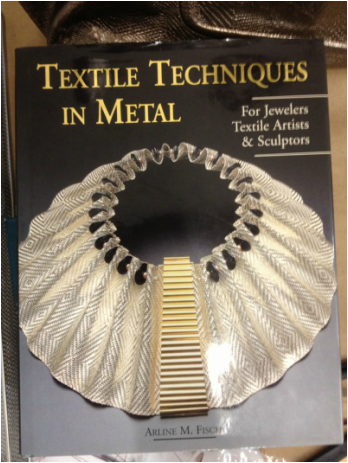
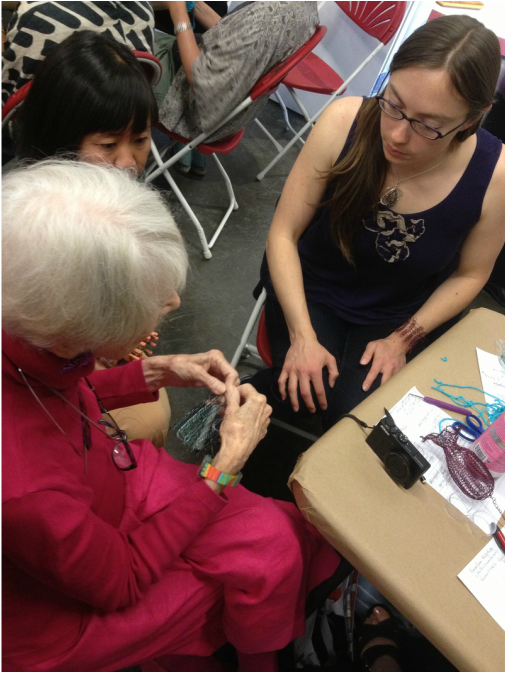
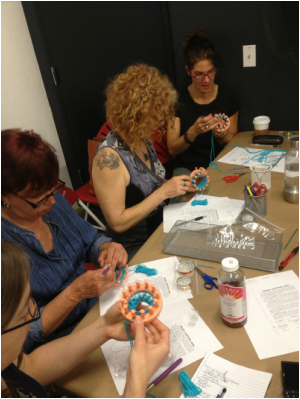
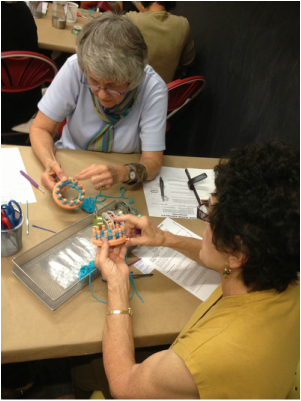
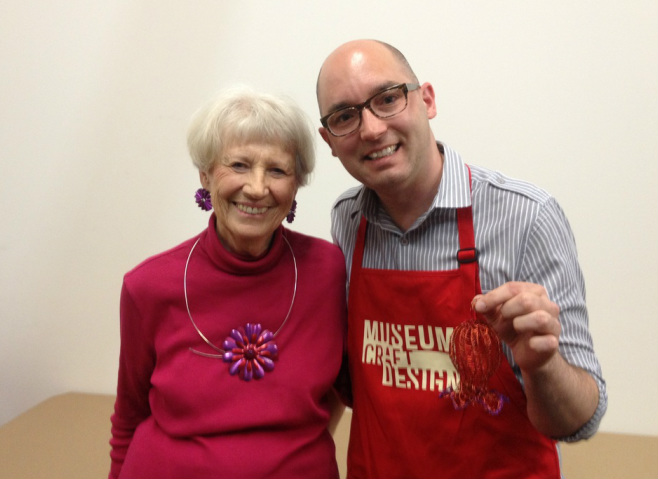
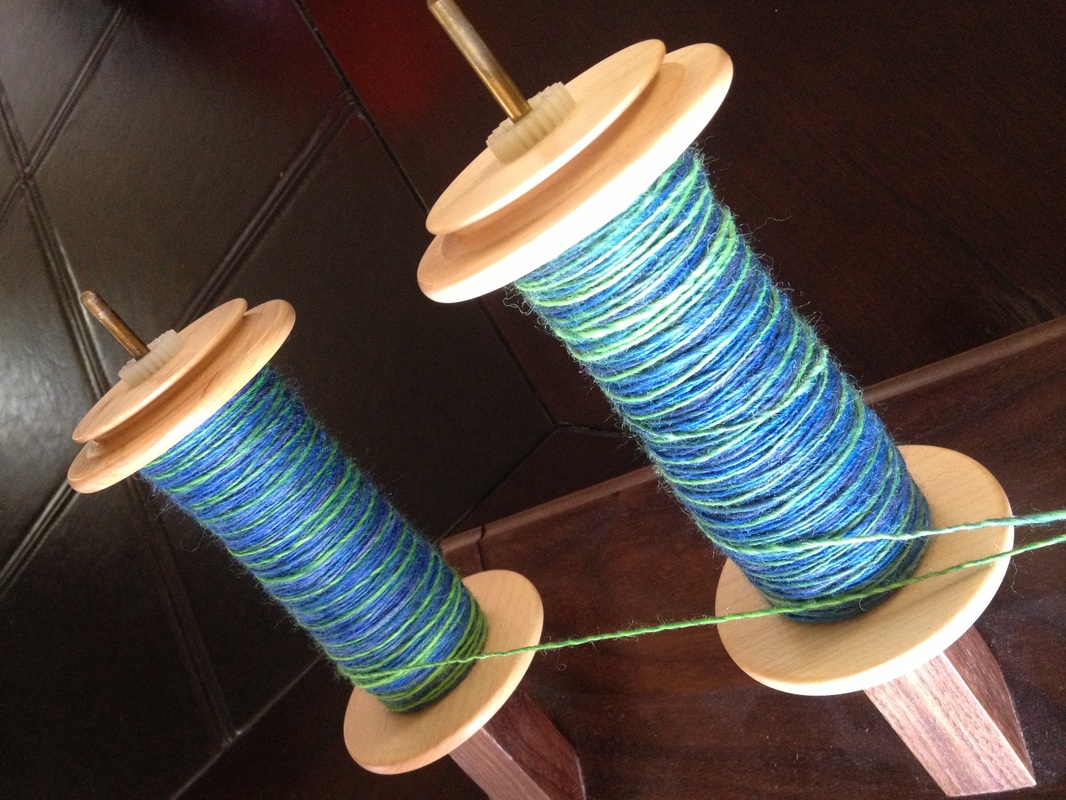
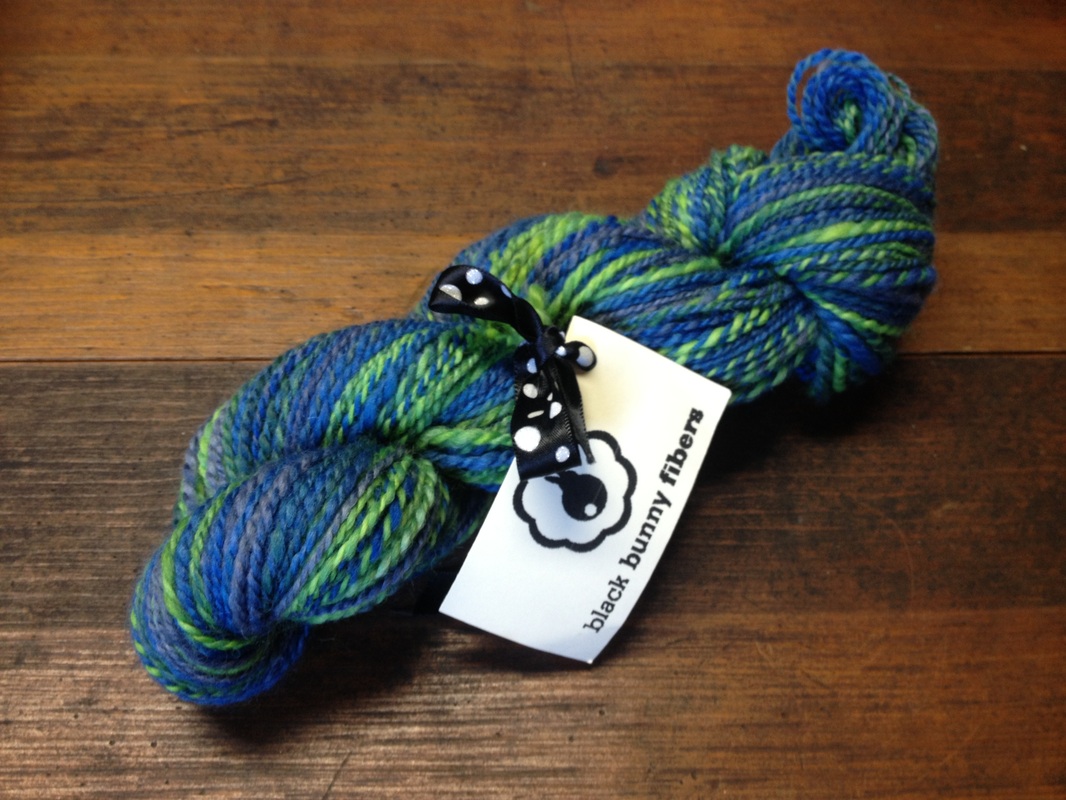
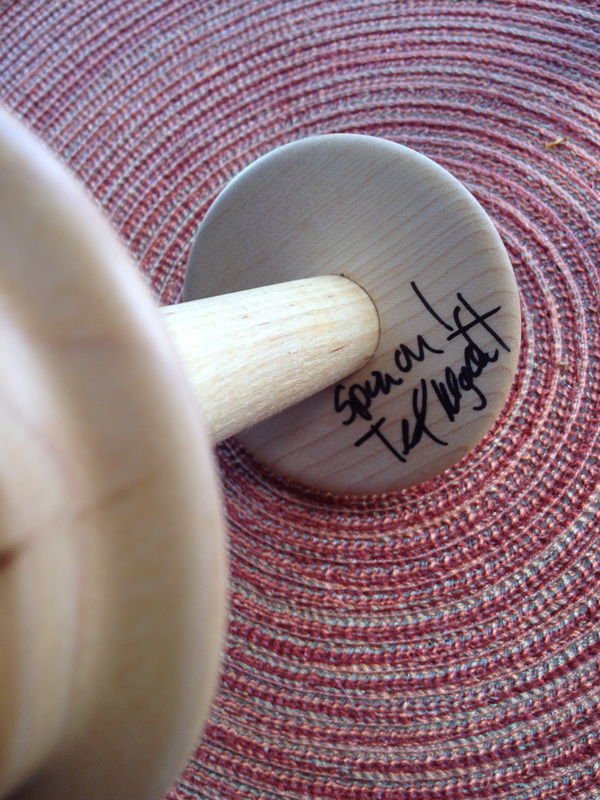
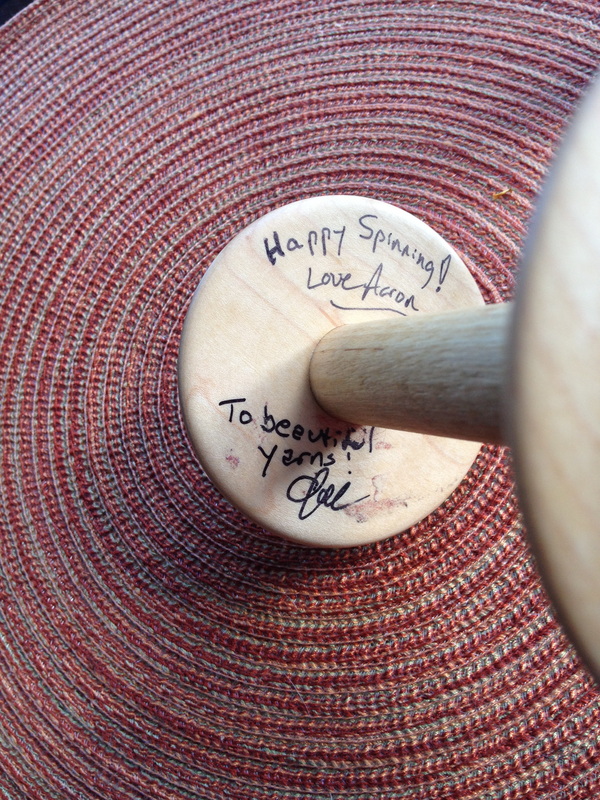
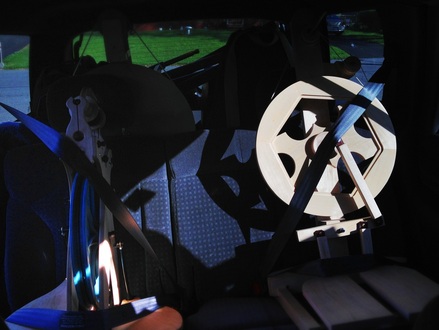
 There really is nothing like working with handspun yarn. And wearing a hat made from woolen-spun yarn is a comfy, cozy, toasty treat! I designed this hat for PLY Magazine's Winter 2013 issue using woolen spun 3-ply yarn made with Kyle William dyed BFL in the colorways Silver Thaw and December Sky (often available in the shop HERE). Carefully spun by NY spinner Aaron Bush, it was really a treat to be able to make a hat using materials that had been so lovingly prepared. The fibers come in 4 ounce quantities, and the hat uses under 100 yards of each color. When Aaron spun up the fiber, he blended the colors together by creating rolags of built-up tufts of fiber. This method created an evenly-varigated finished yarn. If you aren't yet a spinner, talk to other fiber friends, or check artist sites like www.etsy.com for options. Compare the yarn you're considering to the details in the project, and if it's close, chances are, it'll make a nice finished hat. And for those who prefer commercially spun yarn, a light worsted or DK yarn should fit the bill. This pattern is a little more difficult than others to re-size since the pattern repeat is so large. Altering needle or yarn size will change the finished dimensions. ...and beyond my small contribution, I have to tell you. PLY Magazine is chocked full of thoughtfully worded articles and beautiful images. Want to learn to spin? Already an expert? Seriously, this magazine has a lot of great information (it even includes some great product reviews!) I hope you'll check it out while you can! My ceramics class finished for the year a few weeks ago. I wanted to share some of the finished pieces with you! I had a good time spending the start of 2013 getting up really early and making the trek across the city to say good morning to the Golden Gate Bridge and to get my hands dirty in clay. I love it because it's so different from knitting and the other fiber arts... A key lesson in ceramics is when making something, you make 2 or 3 (or 10!) of the same thing, and with each one, you learn more. Working in multiples also allows for the inevitable problems that happen in ceramics... like firing mistakes, glaze issues, and cracks. 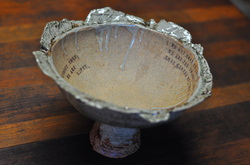 11.5"W x 11.5D x 7.25"H 11.5"W x 11.5D x 7.25"H During this class, I focused on making footed pedestal bowls with these "torn" edges. This one is my favorite (and was also the last one finished. There were (I think) 5 or 6 by the time I finished the course. One was a big failure [lesson?] because there was a glaze problem and it stuck to the kiln shelf. Another turned out wonderfully but there was something in the clay that melted and burned a funny drippy hole in the bowl. (In this program students are provided, and required to use, recycled clay. That means there's often foreign objects in the clay and, from time to time, they make their way into a finished piece.) As you probably know, I'm drawn to text on art. In paintings. On knitwear. And in ceramics. This quote from Daisy Whitney resonated with me and something about it reminded me that I do the things I do (and surround myself with the things I love) because I love them. It's sort of an artsy twist on "you are what you eat." We are what we love. We are the things, the people, the ideas we spend our days with. They center us, they drive us, they define us to our very core. Without them, we are empty. Another goal in the class was to make proper cereal/ice cream bowls. There's nothing like eating out of a handmade bowl. Among my favorites was this one - blue and rust and organic looking glaze over a simple bowl. I am enamored with the wheel, and if I had time and was able to focus, I could spend weeks making hundreds of bowls. This one has yet to be used! 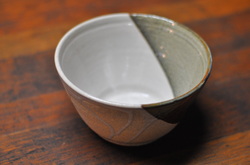 7"W x 7"D x 4"H 7"W x 7"D x 4"H ...and then, there's this bowl. I was in a mood experimenting with pouring glazes and leaving the outside of the bowl raw. I wanted to show that clay that was making me so frustrated. The interior is smoothe and glazed but outside it's full of drips. One side dipped in a different color allowed for interesting contrast. Mixing glaze on glaze like this makes for unique results. Taking notes and trying combinations over and over gives an idea of what might happen but in the end, the final result is up to the "kiln gods"... I think this bowl might end up living in the studio and holding yarn. It's a nice sturdy bowl with a wide brim and I like how it looks on my old wood table. I talked about this bowl on Facebook. 3 colors of glaze poured and dipped on this bowl. the one green got super duper green! - outside it's raw clay again (and I know now it's a bit more rough to the hand that I prefer) but I like the bowl still. Another candidate for ice cream or cereal. 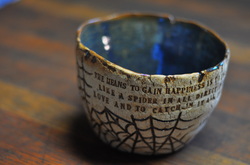 6"W x 6.25"D x 4"H 6"W x 6.25"D x 4"H Going back to the very start of the class, this was one of the first pieces I made. It's also one of my favorites as far as the way the glazing turned out. I carved spider webs into some pieces during this course, much like I did a few years ago when I was doing ceramics in Los Angeles. Then, I used my little letter stamps to impress another beautiful quote, this time from Tolstoy. After it was bisque fired, I dipped the entire piece in glaze, then, after it dried, wiped most of the glaze off of the exterior. A final "kiss" of clear glaze on the rim finished this piece. It feel organic and free. This one might also live in the studio - but I suppose not everything can live in the studio, right?! - perhaps some of these should become gifts.... The means to gain happiness is to throw out from oneself like a spider in all directions an adhesive web of love, and to catch in it all that comes. So that's some of the ceramic work I did this year. There's lots more, of course... but these were among my favorites. Class is done, so my tools are all packed away, along with my ceramics notebook; waiting for the next adventure in clay. Shop UpdateToday I listed a few more hand dyed tops - I have grand plans to spend a day or two in the dye lab. Here's hoping for a larger update soon! It's so fun to turn on the music, mix up the dye and spend a day creating color. Perhaps this weekend will bring more time for that! Current SpinningI've spun up one of these 4oz braids made by Lisa Merian of Spinners Hill that are from Trumpet Hill in Albany, NY - I split it in half lengthwise, then spun it and finished by Navajo plying it - making a nice 3-ply yarn. Hank #1 has 102 yards and hank #2 has around 120 yards... I have another braid to spin up and can't decide if I want to do it now or save it for another time.... Current Knitting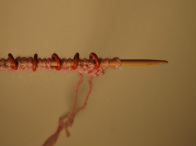 The knitting I've been working on recently isn't very exciting. yet. I'm busy working on a design that's got me unsure of what it should be. It started as one project (which is complete), then I thought the motif would work better as a different kind of project (which is on the needles)... and now, as I work on that design I think it might need to be something different than THAT... so I'm a bit thrown by that project. In other knitting news, I've created a few swatches and concepts for proposals and that work takes time away from knitting things I can share. It's work I love to do, though, so it's quite worth it. The only thing I don't like about it is the WAITING to talk about it all!  Yesterday I spent the day at the Museum of Craft and Design in the Dogpatch neighborhood of San Francisco, assisting Arline Fisch in her workshop that provided participants the opportunity to knit and crochet with wire. I met up with the Museum staff a few minutes before class began and, along with Laurel, another volunteer, had a crash course on the projects we were making. The workshop (and the speaker series event on Friday night) were arranged to compliment the current exhibit: Creatures from the Deep, which displays a beautiful collection of sea creatures crafted from wire. The class was sold out, with folks even flying in just for the workshop. Yes, Arline is THAT well known; her work is even in the collection of the Smithsonian. Others talked about week-long retreats they had attended led by this artist decades ago. Students brought in copies of her books and asked for autographs. It seems most (if not all) of the books are out of print now. I looked through a few of them and was overwhelmed with the creativity and inspiration they contained. For those interested in jewelry or metal arts, I'd suggest getting one (or many) of her books as budget allows. 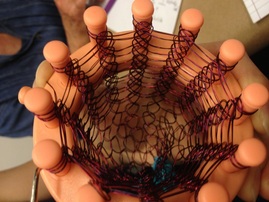 As the workshop progressed, we circulated, offering help with projects. For this workshop, students were first able to make a little jellyfish, then a bracelet using special wire and a round knitting loom. The process of using the loom was pretty easy, and working with the wire was surprisingly fun! As we worked, Arline related the workshop to the exhibit, explaining how she used the same technique for many of the pieces in the show.... even explaining how she had custom rings made for projects of varied scale. Arline was generous with her time, even staying during the lunch break to answer questions about the workshop or projects that students were working on. I was pleased to hear how everyone had a great time at the workshop, and it was a joy to watch this woman who has spent much of her life devoted to the art she loves, enjoying the experience as much as her students! The participants came from varied backgrounds - social workers, engineers, social workers, landscape architects and gardeners - and it was really neat to watch them work as they were gathered by this common interest. At the end of the day, students filled out a survey for feedback about the workshop, gathered their new creations, and headed out into the beautiful Saturday afternoon. We cleaned up the room, folded up our aprons, and got ready to go. Arline gave me this sweet little jellyfish that she had created as thanks for helping out with the workshop. She gave Laurel a knitted bracelet. I was giddy with excitement to have a work made by this legend and asked to take a photo with her. Leaving the Museum, I realized how important craft is to my life, and I look forward to being a part of their workshops in the future! Current KnittingI'm working on a swatch for a design proposal at the moment. It's taking a bit of my time away from progressing on things that I can talk about on the blog. I'm happy with how it looks and (some day!) I hope to share it with you! Current Spinning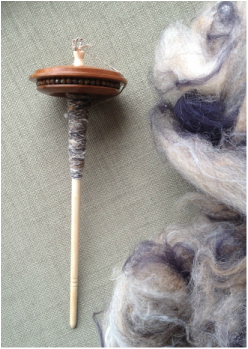 After a fun day working with Arline, I came home to a little gift! John remembered how I had wanted the "Space Needle" drop spindle by Cascade Spindles when we were at Madrona last year, and ordered one for me. So... last night, after having a beautiful dinner outside, I gathered up an art batt made of wool, alpaca, llama, firestar, angora, mohair, AND silk/soy silk from Lush Fiber Farm and started practicing on my new beautiful drop spindle. The first time I tried working with a drop spindle I didn't like it because it took a long time. Last night when I was experimenting with it, I realized that using a drop spindle means I can take spinning with me! - (yes, I know, that portability is one of the major reasons for using a drop spindle... I just had never thought I might want to take my spinning WITH me!) What fun. (now I can start hunting for other drop spindles to add to the collection!) 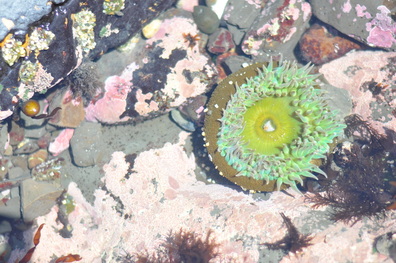 My housemates have been talking about the tide pools for years. At low tide, the ocean recedes back and reveals pools of life... and for a little while there's an opportunity to view sea life in its natural habitat. Low tide was around 11:30am (and it changes every day) on Saturday, and the location was filled with families exploring and having a great time discovering all kinds of things. We arrived and took our place, moving from pool to pool... and saw little hermit crabs, this incredible anenome (above), a starfish, and even some tiny eels! Out further along the rocks some harbor seals were resting on the rocks and taking naps. They might have been nesting; I'm not sure. A perimeter was marked off at the beach and officials were there to talk with people about the barrier and to give the big creatures their space. (look at photo #23 in the slideshow below... the white blobs out on the rocks are the seals!) It's the kind of place I wish I could share with everyone... but since the timing of visiting the beach of the Pacific Ocean at low tide might be difficult for some of you, I made a little video so you could see some of the ocean life crawling around in one of the tide pools, and also get a glimpse of the breathtaking view! And for some more fun, here's a slide show of some of the photos I took during our little mini-excursion: Current KnittingI *almost* don't want to talk about it. The sweater I've been working on is just a bit too small. I have put it aside for now to contemplate what to do. Do I rip it out and calculate a larger size for the pattern I like? Do I modify the pattern and eliminate the ribbing (which would probably solve the problem) or do I just start over... *think... *think... *think... Current SpinningI' had a lovely time spinning up some hand dyed top from Black Bunny Fibers that was part of the thank you gift I received for leading a workshop at the Men's Spring Knitting Retreat. It spun up wonderfully and I decided to make a two-ply yarn out of it. I'm SO happy with the final yarn. THANK YOU, Carol for being so supportive of the Men's Knitting Retreats!! now.... what should this yarn become?
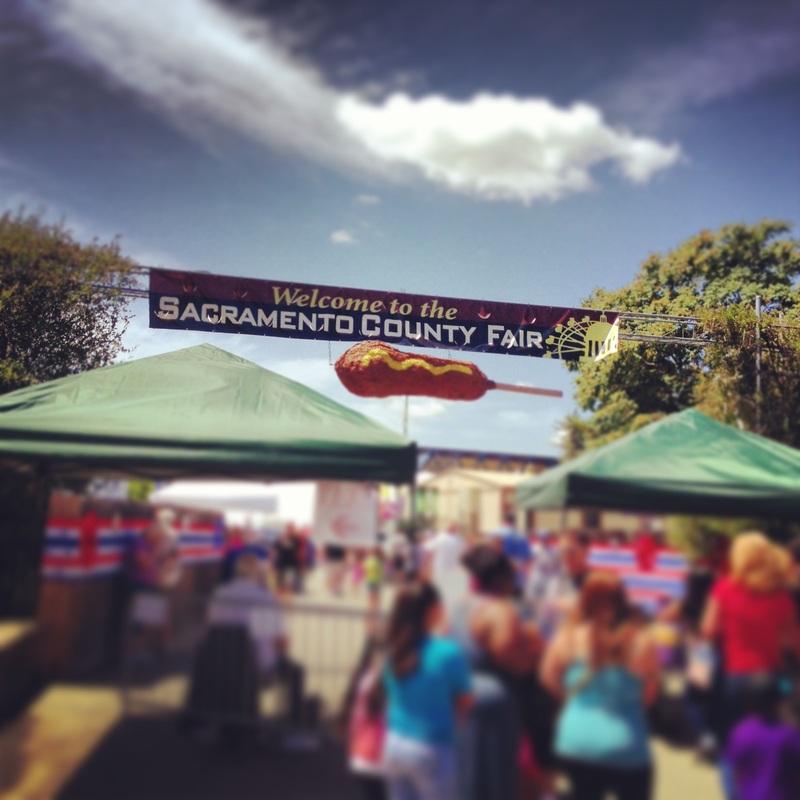
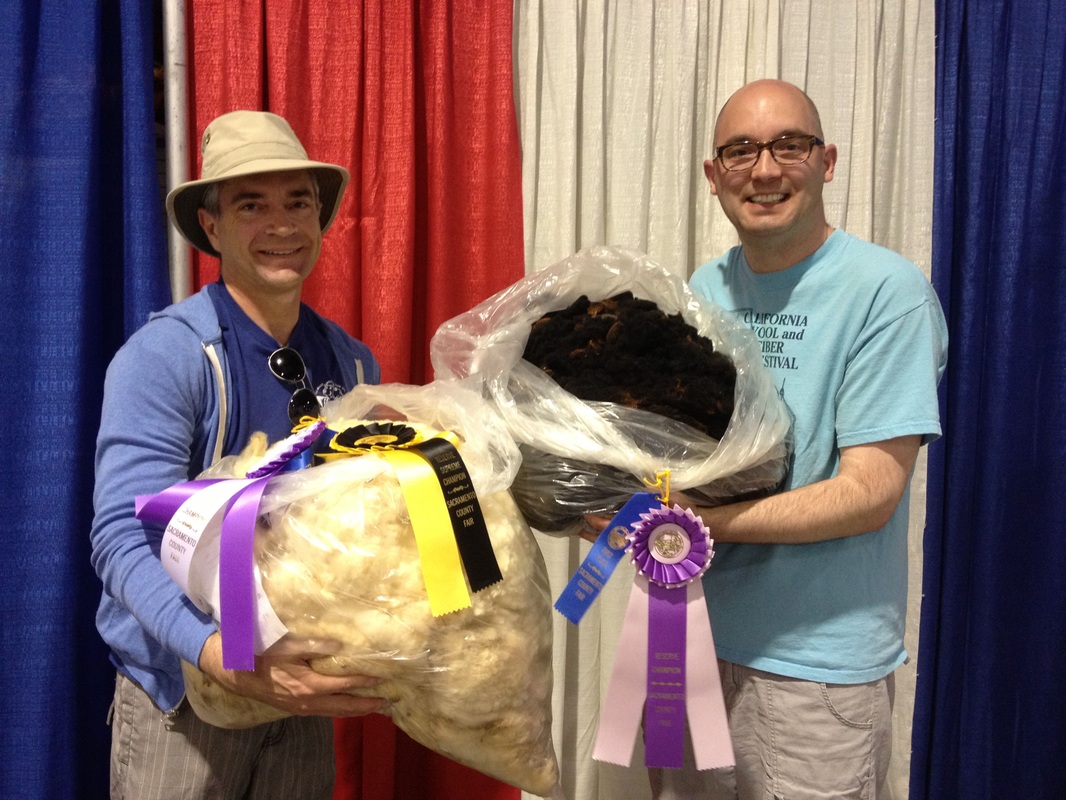
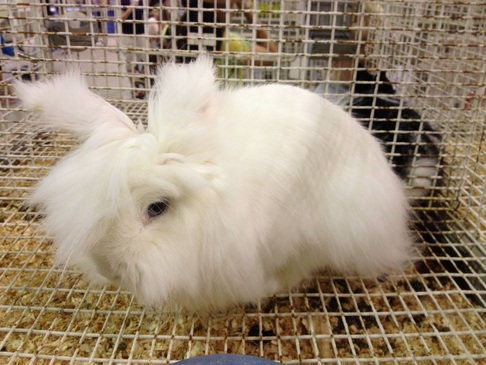
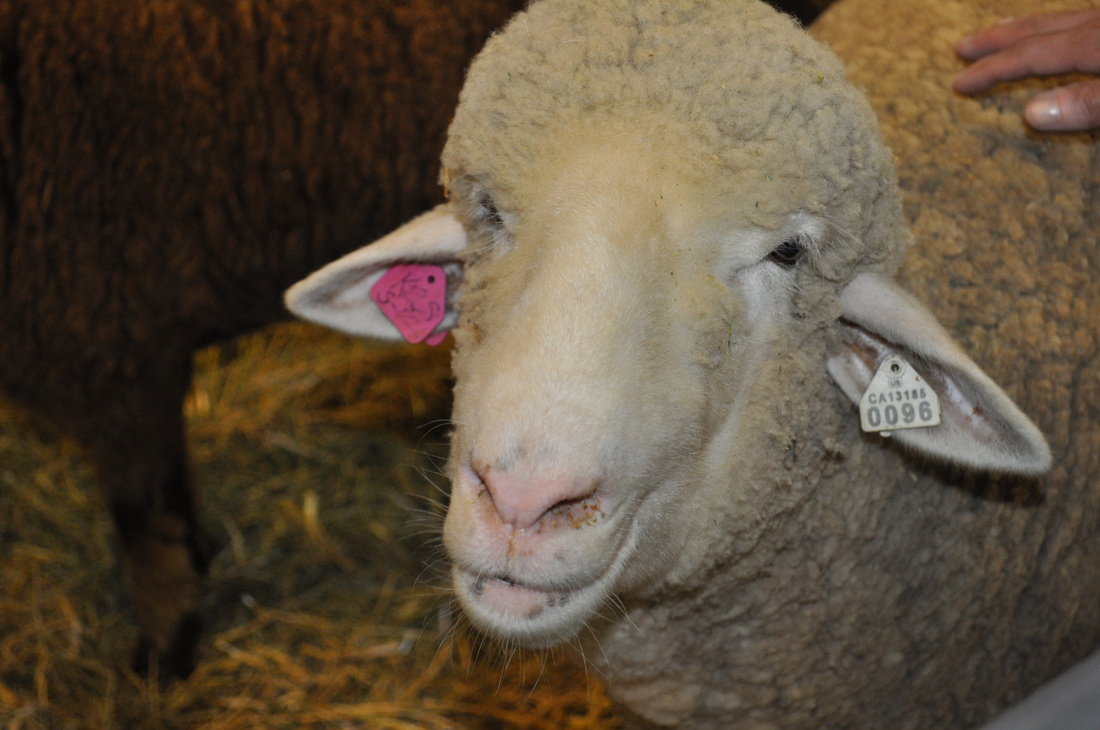
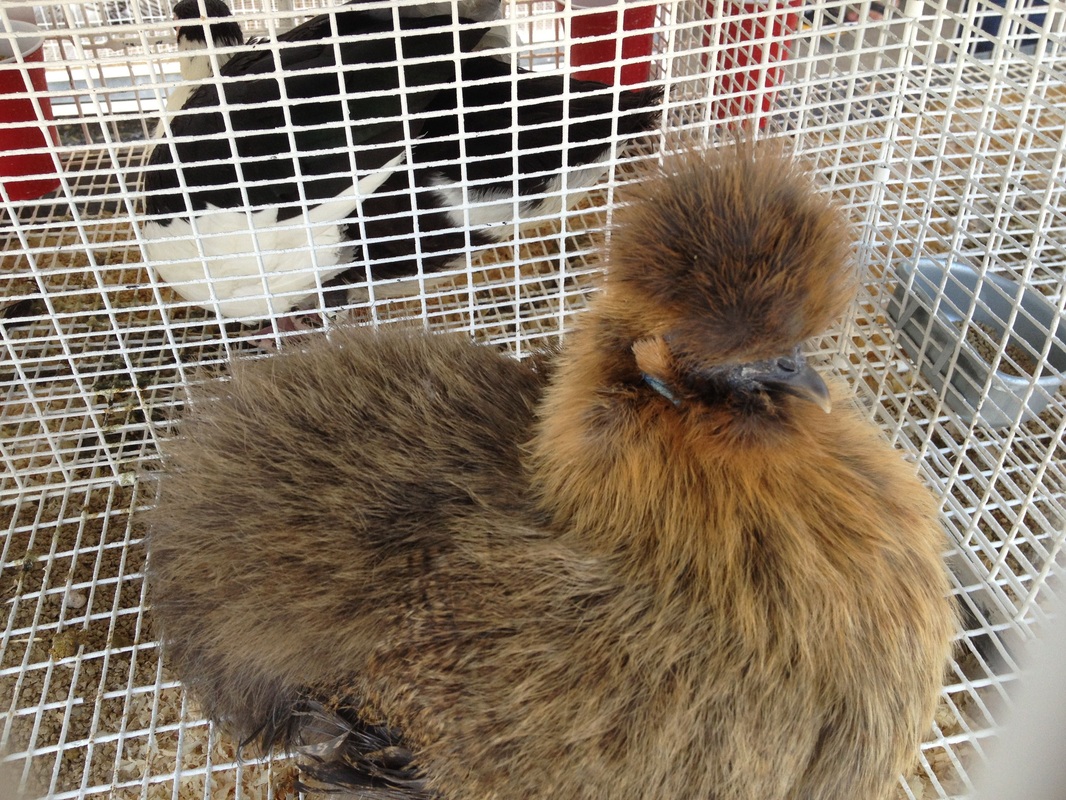
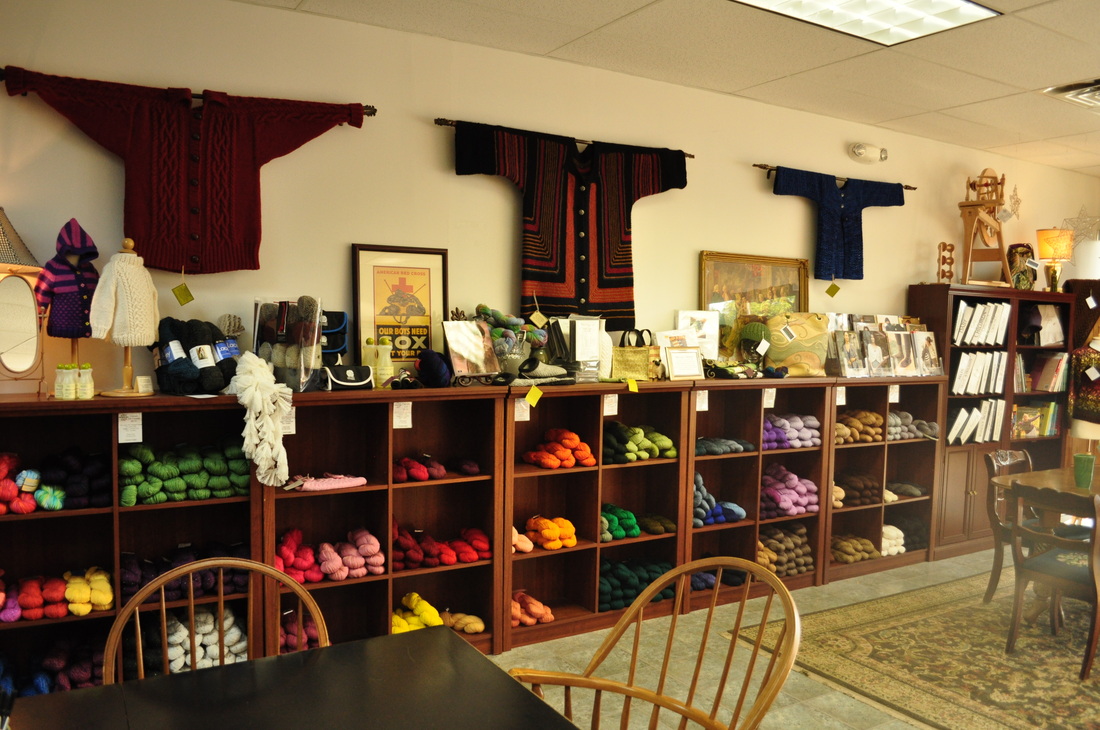
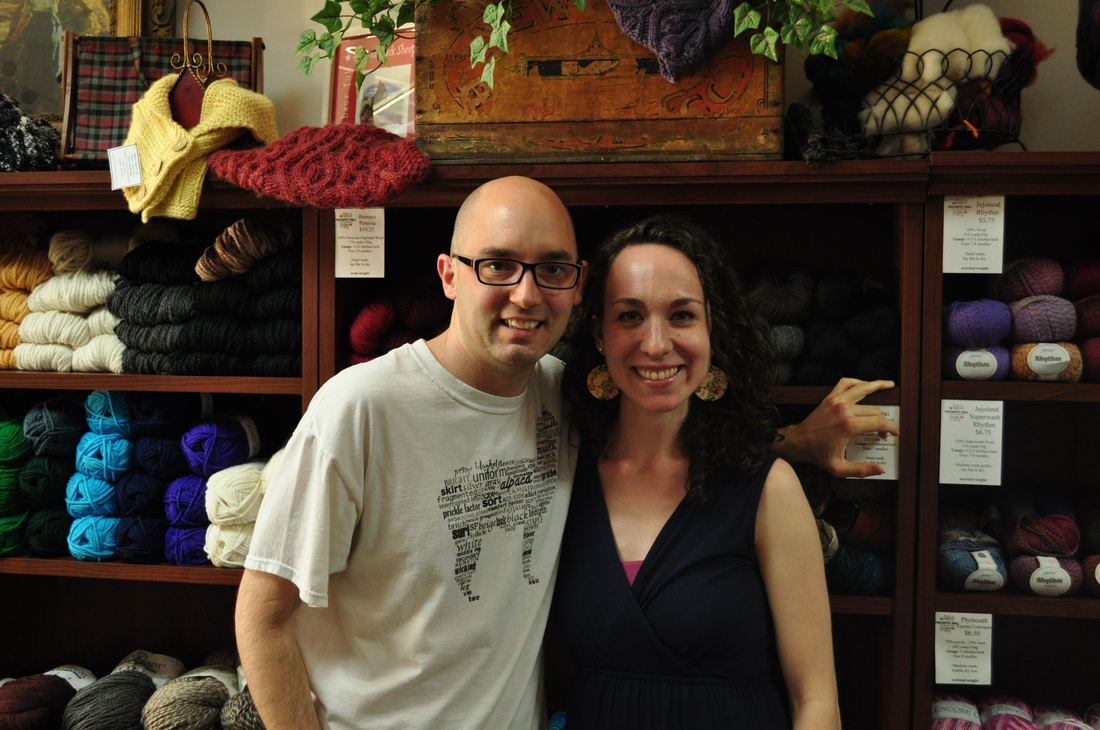
I love the fair. For me, it's a reminder to get out, enjoy the beautiful weather, have some fun, indulge in deep fried EVERYTHING, and to visit and even learn a bit about animals. Over the weekend I joined my housemates on an adventure to the Sacramento County Fair - a few hours from San Francisco, it was a beautiful drive and arriving at the fair meant encountering the familiar sounds and smells of the fair! As a child the fair meant the midway - rides and games and prizes. I don't know if I have seen this before - these big bubbles have kids in them.. zipped up for a few minutes of "walking on water" - it looked like so much fun!! We stopped and watched them for a few minutes.. then on to more serious business. There's sheep at the fair, right? That means there's probably shearing.. and where there's shearing there's probably .... say it with me... 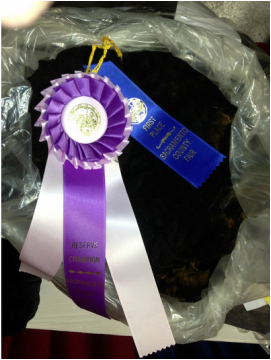 Fleece! (HOORAY!!) - John and I ventured into the exhibit hal and looked over the small-ish selection - it's nothing like the CA Wool and Fiber Festival, but still there was a nice variety of fibers represented. In the end, I selected a black medium corriedale ram lamb's fleece. It doesn't have a ton of debris in it, and the tips are a touch sunburned but it's not tender (according to the scorecard). Good uniformity and staple length of 4-1/2 - 5-1/2". It's also a blue ribbon winner and the reserve champion. What will it become? Hopefully yarn. I'm not going to give it an exact purpose yet... but my intention is to spin knitting or weaving yarn (2 or 3 ply) that can be worked up into something useful. Weaving would give me more material, I think... but first thing's first.. it's gotta get cleaned. 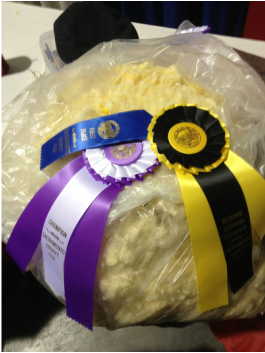 John bought another blue ribbon winner... a Dorset cross fleece from a ewe that has no sunburned tips. The scorecard on his says it's slightly yellow (and it is but not as much as shows in this photo). The staple length is around 4". We spent much of this weekend watching videos about spinning and fiber preparation while spinning different fibers. I think we're both excited about cleaning our fleeces and perhaps this coming weekend will bring the time needed to try this for the very first time. I don't know if he has specific plans for his fleece - my guess is he's like me... hopeful it'll become something beautiful but resigned to the fact that we've never done this before. BUT... the thing that gets me through these starts to new adventures is this: Folks have processed fleeces for thousands of years... and everyone had to start somewhere. So... that's where we are. What I did notice about this fair that was different from the others I've seen is that it has a tiny showing for fiber arts. A few quilts, a few handspun skeins of yarn... a decent amount of photography.. but overall it was a small representation of the talent in that area. I hope it's a fluke and that the fair will work more to show more pieces in coming years. OK Back to the animals. We went to the barns and checked out all the different critters... We saw cute bunnies... this little lop eared one was tooo adorable! ...and this guy has a fun hairdo! (and you know me.. I was wondering if I could spin his fur!) of course we saw sweet sheeps... there was an auction going on in the building while were there.. the selling of sheep for market and butchering always makes me a bit sad but I realize that it's how the business keeps moving... and moving the line along helps to produce more beautiful variations and new stock. It's just the nature of the business. This one happens to be a fleecie sheepie! I also think it's amazing that we can turn the fibers that grow out of a SHEEP (and other animals and plants too) and work them until they produce string or yarn and then weave, knit, crochet or even just felt them to produce fabric that's soft, beautiful and sturdy. While checking out all the different animals, we came upon these cute little babies! - I had to take a quick video to show. (the horse to the left never moved... it must be some strange miniature breed that sleeps with its eyes open!) What else did we see? Chickens... we also saw chickens!! ..and ducks...and a petting zoo... and old tractors... and a beekeeper's exhibit... there's so much to see and learn at the fair... from the exhibits to the shows... it's a great day out and worth the time invested with friends and family. Current Spinning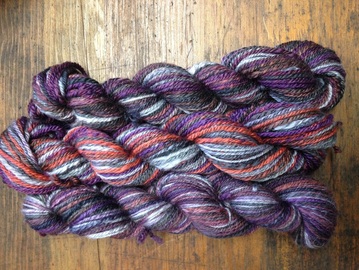 My Woolee Winder arrived last week and I've been spinning CONSTANTLY. I had one bobbin (2oz) of BFL/Silk 80/20 spun up from the Men's Spring Knitting Retreat. Once the winder came, I spun the second 2oz up and navajo plied each of them. I managed to spin and ply the third bobbin as well. I have 2oz left of this amazing fiber "Lunar Dance" (which I bough at A Touch of Twist) and I'll have fun spinning it up as well the same way. At first I thought I would ply two singles together since the colors were a bit different but then decided that a navajo ply (3ply) would be better. I'm happy with my decision... now. what should I make? Current Knitting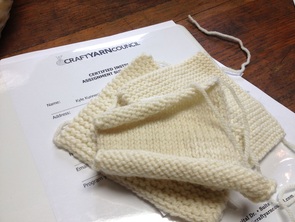 Here's some of it at least. I have unearthed the Craft Yarn Council's Certified Instructors Program from the depths of the studio - Level 1 is about 2/3 done and I just have swatches to knit and a some paperwork to complete. Over the weekend I was able to complete 3 of the swatches in addition to everything else I did and I will continue to press on. The swatches aren't difficult... they just take time and some real paying-attention when it comes to execution. These will be blocked, labeled, and included in the entire package. There'll be more about that later. Questions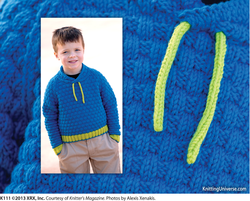 Justine emailed me over a year ago asking if I might be able to re-size the Corydon sweater (Knitters K106) to fit a child. I explained to her that once a pattern is sold to a magazine or book, the contract dictates what the designer can do. In this case, I contacted Knitter's Magazine to find out how we could answer and Rick suggested we re-size it as a kid's pattern and use it in an upcoming issue. What fun! So... a year later, Knitter's Magazine issue K111 has some classic patterns re-sized and re-styled to fit little ones. The model they used for my "Corydon Jr." is adorable! Since it was released I sent an update email to the Justine and she's very excited about the result. She tells me she's going to let her boys choose the colors for their sweaters and commented "should be an interesting result!" - I am looking forward to photos! 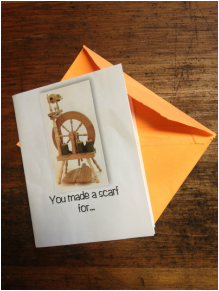 The Fiber to Scarf Exchange began a year ago at the Men's Spring Knitting Retreat. After seeing the fun reveal at last year's event, and having just purchased my first wheel, I signed up, eager to have a project to work on and a way to connect myself to the retreat during the year. The exchange works like this: Folks who are interested sign up and send fiber and a small amount of money to cover postage/etc. to the organizer. Once all the participants have submitted their fiber goodies, they're assigned a number by a person not involved in the exchange. Then, each fiber is shipped off to someone else! I signed up, mailed out fiber I purchased from Briar Rose, one of the generous retreat sponsors, and waited for my assignment. 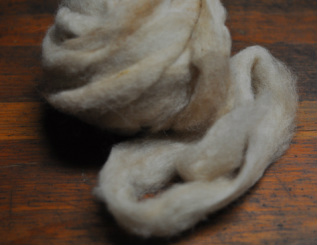 I received a package with a large amount of 70/30 Alpaca/Corriedale blend selected by the mystery guy in early August, 2012, and it got stored away. For a long time. Part of the reason it sat was the fault of (at the time) my unorganized studio. Having recently moved I was still sorting out what I wanted the space to be and that caused me to keep the project on hold. Finally I decided to just dive in. After all, there was a lot of this fiber and certainly enough to mess up if that were to happen.... so I weighed out a bit and tried spinning it. (and it was HEAVEN!) - The fiber was lovely and apart from a bit of vegetable matter, spun right into a light dk weight 2-ply yarn quite easily. The preparation was real, true roving - light, airy strips of fiber. The spinning was the easy part. I had a little sample I was happy with and that lived on my Sidekick and as I spun (worsted short draw) I'd audit my work and check to see if it was about the same thickness. Once I was comfortable and had a bobbin of 2-ply natural yarn completed, I spun up, I realized that I didn't want to make the scarf all this color. This fiber was simply BEGGING to be dyed... so I went to my studio and found a combination of brown, grey, green and caramel that made me smile. I dyed about 4 ounces of this fiber, split into two pieces and held side by side. Those rovings were each spun as singles then plied together. Once the fiber was all spun up, I hand wound it into balls. There's just something about working with handspun that makes me want to avoid the ball winder. Hand winding it allowed me to inspect the yarn and see how even (or not!) it was through the skein. I did some math to determine how large of a scarf I wanted to make and verified that I had enough of the warp yarn. (I could always spin more weft if needed but it'd be a shame to work so hard to end up with a short scarf!) 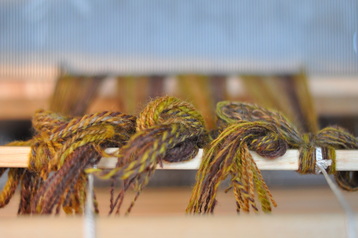 Time to warp the loom. Early one bright morning I found myself direct warping, carefully counting off the number of warps needed for the scarf. It takes a while to warp a loom. Getting all the yarns in the right heddles, double (and triple!) checking to make sure nothing is out of place. It's the prep work that makes for a beautiful finish. Once that was done, it was time to weave! 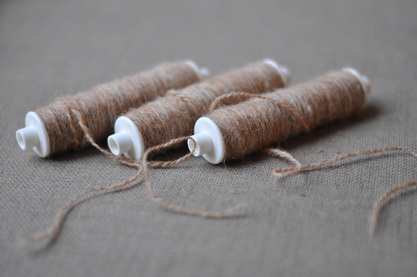 (Almost). The next step is to wind bobbins of weft yarn in preparation for weaving. I do this using an antique bobbin winder that came with my antique sock knitting machine. I began with 3 (but I think I ended up using 5 bobbins before the scarf was complete). The 2/2 twill pattern, by the way, is from the Handweaver's Pattern Directory by Anne Dixon. My warp is 20 WPI and I used a 10 dent heddle. When it was time to weave I started by evening out the spacing on my warp using a waste yarn. Then I begin weaving my pattern, following the pedal sequence in the warping diagram: 1, 2, 3, 4, 1, 2, 3, 4, 2, 1, 4, 3, 2, 1, 4, 3... over and over. (there's lots of pedaling when ya' weave) - and just like knitting, it's VERY important to finish a row (sequence) before you stop. this was a pretty simple pattern... I imagine it takes a while to find your place in a more complex one! Once a few rows have been completed, it's time to hemstitch. This is a way to secure the fabric at the start and end of the piece and it's a simple technique once you understand the order of movements. The same thing happens at the end of the work. By the way, I LOVE my golden needle. It's one of my favorite knitting tools and anyone who is curious about a good tool for finishing, I highly recommend this type of needle! The actual weaving isn't time consuming... it takes some concentration to keep the edges straight. Since I'm somewhat new to weaving I am certainly still learning. My favorite tip so far is the use of floating selvedges. Basically, these are additional yarn warp threads that are on the ends of your fabric and are used to keep the edges straight. For this project, everything seemed to be going fine until one side started getting wavy. I wasn't sure what was wrong (at first I thought it was just tension problems) and then saw yarns hanging off the side of my weaving and realized that my some of the yarns in my warp had broken! (eeek!!!) (no photos of the bad broken warps!!) - instead, here's a closeup of the pattern. After a quick meltdown I stopped, loosened my warp a bit, and carefully tied on a new warp to the broken one and re-attached it and tightened it up nice and even. That worked great for a while and I felt a bit proud, then a different one broke. EEEEEK!. No problem. I just fixed it again. The moral to THAT story is this: (and someone correct me if I'm wrong or you have a better solution) - when working with a handspun warp or a fiber that might be a bit more fragile than ideal, the floating selvedges could be made using a stronger thread. If I was to do this over I'd use some sort of strong thread in the selvedge of the scarf. In the end, though, I think it's a respectable scarf. I cut it off my loom, used my cute little fringe twister to make fringe (which, by the way, took around 2 hours!), then I soaked the entire piece in wool wash, spun it out, and hung it up to dry. Then, it came time to attach my label, fold it up, and pack it away in my suitcase to gift it to whoever it is that I made it for. Would I do this again? In a heartbeat. During the retreat we do a show-and-tell where the exchange items are shared with everyone. I didn't take photos of that part, nor did I photograph the scarf on its new owner, but feeling this experience go full circle - starting a year ago when I watched the giving of finished handspun scarves and ending with my presenting my very own creation to another creative guy - was rewarding. It was a fun project, and I'm pretty happy with the way it turned out, especially since it's the very first time I've spun fiber into yarn for a specific project. It's frustrating to not be specific about what I'm doing from time to time, but keeping projects secret is one cure of being a designer. As you can see, I've been working (off and on!) on this for a year... and I couldn't say a thing! For those on Ravelry, the final project can be viewed (and "loved") with THIS LINK. With that in mind, I decided that I need to work on more projects than just the ones for publication. I'm hoping in the next blog post (which should be more frequent as well!) I'll talk about some of my current knitting. That post will talk more about my first ever trip to New York City and some other highlights about the Men's Spring Knitting Retreat. 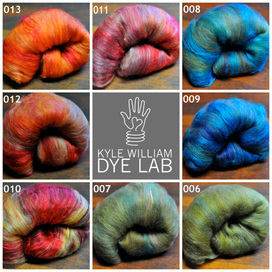 Lots of great things are going on at the Kyle William Studio. First, I'll mention that I have launched the Dye Lab: a collection of hand dyed fibers offered through the shop. This week, I'm releasing 8 art batts - each featuring 2 ounces of beautifully coordinated fibers ready for spinning, felting, or other fun projects. In addition to this, I've been hard at work developing some other colorways that will be part of the line. My goal is to announce shop updates mostly through Facebook and the fan page. "Like" the page at: www.facebook.com/kylewillam. These art batts take some time to create but are really fun and a true joy to spin. As always, I'm happy to talk with people about custom blends or custom colorways. 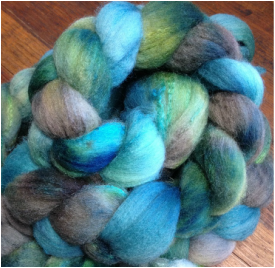 A custom order of Polwarth/Silk top In addition to working to keep the shop full of fiber, I have been doing some custom orders for people interested in larger quantities or special types of top. These projects are fun and I love seeing how people use the fibers. A large shipment of top and yarn just arrived at the studio this week. I'm anxious to dive into the yarns and not only dye some up but also knit with them! They are really quite nice and it will be a lot of fun to share with you in the next few weeks. In other news, the Caden scarf I designed for Quince & Co. was published with two small errors. At the bottom of my website, you'll find a link to my new errata page which will correct these for you. Last but not least: more good news! The Kyle William patterns offered in my shop are now all available for instant/digital download! So that's the big update from here. Thank you to those who have purchased from the shop and for those who are curious about any of my products, I encourage you to give them a try. Like all small businesses, the success of Kyle William depends on your patronage, and I appreciate each and every order and comment! As promised, here's the second blog post about the 2012 Men's Spring Knitting Retreat. We're traveling a bit back in time to before the retreat, where I'll talk about two different outings; Trumpet Hill yarns and Battenkill Fibers. Immediately after arriving in Albany, NY, Aaron and I headed over to Trumpet Hill Yarns; an adorable shop that is one of his favorite spots for knitting and spinning. We walked in to find Celeste and the gang all sitting in a knit/spin group, happily talking about the events of the day as the weather suddenly turned from cloudy to rainy. It was the only time it really rained during the trip and we all felt safe, knowing that if something happened the yarn shop has plenty of fiber, yarn, patterns and supplies to keep us satisfied until help arrived! This shop is a must-see for anyone visiting the area - it's full of friendly, knowledgeable fiber-enablers; full of creative ideas and, if you're not careful, you'll end up with a new project (or a new spinning wheel!)
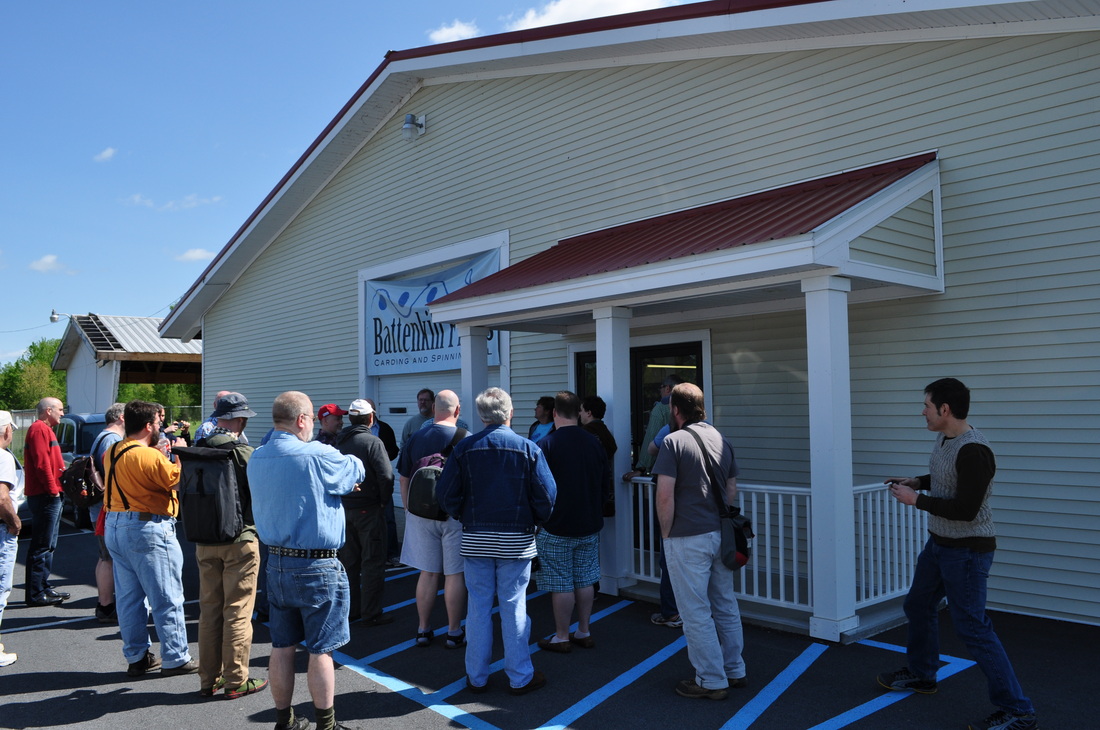
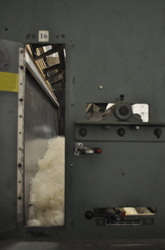
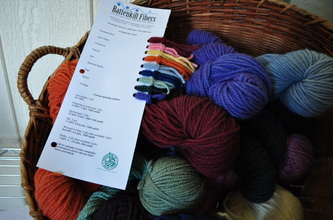
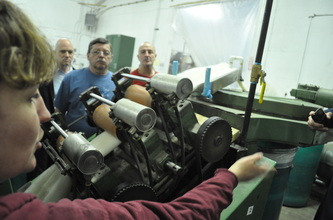
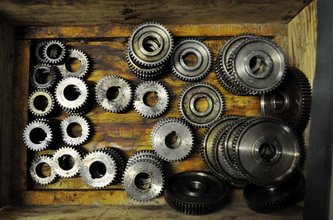
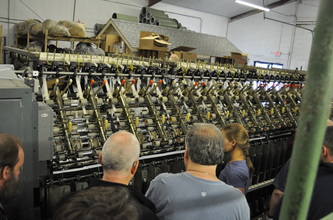
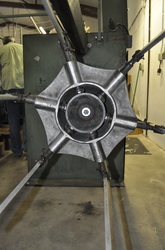
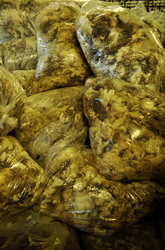
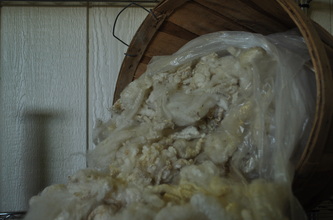
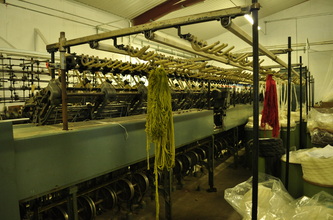
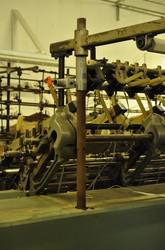
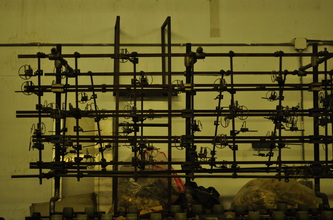
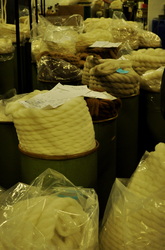
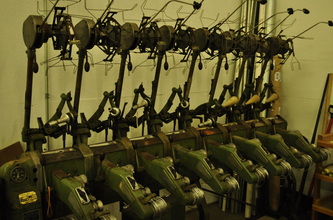
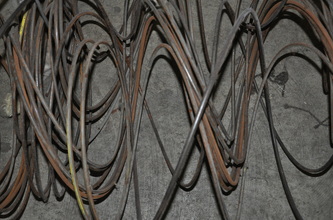
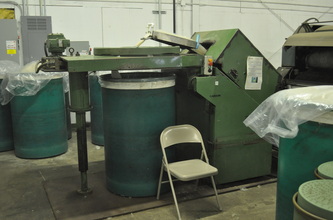
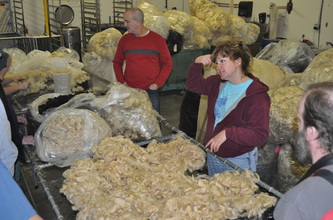
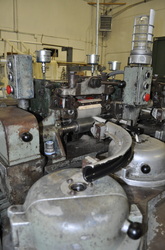
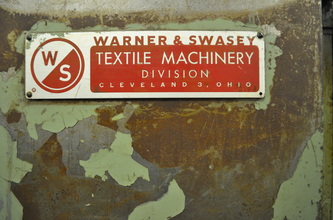
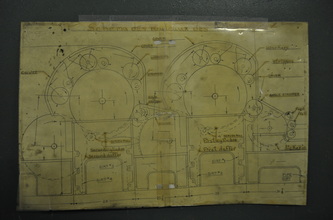
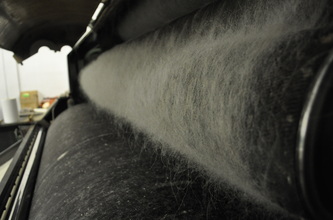
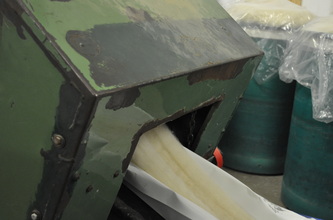
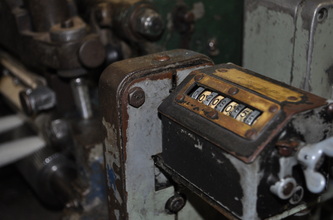
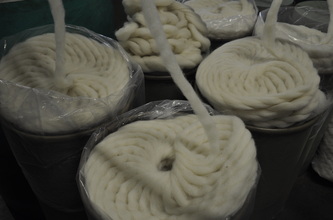
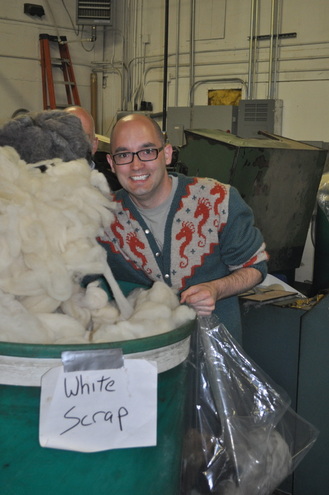
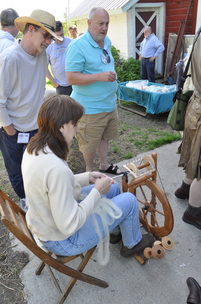
Thursday morning we ventured off to Battenkill Fibers; a custom carding and spinning mill in Greenwich, NY. They welcomed about 30 guys from the retreat in our pre-retreat outing, and took time to show us some of the processes involved in transforming fleece and fiber into yarn. They had a number of projects in the works and we were all in awe as we went from step to step learning how much work goes into making yarn. Here are a few random photos from the visit to the mill. I made some short videos to share with you some of the steps for turning fiber into yarn. First, we learned a bit about how a fleece gets skirted (this video). Then, we watched how they clean the fibers, and many different steps (and machines!) it takes to turn fleece into yarn. This machine takes the fiber and "flicks" it open. I apologize; I didn't take notes on the different machine names or their "technical" responsibilities... but if you ever visit Battenkill Fiber Mill, they'll certainly explain it all to you! The next video shows the fiber flying through that little hole in the wall into a room that's exclusively to catch the fiber as it floats to the ground. The operator of this machine sweeps the fibers up from that room and they go into a carding machine from there. (Yes, a few of us thought of just sitting in that room to experience the "rain of fiber!") Once the fiber is cleaned, carded, and drafted out, it goes into the pin drafting machine. This machine makes the roving even and prepares it for spinning. (I am SO glad I don't have to clean these machines!) From there, the fiber is spun into singles on a GIANT machine, and then plied on ANOTHER machine... then, the plied yarn is skeined into hanks. There's so much work that goes into creating yarn that many of us don't think about. Even commercial yarn has been hand worked by many talented people. Here's one last video showing the process of making hanks of yarns, talking about the plying machine and then the skeining machine: The tour was a bit overwhelming. So many machines, and questions that could be asked. By the time I had asked one question, 5 more had popped into my head. I have a new appreciation for fiber and the artists who make it for us at the mills after visiting Battenkill! Of course, I knew it was an involved process before but WOW. This was a real treat to get to tour a mill and learn and share more about the processes.
(I told you lots of work goes into preparing fiber!) -- OK. now that the fiber is all ready to go, remember I wanted to create a 2-ply yarn that would have sections of color. I didn't want to make yarn with long color changes (like Noro) - but more mottled looking "barber poled" yarn. To accomplish this, I decided to tear off a bit of each ball of fiber and use them in a random order as I spun. I'd work bits 1-7, then stop and tear a piece off of each ball again, put the pieces in the bag and randomly select them. As I got one bobbin nearly full, I began the second, repeating the process. As I got close to the end of the balls, I unwound the remaining fiber, and looking at the longest remaining length of fiber decided I could do about 5 more repeats. I broke that piece into 5 sections, then evenly divided the other pieces and added them to the last repeats. If a ball only had enough fiber for 2 or 3 more repeats, I only added it to 2 of the remaining repeats. Once those final rounds were divided, I kept them separate and then randomly spun them onto the bobbin. At the very end, I went back to the first bobbin to try to evenly distribute the singles.
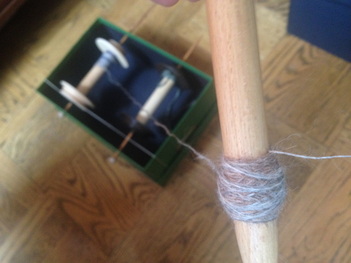
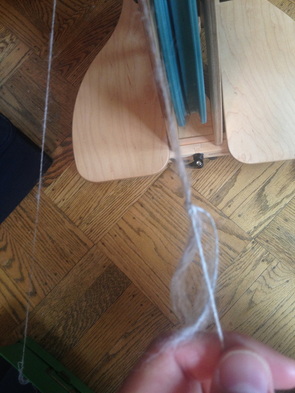
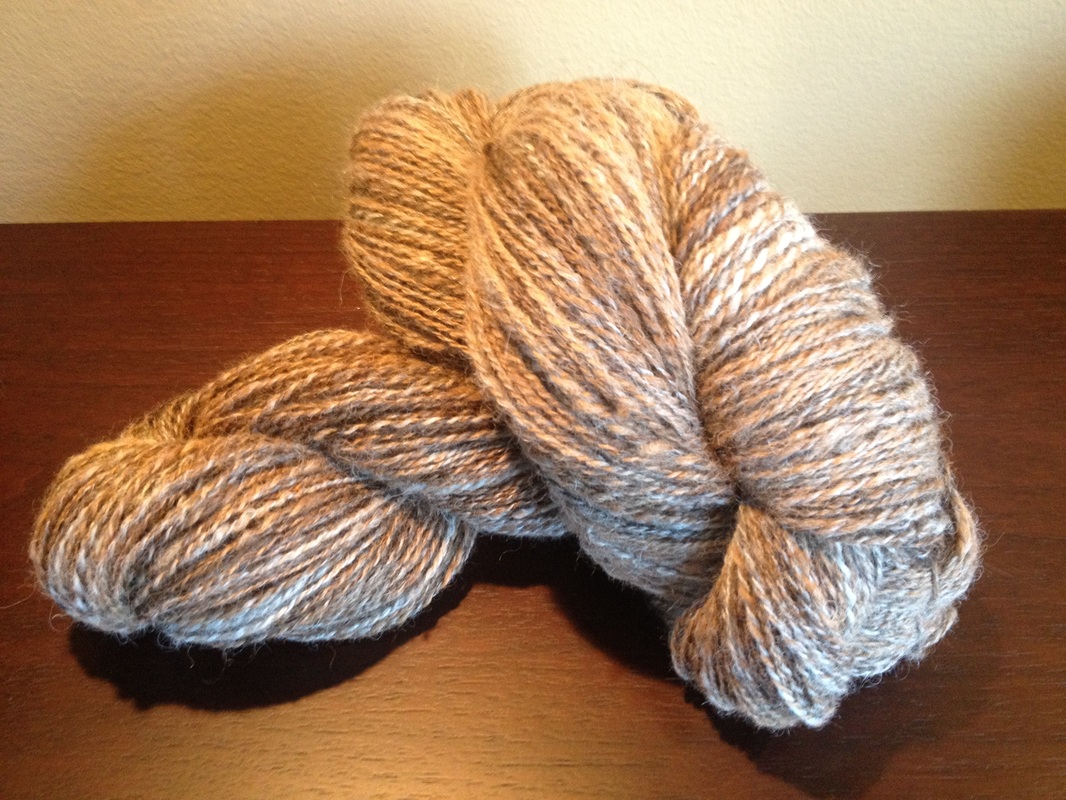
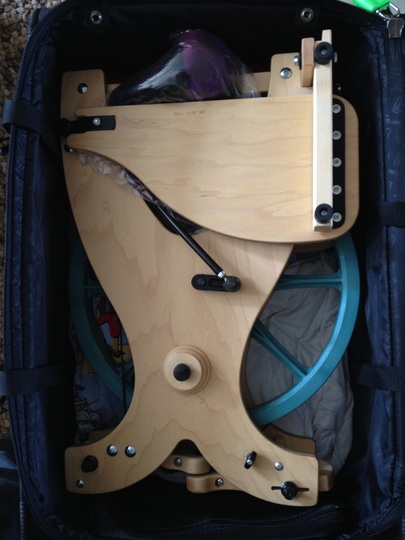
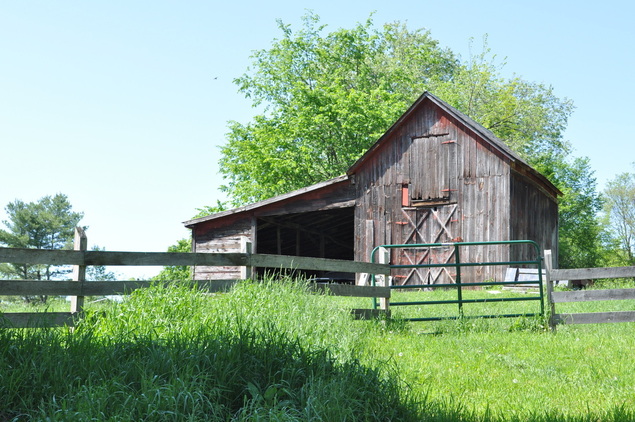
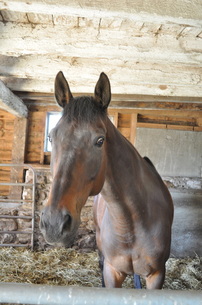
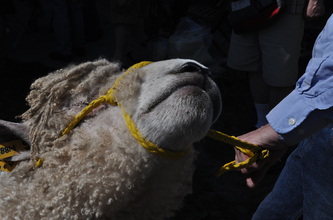
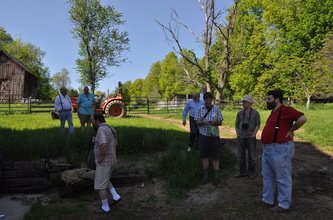
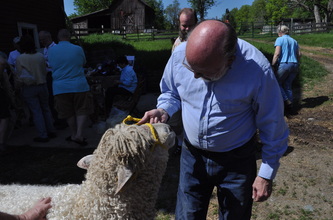
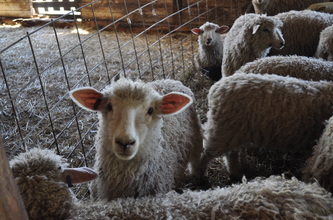
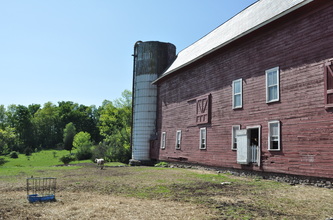
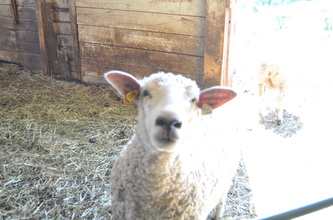
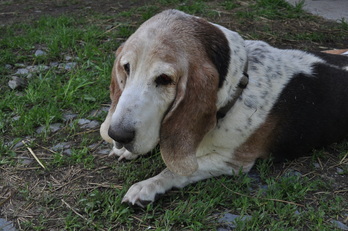
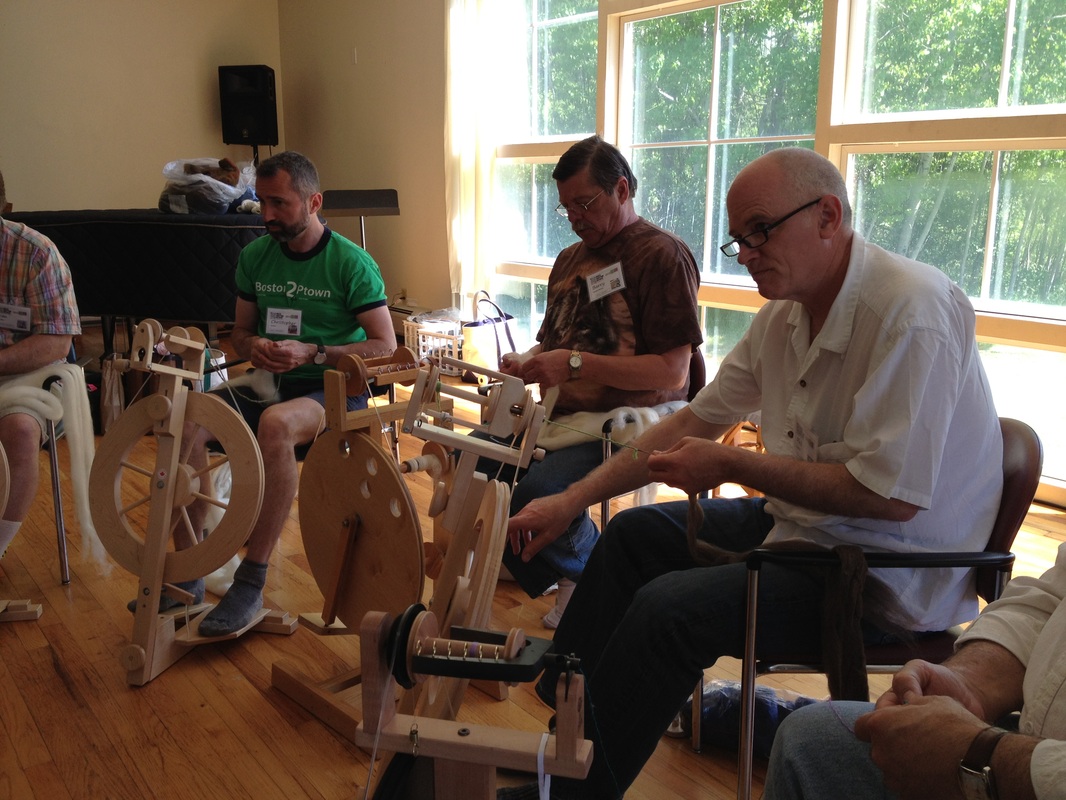
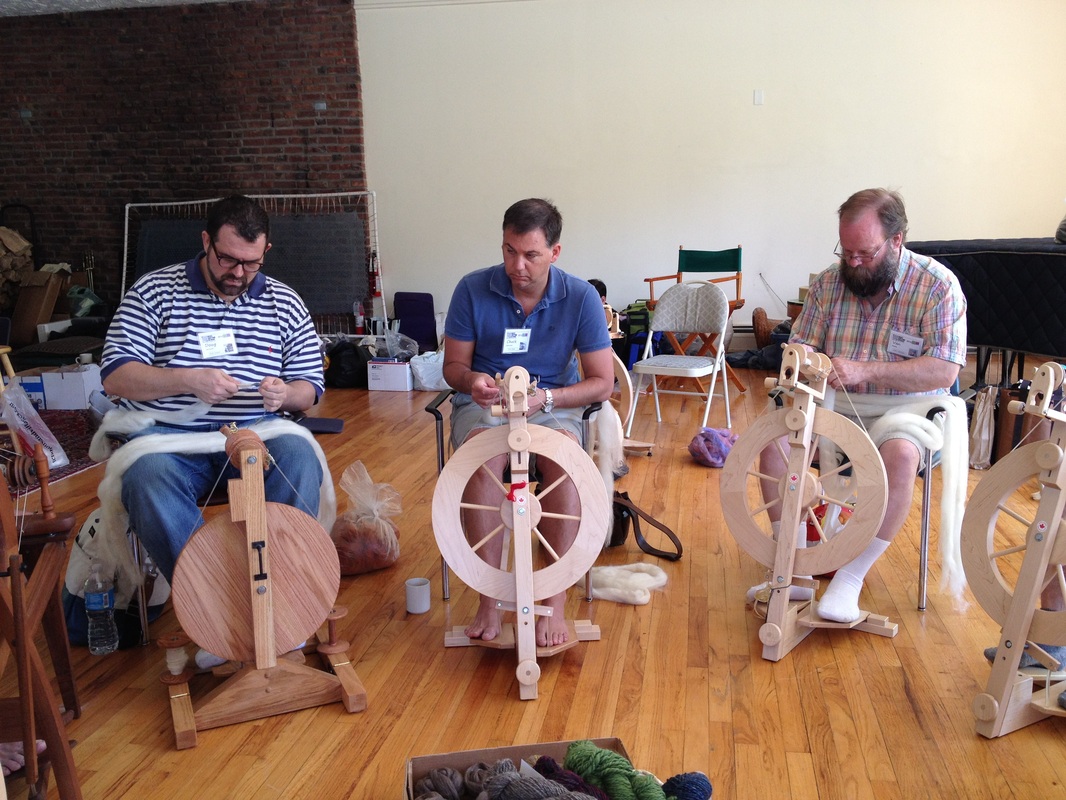
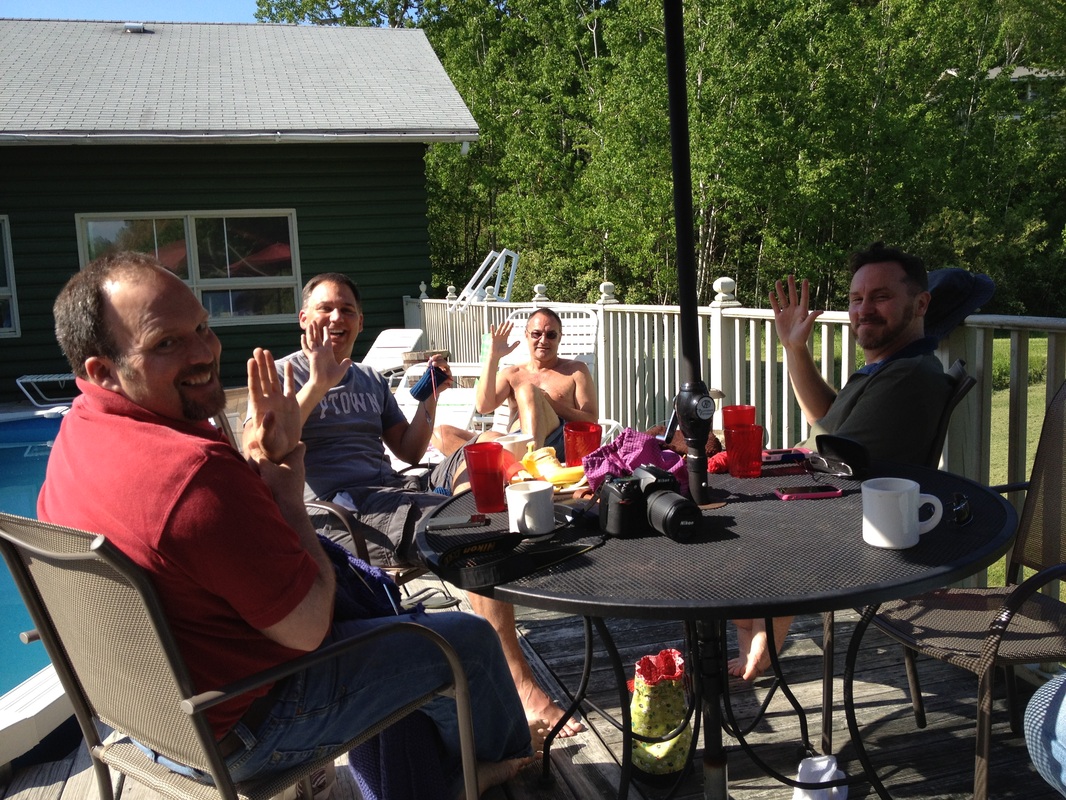
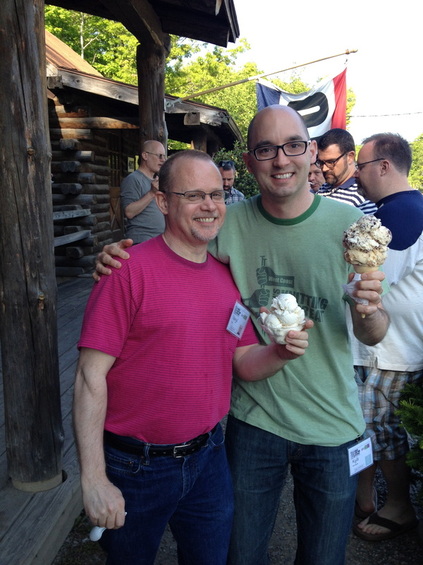
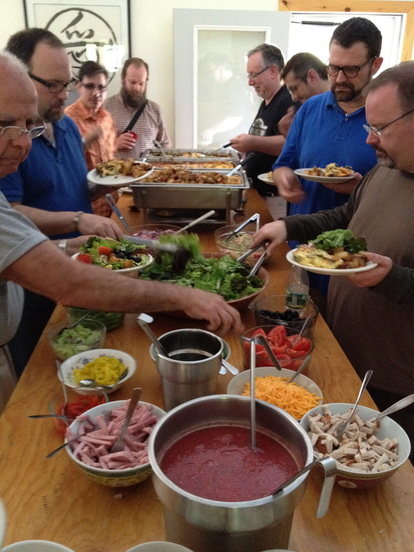
As I ply the two singles together, inevitably there will be one bobbin that has more on it than the other. When I asked Ted Myatt what to do when this happens, he taught me a trick to use all your singles. With the singles still attached to the plied yarn, secure the shorter single. Using a distaff, create a center-pull ball with the remaining fiber. Once that's completed, join the end of the longer single with the end of the shorter single (either by spit splicing or tying a knot). Remove the wound fiber from the distaff and (this part works best with a friend!) continue to slowly ply the yarn while attempting to keep the ball of fiber from tangling up. After you are done plying, you'll end up with a loop at the end, connecting the two plies. Tie a small knot here and you're done! Look: no wasted singles! After all of this is done, The yarn is wound off of the bobbin (did you know you should stand about 10 feet from the wheel when hanking up the yarn? It's another tip I learned during the retreat - standing a bit away from the bobbin allows for some room for the twist energy to distribute itself along the length; it's the same reasoning for putting your lazy kate far away from the wheel when plying). Tie the yarn up, give it a good soak and let it hang dry. I ended up with 2 HUGE hanks of hand spun yarn from my 6oz of fiber! I haven't decided what this yarn will be yet. For now, I'm going to let it be a reminder of the retreat. That's about it for Part 2 of the MSKR12 retreat review. I love writing blog posts about the event because it gives me time to relive the experience. One note on my packing: I had to check my bag because of my wheel but I wanted to share with you how cute and snuggly my Sidekick fit into the luggage! The fiber I got during the retreat acted as extra padding and there was enough room for my clothes, knitting, etc. as well. I'm looking forward to the next time I am able to take my wheel on an adventure!  The 2012 Men's Spring Knitting Retreat is over and it's difficult (as it is always difficult!) to put into words how amazing the experience was. This year, 41 attendees made up the group, and we reconnected at the amazing Easton Mountain Retreat Center. It's a calm space where everyone is encouraged to relax and enjoy the beauty of nature while being surrounded by creative people. Recaps of these retreats end up being L-O-N-G and photo-heavy posts so I decided to attempt to divide it into 2 parts. Welcome to part one: a retreat review and ramblings about the "official" parts of the weekend. 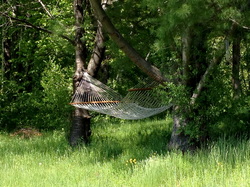 The hammock at Easton This year, I flew from San Francisco, CA to Albany, NY and met up with Aaron Bush. The retreat actually began Thursday afternoon, so we're going to fast forward past the "pre-show" and begin there. Driving to Easton Mountain is refreshing. It's back roads that go from striped and paved to simply paved... to gravel... to narrow and what a city-person might think should be only one-way. Returning to Easton for the retreat is a bit like coming "home". It's walking into the large gathering room and hearing people call my name. It's not having a chance to put my bag down before there's a group of guys waiting to give me a hug; excited and happy that we are about to share this experience. Returning to a Men's Knitting Retreat is seeing familiar faces, recognizing people that I may have never met, but recognize through their blogs, twitter feeds, and facebook posts, and they feel like old friends. It's re-uniting with people who, through fiber, have become a big part of my life. Arriving at Easton, we are greeted with Easton Mountain (in the background of the video below). The Center used to be a ski lodge and now it's just a beautiful space to retreat and relax. The sounds of nature are so different from those I hear waking up in San Francisco! I thought making a short video of walking down the driveway to the lake might help you understand how amazing and magical this place is. ...and here's a listen at the birds singing one morning during the retreat. It really was a "change of pace" that allowed us to all decompress, relax and recharge. During the retreat, we usually go on one field trip. This time, it was to Ewetopia Farm in Whitehall, NY. The drive through the beautiful country could have been outing enough, but turning into the driveway of Chris and Max Crossman was a true treat. Chris had set up a small shop with a selection of fibers and yarns for us to peruse, featuring her Cotswold sheep locks! It wasn't long before I started to explore the immediate area, taking photo after photo of this idyllic place! Here are a few of my favorites: We met one of the Rams and he was in LOVE with us because we all took turns scratching him on his back where he can't reach. (That's Farmer Max holding the lead to this sweet animal.) His fleece is beautiful and from what Chris said she is going to continue breeding him to hopefully get some more of his coat characteristics in the flock. I remember last time I was at the MSKR we visited Alpacas of Easton, and the owner was talking about phenotype and genotype and it made me smile since that was what had just been discussed in my Biology course. Years later, it wasn't a fluke. That same talk was being given at this sheep farm! Lesson here: If you want to be a success at raising fiber flocks, chances are you'll need to have a good understanding of these topics. In addition to the sheep, the Crossman's have a few horses and some adorable dogs! These two were beyond sweet. Leddie (on the left) is a bit of a guard dog and a BIG dog at that. She's standing on the road that leads to the farm's sugar shack! The other doggie was a fat old sweetie and just wanted its belly rubbed! (Click any of the smaller photos to enlarge them). See? I haven't even begun to talk about spinning or the workshops.... trying to explain what the retreat is like is a difficult process. It's seriously something that simply must be experienced. There were a number of workshops, and I was able to participate in two: learning how to spin (with Aaron Bush), and knitting and purling backwards (with Matthew Hesson-McInnis). The spinning workshop helped me continue to hone my skills as I learn more and more about my Sidekick wheel. Aaron was a gentle teacher, helping the guys wrangle fiber and spin it into yarn. I was able to offer a little guidance to my neighbors, and I think that at least one participant decided to purchase a wheel by the time he had returned home! Knitting and purling backwards with Matthew was more of a focused exercise. His instructional style is suprisingly gentle; asking the students to follow a few simple steps to really understand what happens when a stitch is made. With a little practice, we were all doing it! (Slowly, but we WERE doing it!) The technique will come in handy for ribbing or stockinette almost immediately. All it'll take is a bit of work to get faster at it but will be well worth it. Probably the biggest treat to attending these retreats is sitting outside, knitting, spinning, crocheting, and talking with new (and old) friends about ideas, experiences, techniques and, life in general. The world often gets in the way and we don't find time to take care of ourselves; these few recharging days allows for just that. It's rewarding, relaxing and inspirational to be at a Men's Knitting Retreat. We have a tag sale during the retreat where we offer special fibers, books, magazines and finished objects for sale to the other attendees. It's a chance for us to donate a percentage of the sale to a scholarship fund which helps some guys attend who otherwise couldn't. This year, Bill Jones from San Francisco hand-knit this AMAZING teddy bear and we put it out for silent auction. John Wise was the high bidder and the envied one who got to take this sweet bear home! (If you enlarge the photo, you can see the intarsia around the eyes and inside the ears where Bill used subtle color changes to highlight these spots.) Bill said that he plans to make one of these bears for each of the retreats. A visit to this part of the country would simply not be complete without a visit to the Ice Cream Man! They have been in business for nearly two decades and I can't imagine a trip to this area without visiting and getting a couple scoops of their amazing hand-crafted ice cream. We also got ice cream from the Ice Cream Man for movie night - where we all gather and knit/spin/weave/crochet our way through a movie (or two!) ...speaking of eating, the food at Easton is certainly worth mentioning. It's healthy, thoughtfully prepared, and, quite frankly, delicious. They are considerate of dietary needs and I never went without a full tummy while visiting. There's no soft drinks, so it was also a great opportunity to stop drinking so much Diet Coke! Gosh. There's so much to talk about - and even if I wrote 100 pages about the few days we were together, I'd still be leaving a lot out. Once more: It's impossible to express what this retreat means. It is an amazing experience and for those men who might want to find out what it's like to attend one of these retreats, there are a few coming up! Visit the Men's Knitting Retreat website to learn more. I'll be writing more in a few days; sharing about the excursions before the retreat including our visit to one of Aaron's favorite yarn shops and a fantastic local mill.
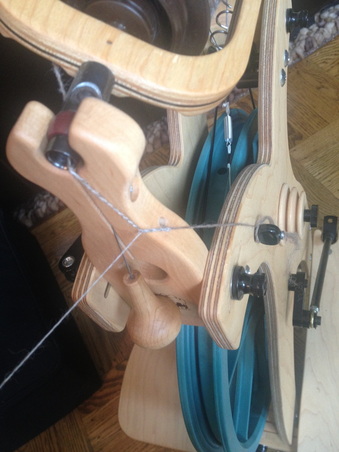
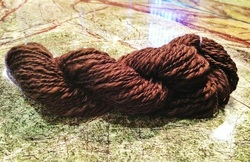 ...OK maybe it's not a superpower but what else should I call the ability to turn fluff into YARN?! I'm intrigued at the process and it's like watching magic!! Still very much a beginner, but I LOVE my new wheel! As some may have read, I bought a Schacht Sidekick and I have been working on it a little each day. The wheel just hums along and I am pretty proud of my first hank of yarn! It's some mystery wool that Purlescence Yarns gave me to practice with... and while it's a bit thick and thin, I think it's respectable as a first attempt. I have been wondering why I want to learn to spin. When I first tried a few years ago, I decided I wasn't ready... after all, I can buy good yarn already made commercially (or even other people's handspun!) so why would I spend my time making yarn when I could spend it knittng. Then, it hit me... this is the SAME argument people make about knitting. "Why would you knit something by hand when the yarn is expensive, it takes a long time, and you can buy something commercially made that also looks nice?" 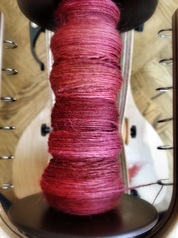 So... I get it. Spinning is like knitting. It's meditative, creative, inspiring, and putting time into making yarn adds to the beauty of a hand knit (or crocheted or woven) project. As I get better, I'll have more opinions, I'm sure. I spin because I love to spin. it feels good to have produced the yarn and I am sure that when I knit with my own handspun, it'll make my project even more special. This photo is of the 4th attempt (skein?) of yarn I'm working on... my singles are more even and it's moving along nicely. This fiber is produced by a woman in Bainbridge, NY and I'm really intrigued by the way the colors are shifting. It arrived as a dyed braid and I split it up and am happily working my way through it now. 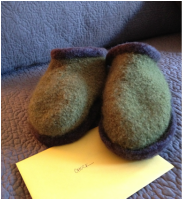 In other knitting news, I made a pair of felted slippers for my friend Chuck for his birthday. He loved his last pair so much that one of them wore a hole in the sole - and while I could have felted a patch onto the bottom, it seemed like he deserved a new pair. So, he gets a new pair! These were made with stash yarn from Elann.com (the green) and 2 hanks of cascade 220 - one brown and one grey. The yarn is held doubled for this pattern and they're a pretty quick knit. The rows are long, with lots of wrapping and turning to do the shaping but I love the pattern. I felted these in the front loader washing machine too - just stick them on "hot" and put some dryer balls in the machine for agitation and let it do it's thing... I check them every few minutes and when they're about the right size, I put them on the rinse and spin cycle, then toss them in the dryer on tumble for a while until they're almost dry. A bit of shaping and a final air dry and they're ready! 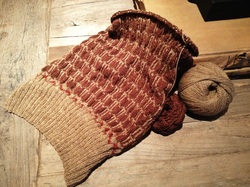 My other work in progress is a vintage vest that I'm feverishly working on, hoping to complete it in time for the Men's Spring Knitting Retreat coming up in May! I have *almost* completed the front (it's done with the exception of weaving in ends, and the final details) and I am almost to the armholes on the back. It's coming along nicely but if I want to get it completed I have to get to work on it! There's just so much to do! Which means, I guess, that I should get to it! Have a fantastic week! |
Archives
July 2023
Categories
All
|
ExploreFor Fun
|
Support |
Connect |
© 2006-2023 Kyle William. All Rights Reserved.




 RSS Feed
