
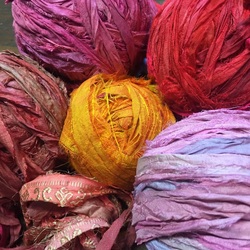
 Hanging out with the girls from Darn Good Yarn at Stitches WEST, I was talking with them about how much I love their sari silk ribbon yarn. It's made using waste from the sari industry (the bits of fabric not used during clothing production) and the strips are sewn or knotted together in skeins. Imagine my joy when a few weeks later a package with a few skeins of this fun stuff arrived in my mailbox. "Have fun!" said the note from Maggie. I knew immediately what I wanted to do with this yarn. Sew! Yes, that's right. sew. Now, I'm not a tailor at ALL. In fact, as a kid I remember being known for breaking needle after needle in my mom's sewing machine. I did take a class at the community college that introduced the basics of sewing, and that helped me conquer my fear of the machine. Now, I know a little more about what to do when the machine goes "clunk". 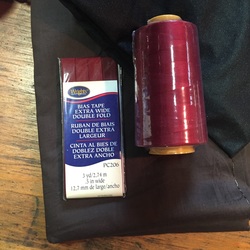 Off to the fabric store I went. Armed with an idea! I found some simple brown cotton fabric (I thought a solid would work best), some basting tape in a color that I thought worked well with the colors I had in my yarns, and coordinating thread. Once the project moved forward I ended up using a brown thread instead of this one... I also bought a bit of iron on stabilizer and some spray adhesive as options for temporarily securing the bits of silk until they were sewn. 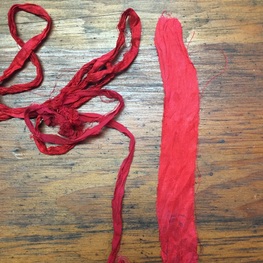 I then balled up the skeins of silk, and took some from each ball to iron flat. I cut the strips where they were knotted, turned on some fun music, set my iron on the setting for silk, and steam/pressed each piece flat. I then separated each set of colors (hanging them on the end of the ironing board) so that I had an idea of the color palette I was working with. This was also the time that little magic glittery bits of fabric appeared. Embroidered pieces with gold thread, little flowers... They were scarce but in the end just enough difference to add a bit more interest to the project. This project only uses some of each skein of ribbon yarn. There's enough left over to make LOTS more pillows! 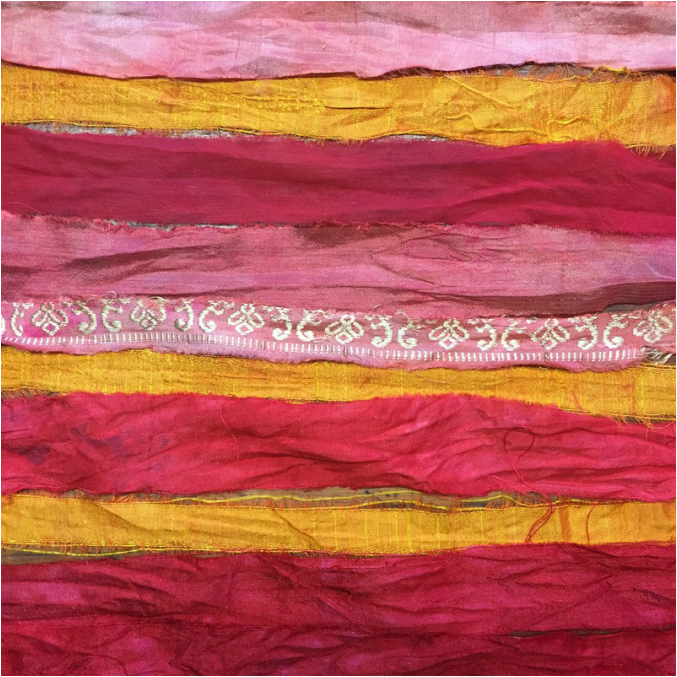 Then, it was time to cut the fabric. I decided on a 18" x 18" pillow, so I cut a 19" x 19" square, and two rectangles (for the back) 14" x 19", and 13" x 19". Starting with the back, I sprayed one of the pieces with a light coat of adhesive (meant for fabric) and then pinned it in place on my blocking board. I laid out the strips of silk so that they covered the backing fabric (which means some of the pieces overlapped a bit). Then, I trimmed the ends of silk that were hanging off the ends of the backing. 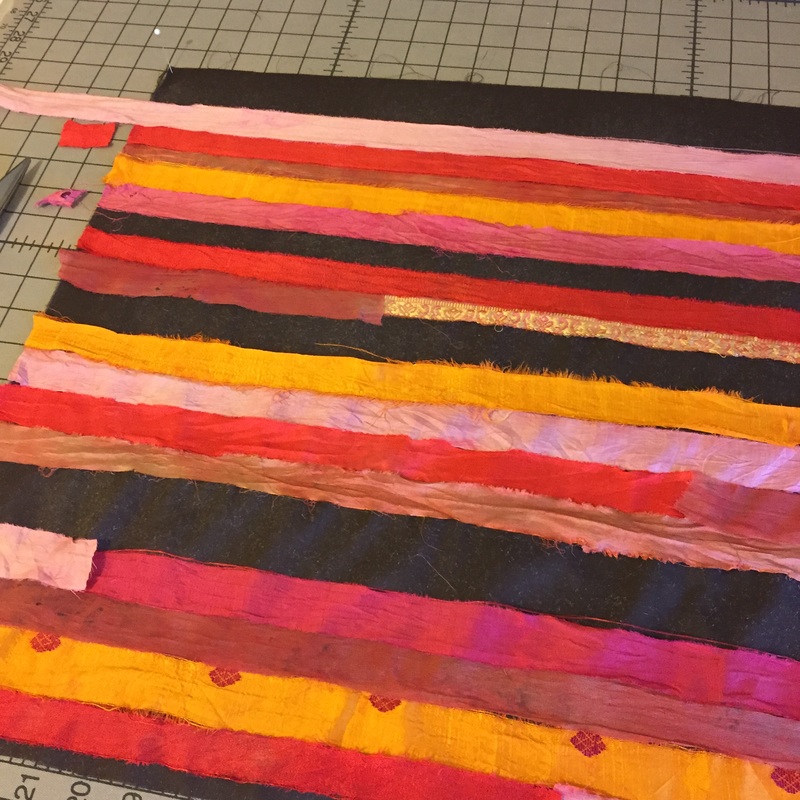 Time to start sewing! Truth is, I did a sample swatch first - using some of the silk and backing fabric set up the same was as the pillow pieces, I tried out a bunch of different stitch patterns to determine which one I liked the best. I settled on a big zig-zag stitch for this pillow because it worked well to catch the little rough silk edges and strings, and it made a fun pattern across the strips. 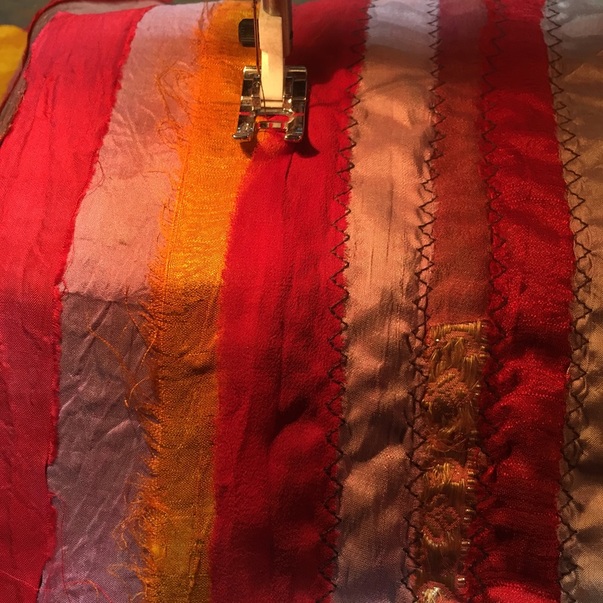 Of course there's more to making a pillow than I am saying here... I used a tutorial from YouTube for general guidance. Here is the link to that tutorial: https://www.youtube.com/watch?v=4LJnPEvjdDo The only other change I made is using bias tape on the ends of the flaps of my pillow instead of doing turned hems. I like the bulk of the tape and think the contrasting material and color is fun. 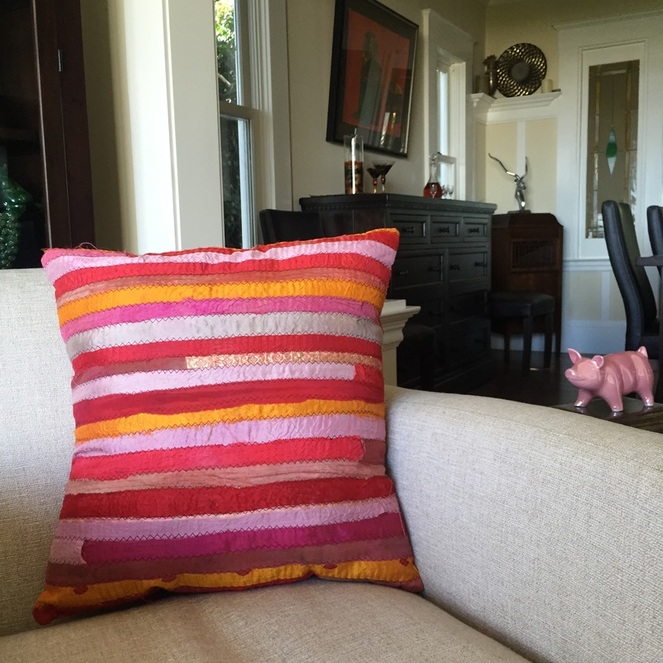 And on the back of the pillow, I decided to add a few patch numbers I bought at a antiques show. The numbers don't mean anything; they're just a fun little added surprise. 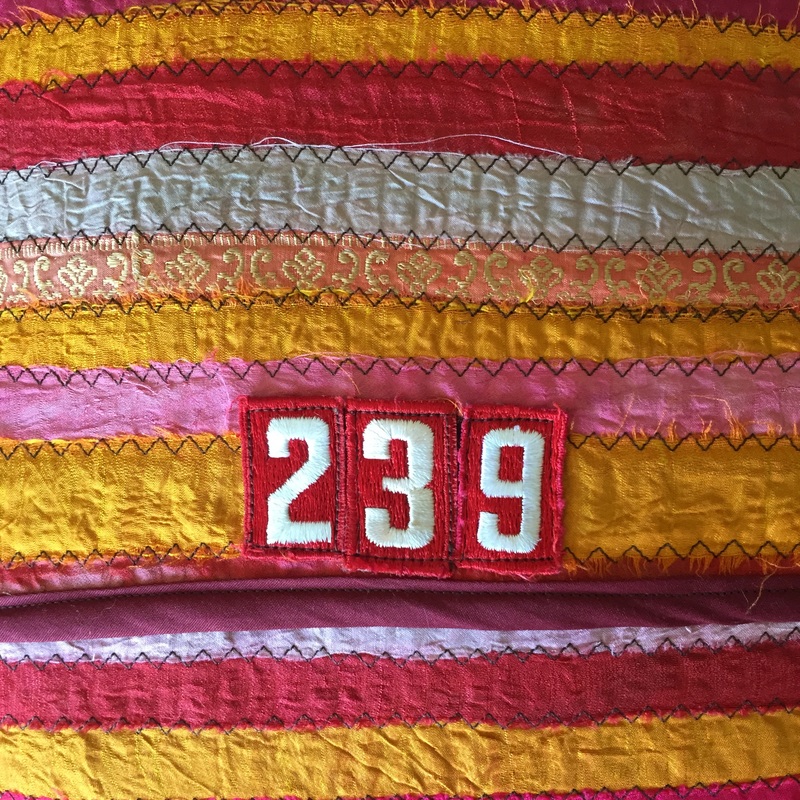 There you go! Another fun way to use one of the ribbon yarns from Darn Good Yarn! I have another project idea in mind for another of their materials... can't wait to see how it turns out!
Happy crafting, Kyle |
Archives
July 2023
Categories
All
|
 RSS Feed

|
ExploreFor Fun
|
Support |
Connect |
© 2006-2023 Kyle William. All Rights Reserved.