
|
What fun this project is! With a few simple household ingredients, you can dye yarn a beautiful color! The first time I heard of this technique was scribbled in the margines of an old natural dyeing book another artist had left in one of my classrooms. Intrigued, I jotted down the notes and went hunting and gathering in my neighborhood for the required materials. Download a complete tutorial on the process by clicking the link at the bottom of this post. You'll notice that it doesn't take much to do this experiment! It also doesn't require fancy yarn... any 100% wool yarn should work quite well. The first part of the project is to gather the materials necessary to make the solution. 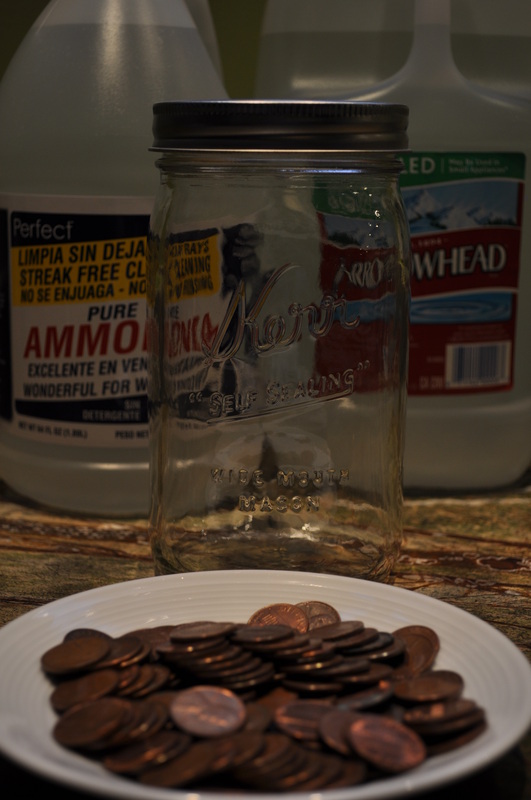 Why pre-1981 copper pennies? It has to do with the copper content. According to Wickipedia, (which is always accurate, right??) the copper content of pennies before 1981 is around 5%, and from the varous websites I researched for the recipe, they all specify pre-1982 or pre-1981 pennies. Years Material 1793–1857 100% copper 1857–1864 88% copper, 12% nickel (also known as NS-12) 1864–1942 bronze (95% copper, 5% tin and zinc) 1946–1962 bronze (95% copper, 5% tin and zinc) 1943 zinc-coated steel (also known as steel penny) 1944–1946 brass (95% copper, 5% zinc) 1962–1981 brass (95% copper, 5% zinc) 1974 Experimental aluminum variety (test strikes only, not circulated) 1982–present* 97.5% zinc core, 2.5% copper plating Where do you get 100 pre-1981 pennies? The bank, of course! (First I went through my change piles and sorted the pennies... I found almost enough for the experiment there.) I visited the teller at my local bank and got $4 worth of rolled pennies. in the first 2 rolls I found a total of 11 pre-1981 pennies which was enough to complete my first experiment, and after opening the other 2 rolls (and finding a few additional ones lying around) I have 51 more pennies saved up for the next time I want to try this!  Of course, after all the preparation, I got a bit ahead of myself in the experiment and used tap water instead of the distilled water that my recipe calls for. Tap water includes iron which might change the way the solution develops. The metals and minerals in tap water affects dyeing, so if an attempt at controlling the color is desired, then distilled water is the way to go. I'm going to proceed anyway with this version (I could pour out the liquid and re-start it since it was such an immediate realization) to see how it looks. I'll then repeat the experiment with distilled water to see how that compares. 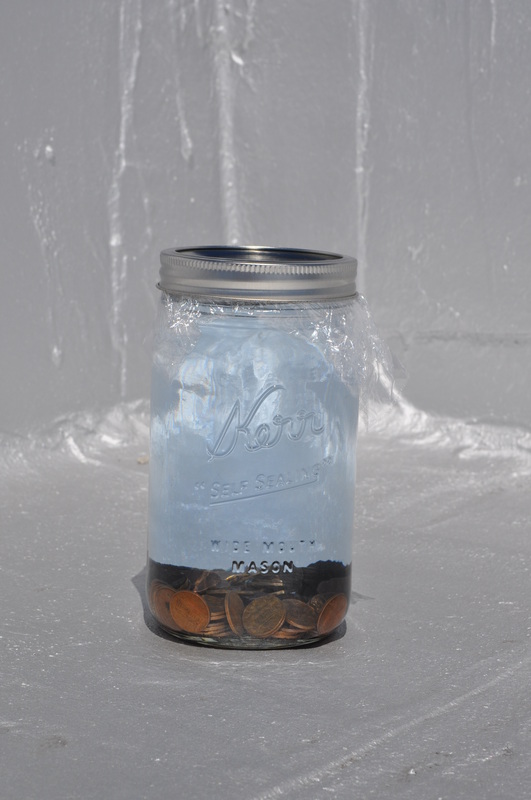 I put the sealed jar on the roof of my building with a note, letting the other tenants know what wacky experiment I was doing, and then followed it up with a quick email to let them all know, just to be sure everyone is aware. It was mixed around 11:30am on Monday, May 9, 2011. The liquid almost immediately started to change color. Even on the silver paint of my rooftop it is noticeable! 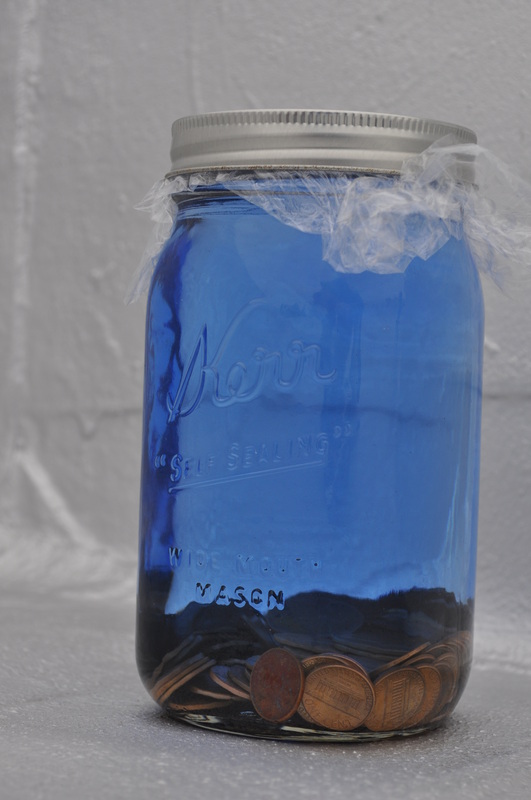 The above photo was taken after 48 hours, and the liquid is even more blue. (The sky was very cloudy when I took this photo; the blue is actually more brilliant than it looks). I am checking the liquid daily to see how it looks, and I shake up the jar each time to mix around the pennies. 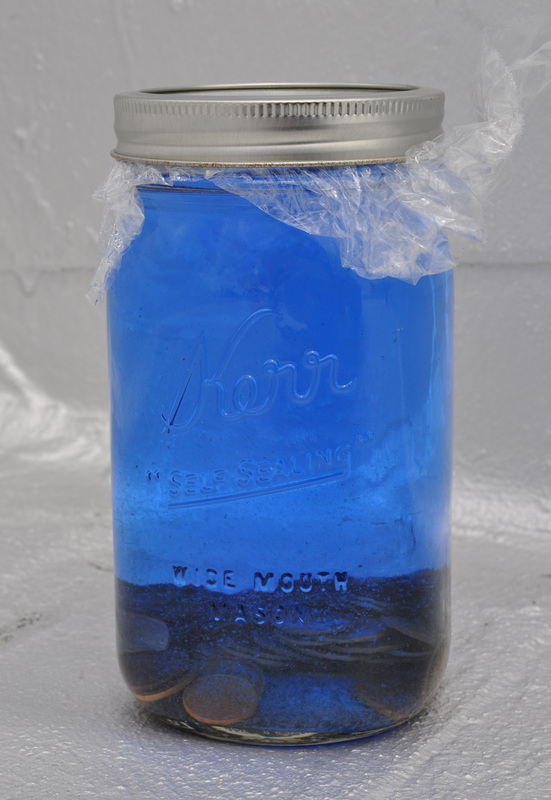 ...and here it is one week later - in brighter light... it doesn't seem that much more intense when I compare the photos. (It actually seems lighter/brighter). That being said, my guess is the solution is probably not harmed by leaving the copper in for longer than recommended. The next step is to soak your wool. I used Patons Classic Wool (100% wool) in the color "Aran" for this experiment. It comes in skeins that weigh approximately 3.5 ounces. I wound 2.25 ounces onto my niddy noddy, and loosely tied the skein using scrap bits of yarn in a "figure 8" through the yarn to keep it secure in 4 different places. Here's my skein of yarn bundled up for a "before" photo: 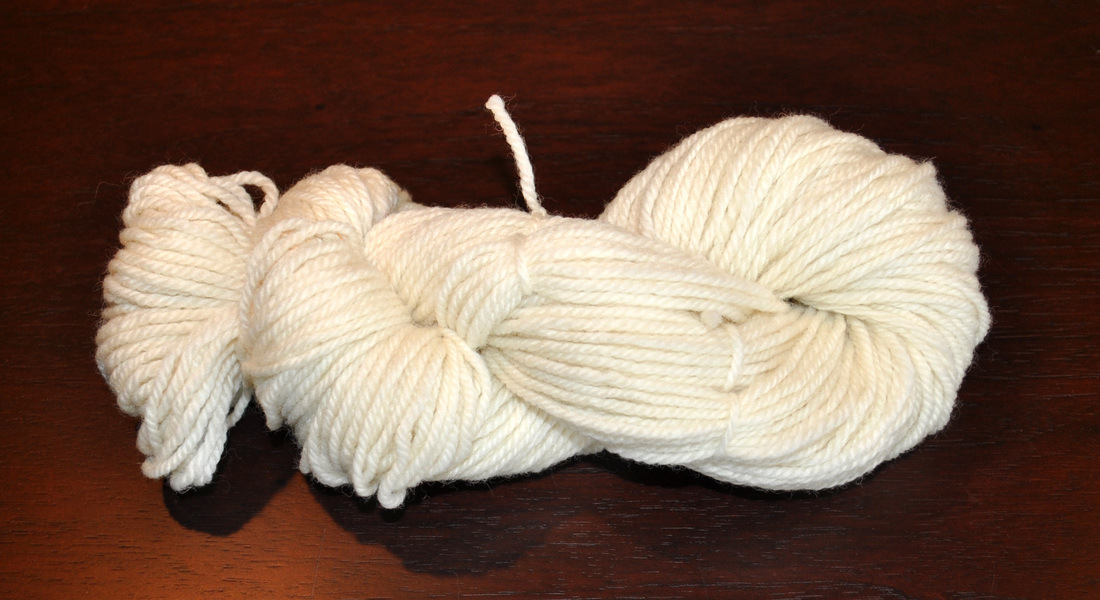 Then, fill a large bowl or pan with cool water. Open up the skein and submerse the yarn so that it's all able to soak up water: 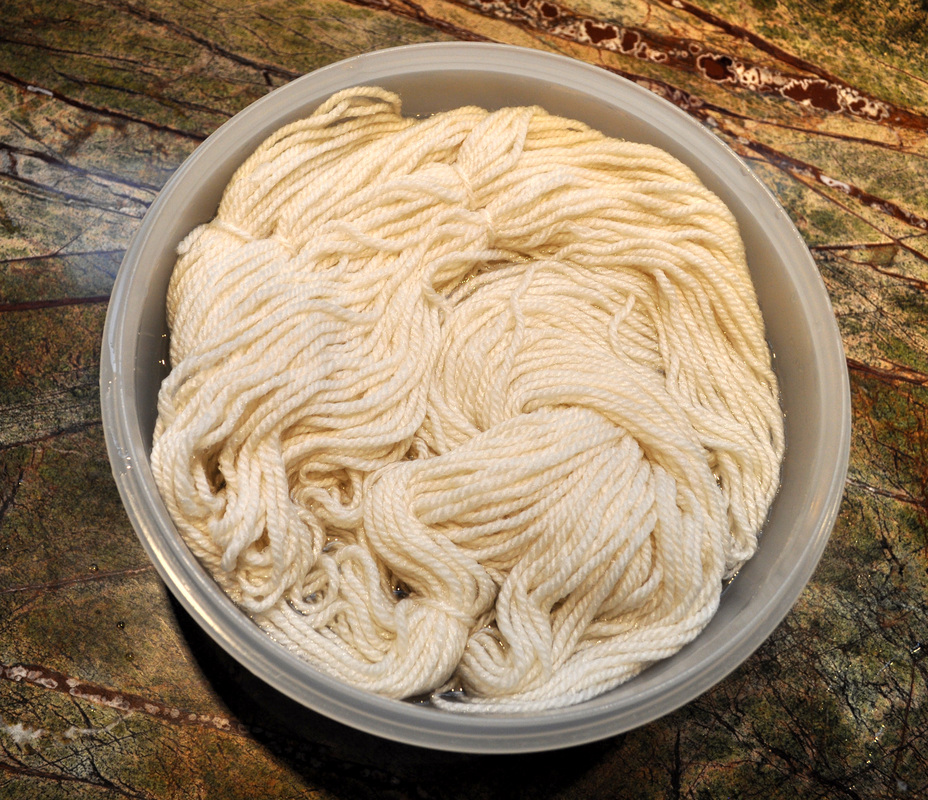 Some of the yarn sits on the top of the water and is exposed to the air... it's not getting wet! In order to fix this, I put a plate on top of the yarn and allowed the water to submerge the plate: 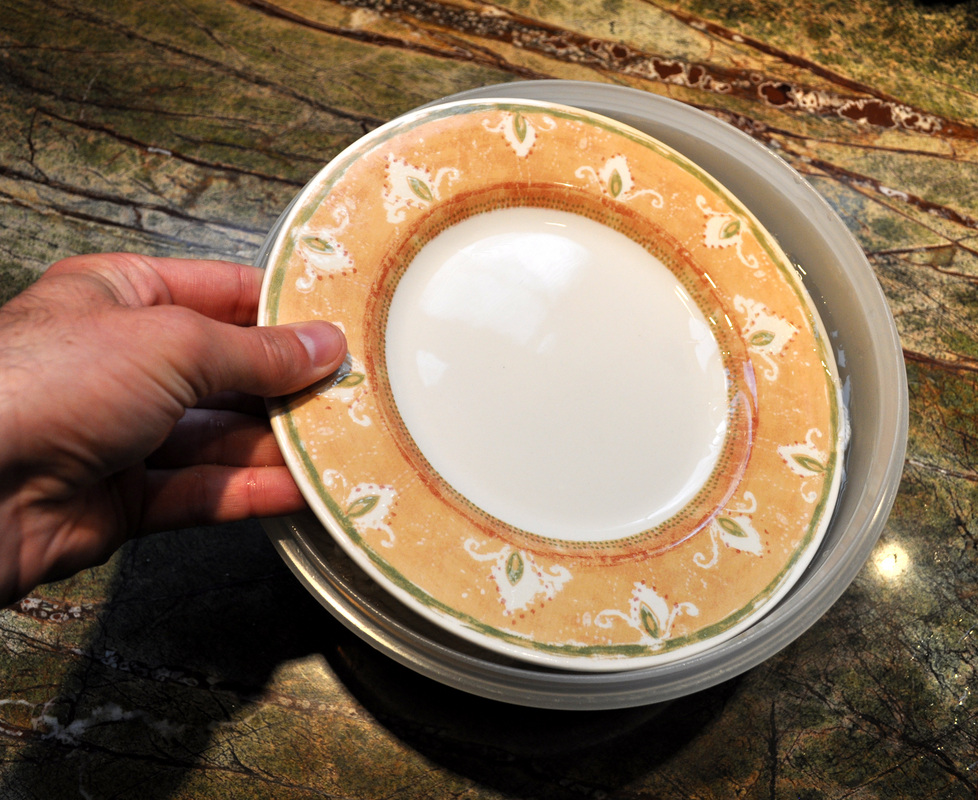 Let the yarn soak for about an hour in the water so that it is fully wet. Next, take the pennies out of your blue solution, being careful not to breathe in the vapors. Rinse the pennies in water. I don't know for sure if you would want to re-use the pennies for dyeing again or not (anyone have thoughts?)... The next steps require a few additional items: rubber gloves, a strainer of some sort to easily drain the liquid and keep the pennies in the jar, and a container of some sort in which to soak the yarn. Hooray for the dollar store; $3.00 plus tax for these additional items! Note: even though we are using simple household ingredients, I really suggest not using food preparation items that might come into contact with the blue ammonia solution. It's best to have dedicated supplies and materials for your dyeing and experimenting. When in doubt, don't use something that you use for food preparation. 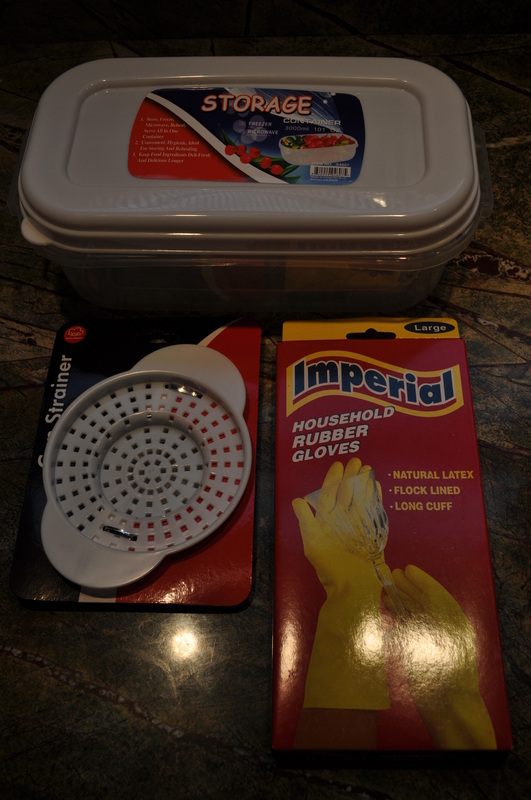 Carefully wring out the yarn from the bowl of water, and put the wetted yarn into the blue solution. BE CAREFUL not to get the solution on you. (If you do get it on your skin, wash immediately with soap and water.) When I did this, the yarn turned a strange beige-gray color. I put the plastic wrap on top of the yarn to try to be sure that the liquid was in contact with all of the yarn. After 30-45 minutes, there was no more blue in the solution. 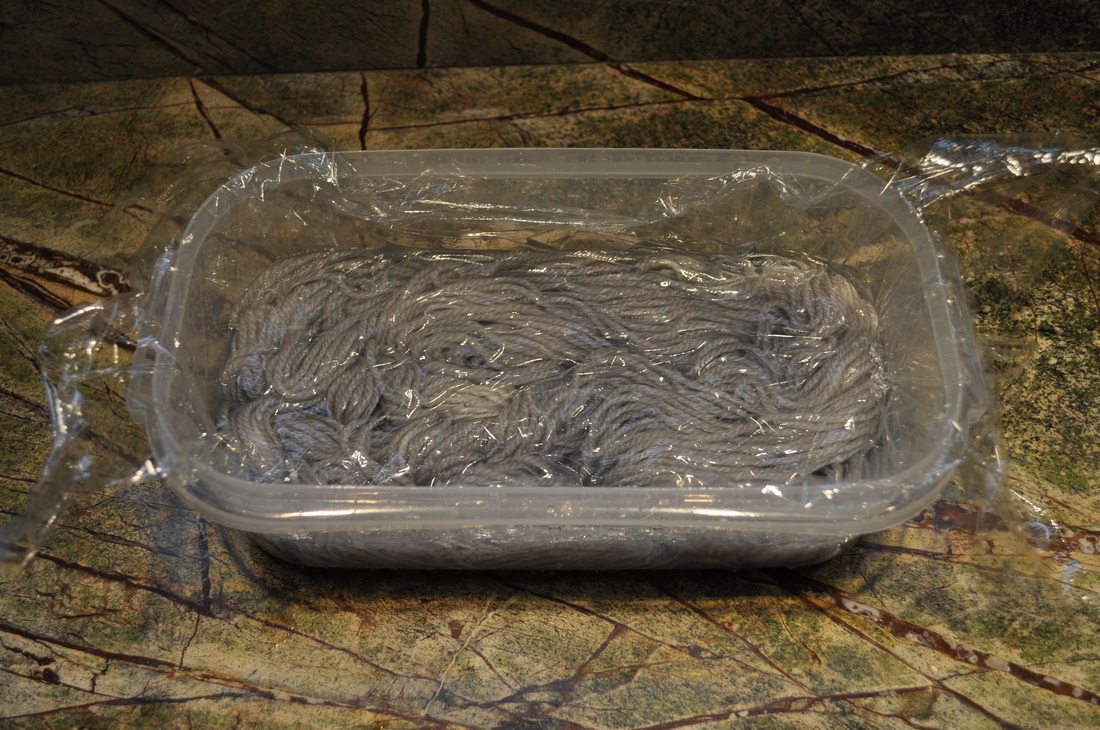 Once this happens, remove the yarn and rinse in a soution of vinegar to set the color. Note that this color is considered fugitive, meaning the color might/will fade over time. Be aware of this when you do the technique, knowing that if you combine it with other colors that this one may fade. 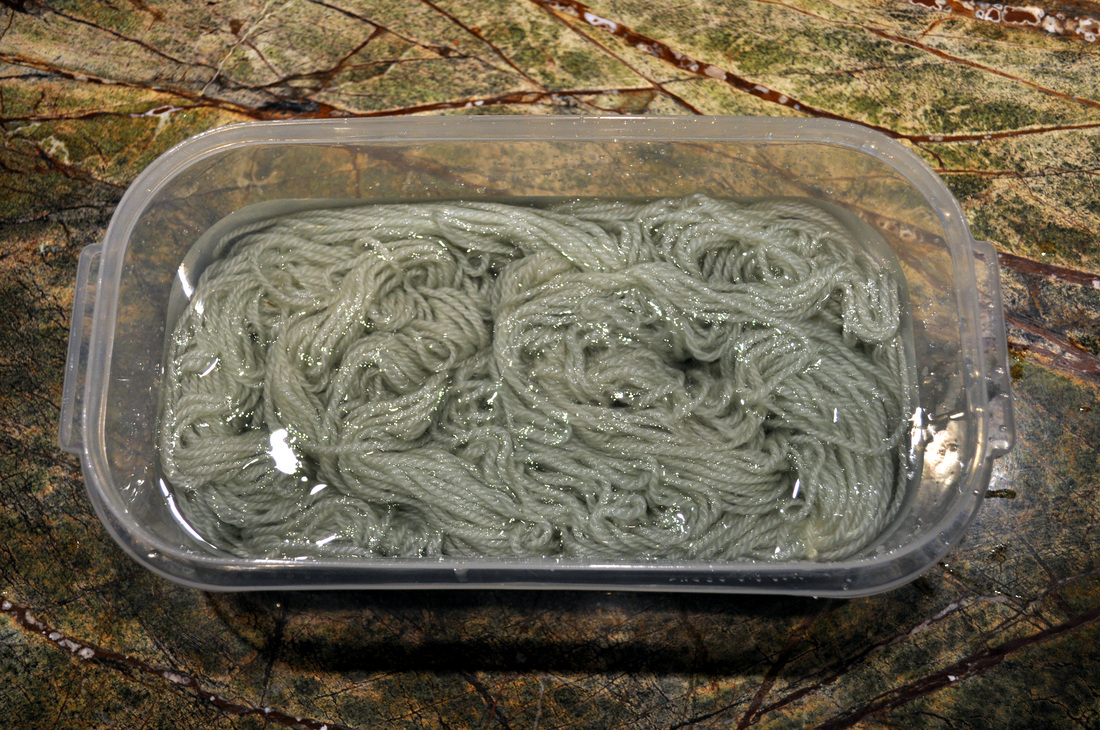 The photo above was taken after the yarn had been rinsed and vinegar was added to the rinse bath. There's a distinct but subtle change of color when the yarn is put in this "afterbath" - it got lighter and more green. The photo below shows an attempt at illustrating this difference. Click on the photo to enlarge. 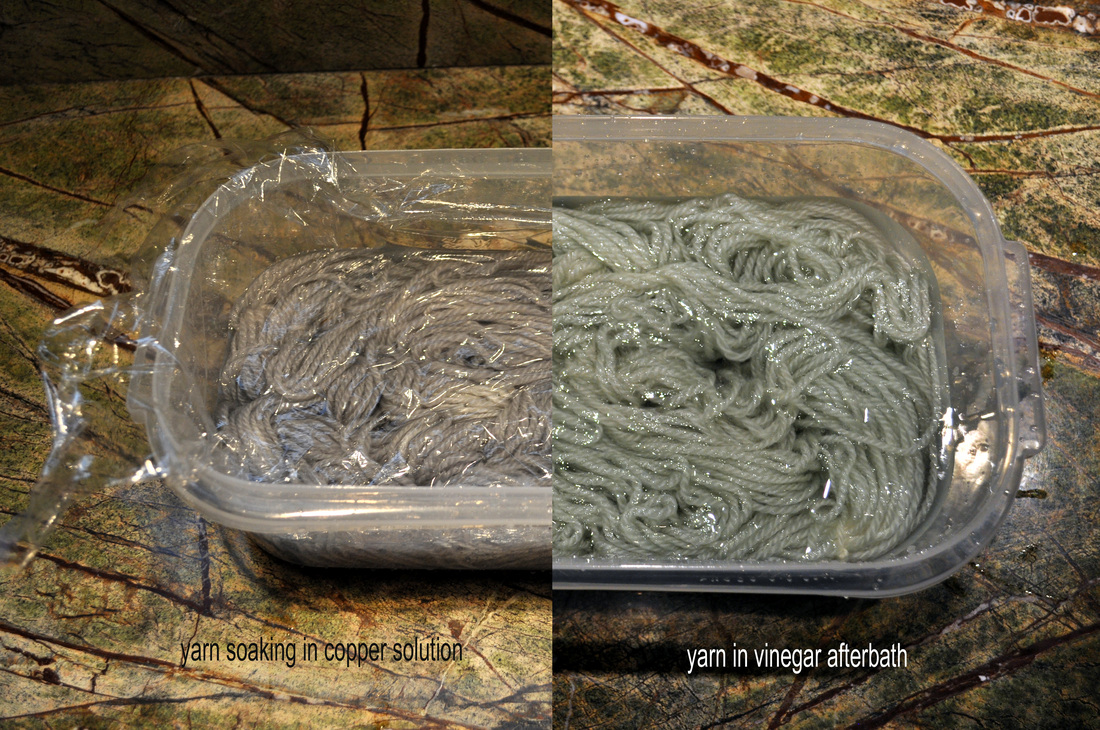 At this point, there's not much more to do. Rinse the yarn well, remove the excess water, and hang it to dry. In the end, I ended up with a green/gray yarn that I'm pleased with. Note that this dye is fugitive, meaning the color will fade over time, much like many other dyes. It's worth noting, however, and keeping in mind when pairing with other yarns. 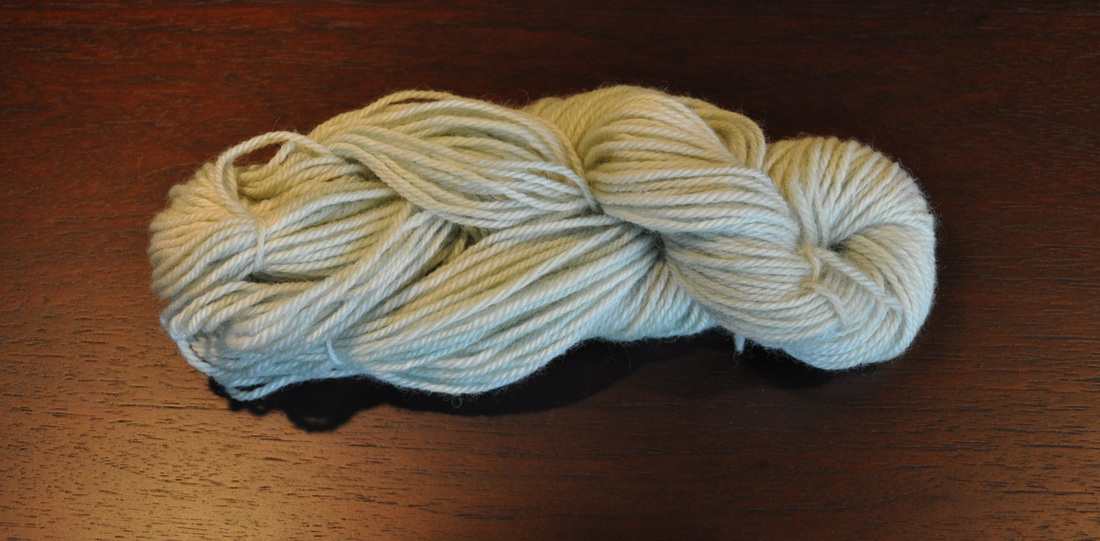 One more photo to compare the colors. If you do try out this fun technique, be sure to send me a note to let me know how it goes! Ready to try? Click the link below to download the tutorial for copper yarn dyeing! 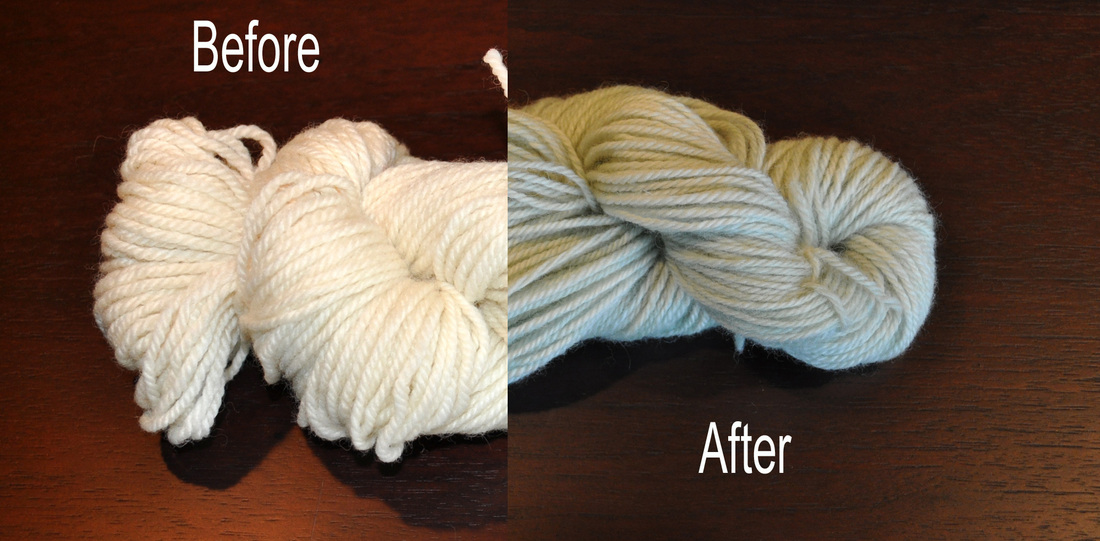
Like what you're reading? Click the "like" button for twitter or facebook below to share this post with your friends!
|
Archives
July 2023
Categories
All
|
||
 RSS Feed

|
ExploreFor Fun
|
Support |
Connect |
© 2006-2023 Kyle William. All Rights Reserved.