
 Natalie Redding of Namaste Farms I'm excited to announce I'll be interviewed on Natalie Redding's Blogtalk Radio on 2/28/2013 at 6pm. Check out the episode page HERE. We will talk about all kinds of things including learning about my move to San Francisco, some of my recent designs, and what's coming in the next months. Natalie is an amazing soul and she has worked hard the past few weeks taking care of my friend Janice Rosema in her last days. Since Janice's death on February 13, Natalie has worked to raise money for the final expenses by selling many of Janice's amazing works. I hope you'll join Natalie, Kimberly, and me, as we chat. Natalie will be giving away something very special from Janice's estate during the show! Natalie is owner and head shepardess at Namaste Farms. Visit her website http://namastefarms.com where you'll have the opportunity to learn more about this energetic woman.
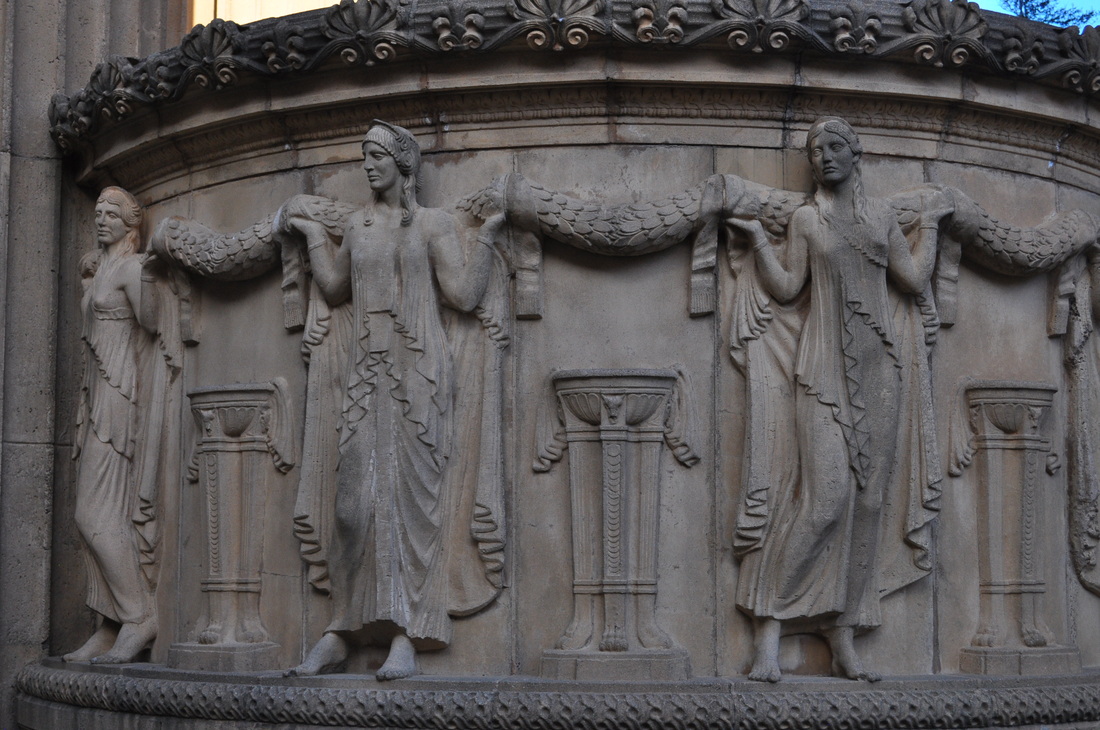
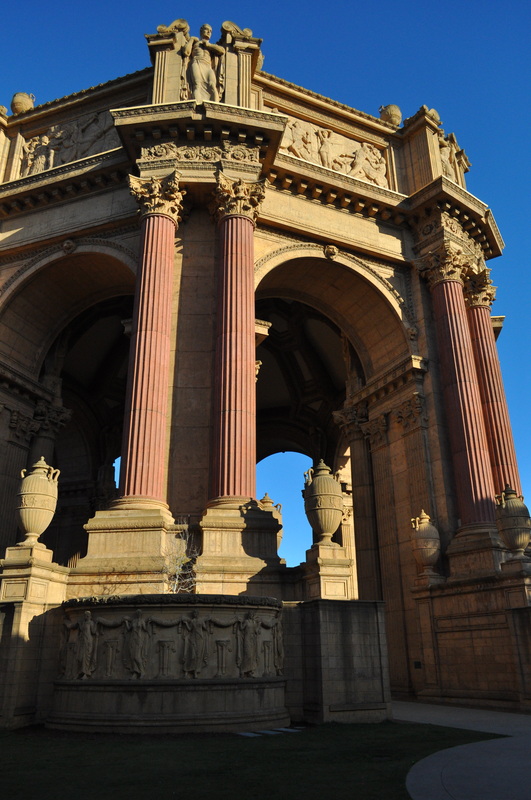
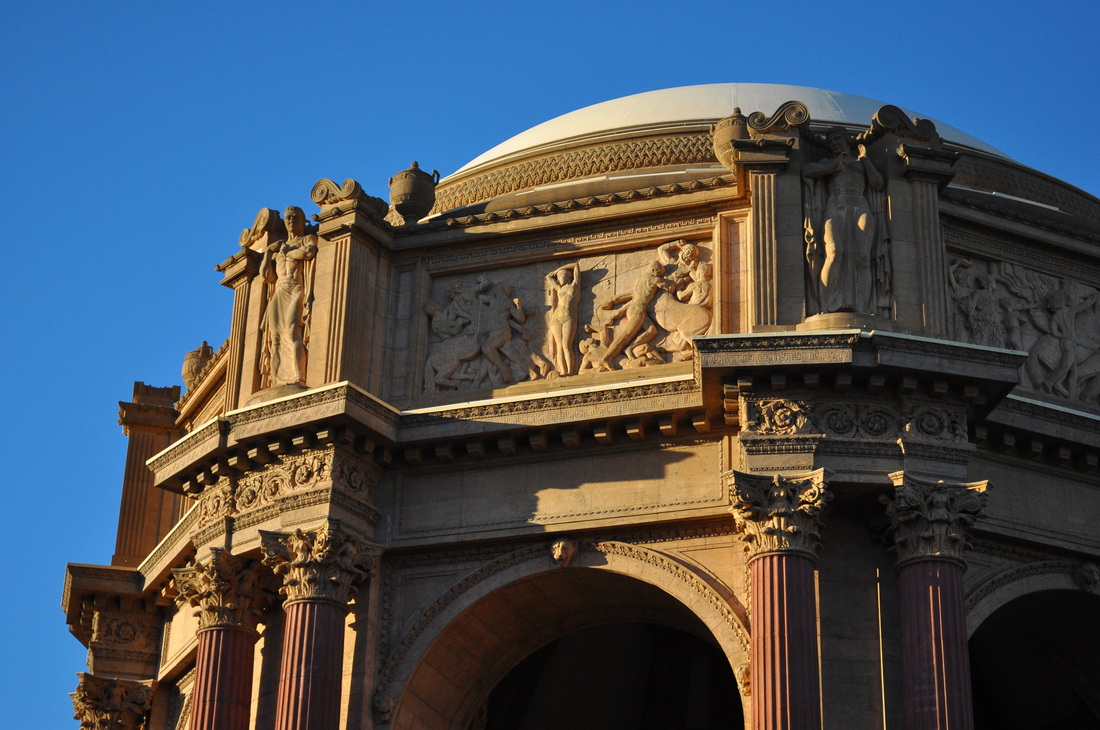
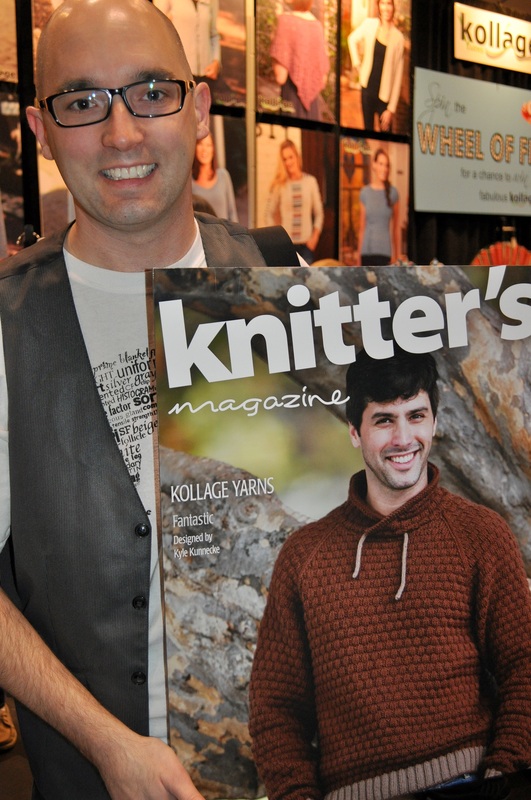
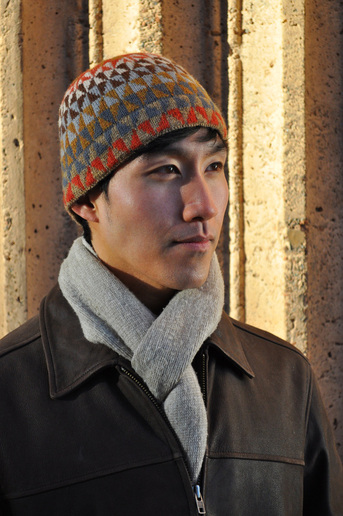 © 2013 Kyle Kunnecke I'm happy to share with you my latest hat pattern! This time it's a design inspired by old quilt patterns. Using a number of different colors throughout the hat, it's fun to knit... and the pattern would be a great opportunity to use scrap yarn (perhaps some leftover sock yarn?) What's involved in this pattern? It starts with a provisional cast on and a lining worked in the round using a main color and smaller needles. Once a turning row is completed, the stranded knitting begins. I worked most of this hat on circular needles, switching to double points for crown shaping. (Some people would use magic loop at this point.) Once the project was complete, it was time to find a place to do photography. I did a lot of research, looking for an exterior location that would offer the right feeling. I settled on the Palace of Fine Arts. San Francisco is an amazing city for photography - lots of hills, water everywhere... and even the fog can make things interesting. Anyway, The Palace of Fine Arts was built for the 1915 Panama-Pacific International Expo. Built out of paper mache, It was only meant to exist for a few years and actually fell into disrepair until the 1960s. After some generous contributions, it was re-created out of concrete and lasted for a good while. The past few years brought a re-furbishing of the monument and visiting it was truly a magical experience. I look forward to discovering more places in my hometown for photoshoots! 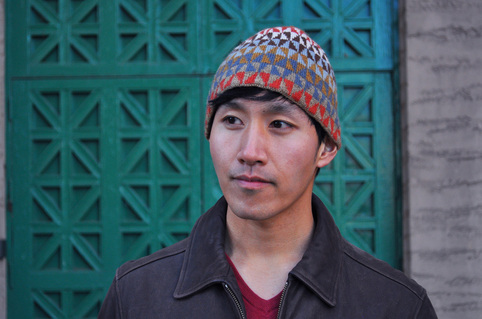 © 2013 Kyle Kunnecke We took photos in a few different spots at this location. The doors in the background of this photo are used in a lot of wedding photography. I thought it was really interesting how the pattern in the door is almost identical to the motif in the hat! Knitting this pattern went pretty quickly. The chart is easy to follow, and the color changes encouraged me as I worked. I am excited to see the color combinations others come up with!! I'll leave you with a few images of the architecture around the Palace of Fine Arts. I hope you like the new hat! 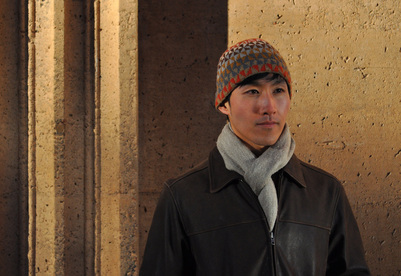 © 2013 Kyle Kunnecke $4.00 (.pdf download)
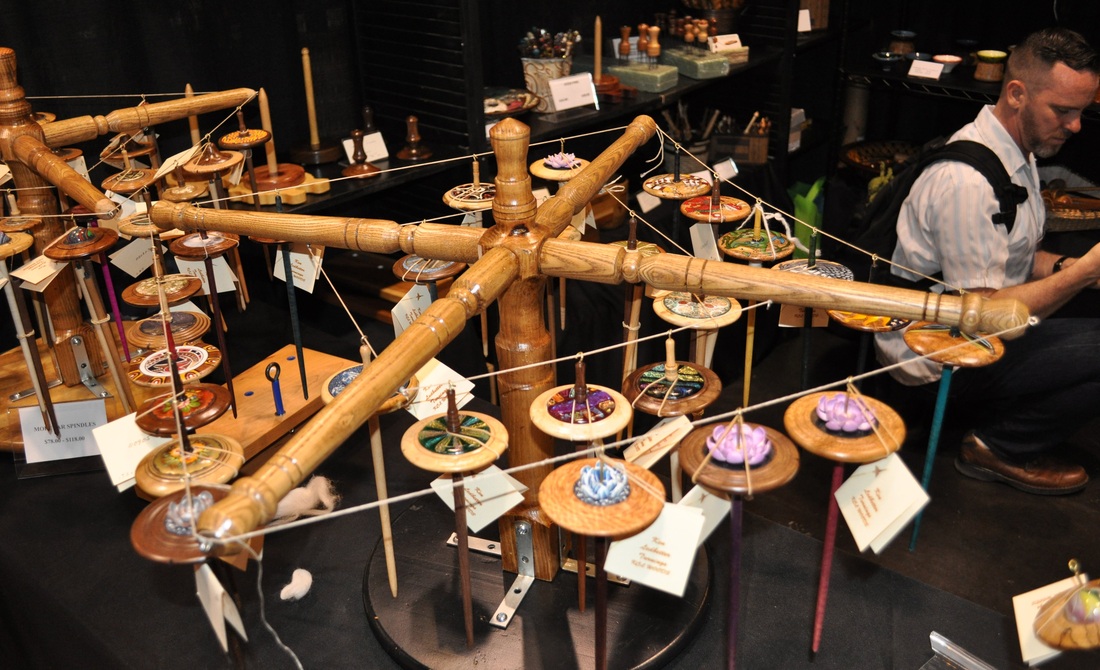
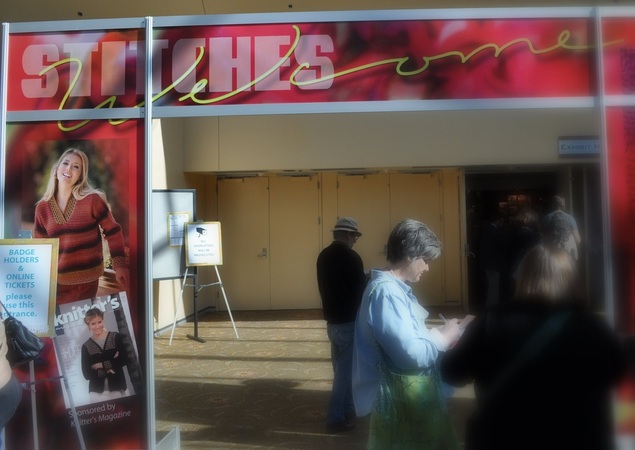
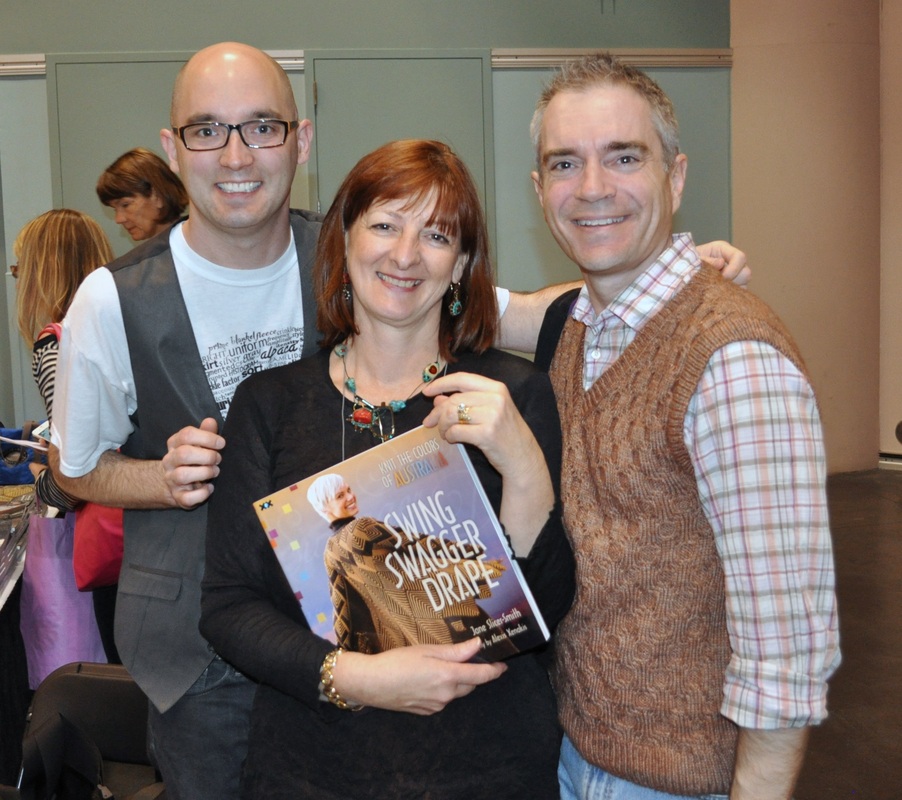
Stitches West 2012 inspired... as all Stitches events before did. This year, everywhere I turned, we were coming across a designer, yarn manufacturer or publisher and it felt really good to be surrounded by such talents. I look forward to the next event where we can all get together and share our passions. Congratulations to everyone who worked so hard to put on such an amazing event!
December 1st is World AIDS Day. It comes and goes each year and I remember how good it felt years ago to be involved in HIV/AIDS education and outreach. Today, I am proud to be certified as an HIV test counselor and to be working with UCSF AIDS Health Project. One of the reasons I moved to San Francisco in 2010 was to make a difference and work in HIV/AIDS outreach. This morning I met with my coworkers in downtown San Francisco. We gave away around 500 little red ribbons with our cards outlining the hours for our free HIV testing. It felt really good to do this outreach - and one stranger actually came up and gave each of us a hug; telling us he was on his way to the Grove to spend some time remembering those he had lost to AIDS. 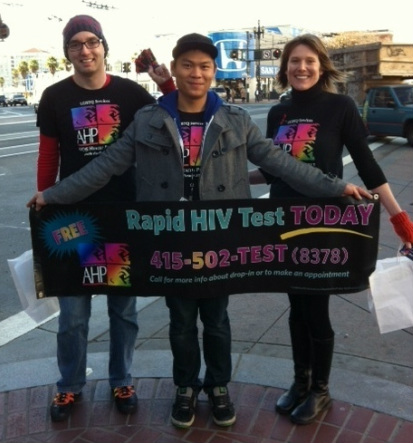
Years ago I did outreach like this; participating in AIDS walks, passing out condoms and participating in performances focused on HIV education. Today connected that past with the present and it feels really good. I found this newspaper clipping from 1991 from when I participated in the 4th annual Walk For Life in downtown Phoenix. If you look at the clipping date (1991) and follow the building in the photo down to the participants, you'll see a young Kyle (with a head full of dark hair!) carrying the end of a banner! 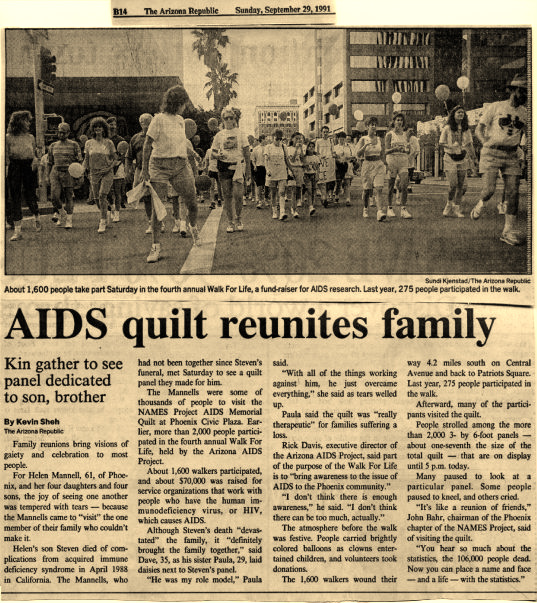
During my high school years, I was involved in the Positive Force Players; a teen peer education theater troupe sponsored by Planned Parenthood of Central and Northern Arizona. We spent the summer learning about around 20 different issues affecting teens: drinking and driving, suicide, teen pregnancy, HIV/AIDS, date rape and prejudice to name a few. After we learned from experts in each field as well as from those who had first-hand experience of whatever topic we were studying, we got in groups and, using our own stories, began to develop skits. Those skits were revised and developed into scenes that we performed for schools, youth groups, community organizations and conferences. We performed all over Arizona and, in my senior year, I believe I was in over 100 different shows. We worked to make a difference as kids; doing our best to share education and be available to those who might have questions. 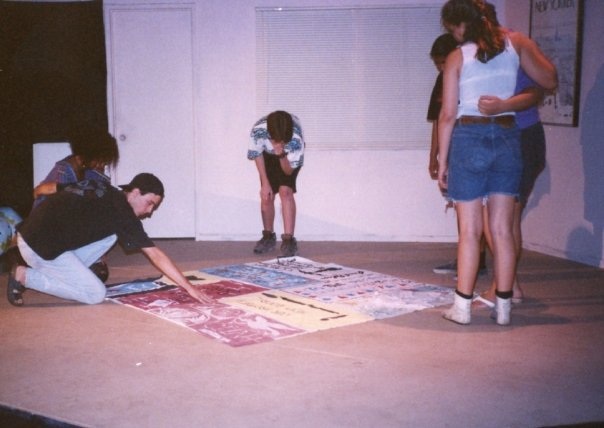
We created a longer show called "It's About Time" focusing on HIV/AIDS - and featuring the stories of three different characters. The photo above is from one of the performances of that show, and shows our version of the NAMES Project quilt. The performances allowed us to work as a group to make a difference, and many of the friendships we cultivated during those years are going strong all these years later. 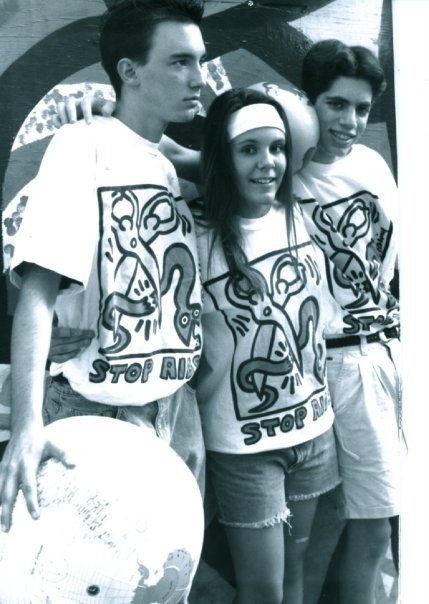
Back then, I knew that helping to raise awareness about social issues was important to me. I did my best to learn what I could and took advantage of each opportunity that came my way, including the chance to receive a panel into the Names Project AIDS Quilt when it was on display in Phoenix, AZ. These memories are what led me to the work I do today and are what seeded my love of HIV/AIDS outreach and education. 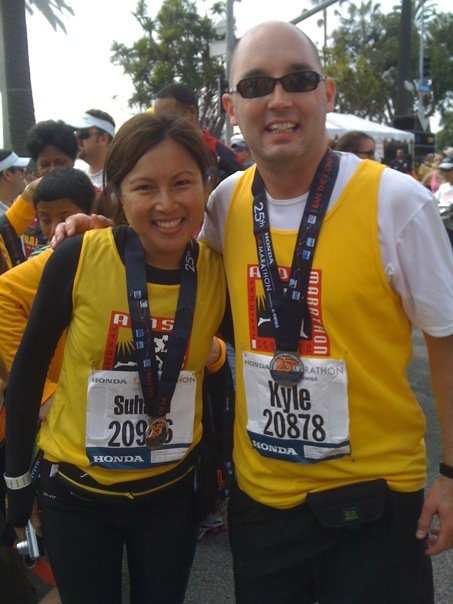
I ran the 2010 Los Angeles Marathon with the National AIDS Marathon Training Program and, with the help of my friends and family (and YOU), raised over $4,500.00 for AIDS Project Los Angeles. That took about 6 months of training and a lot of mental effort to accomplish but once I crossed that finish line I realized we really CAN do anything we want if we want it bad enough! OK - time to talk a little about knitting... 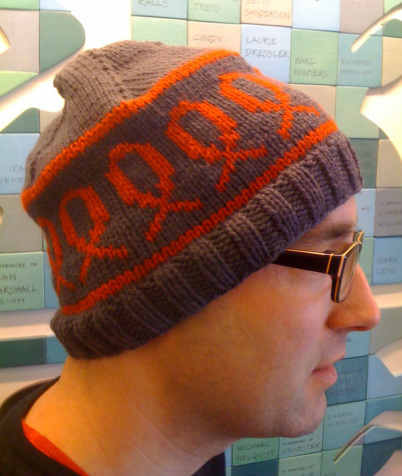
In preparation for World AIDS Day, I knit my CAUSE hat in red and dark gray to wear during our outreach. People asked to have/purchase/comission one of these hats so I decided to raffle this hat to raise money for AIDS Health Project. Those who work there have the opportunity to make a donation and from those donations we will draw a name. That person will win the hat while we gather some money for a worthy cause.
As you probably know, I have 2 knitting patterns that are connected to HIV/AIDS awareness. CURE is a hat featuring a "virus" on it and one red ribbon - and the proceeds from that hat go to Project Open Hand. They are an amazing group that helps to feed folks living with HIV/AIDS, Breast Cancer and the elderly. CAUSE is a hat encirled with ribbons and was designed to raise awareness about Breast Cancer. Changing the color of the ribbons changes the focus of the project. Proceeds from this pattern benefit Living Beyond Breast Cancer; a nonprofit based out of Pennsylvania. The pattern is featured on their Shop to Support page. Want to make a difference? Even something as simple as purchasing one of these patterns and knitting a hat could have an incredible impact on someone. It's just a hat... just a knitting pattern... but sometimes the smallest actions have the greatest rewards. Interested in purchasing the CURE or CAUSE pattern? Visit the SHOP. For all you do to help raise awareness about HIV/AIDS and the other issues that are important to you, today is a day to reflect on how much impact even one person can have. YOU have the ability to make a difference in this world; one tiny step at a time. Like what you're reading? Please "Like" on Facebook or "Tweet" on Twitter. Want to leave a comment on the post? I would love to hear from you! November is here which means in the United States it's the month of our Thanksgiving holiday that, for me, evokes memories of big dinners (complete with pumpkin & pecan pie, banana salad, turkey, ham, oyster dressing for dad (and plain dressing for the rest of us), and usually sweet tea depending where we were celebrating. It also reminds me of dressing like early Americans (complete with construction paper pilgrim hat or paper feather headdress for the Native Americans) and of course, that this holiday marks the "real" start of our traditional holiday season. Retail brings Christmas to us earlier and earlier every year; it's now happening a few weeks before Halloween in mid-October, but November 1st seems to be the indicator for me... With the start of this season, I am taking the opportunity to say thank you to those who make my world so amazing. This year, in addition to my personal reflecting time, I decided to put pen to paper and write notes to some of those who have really made a difference in my life. I spent some time searching for an appropriate image (which, of course, I found at the Graphics Fairy) and created thank you cards. Cut, folded, and ready to go, I spent an afternoon writing a few of those who have greatly impacted my life. It makes sense to me; "thank you" cards for "Thanks"giving... right? 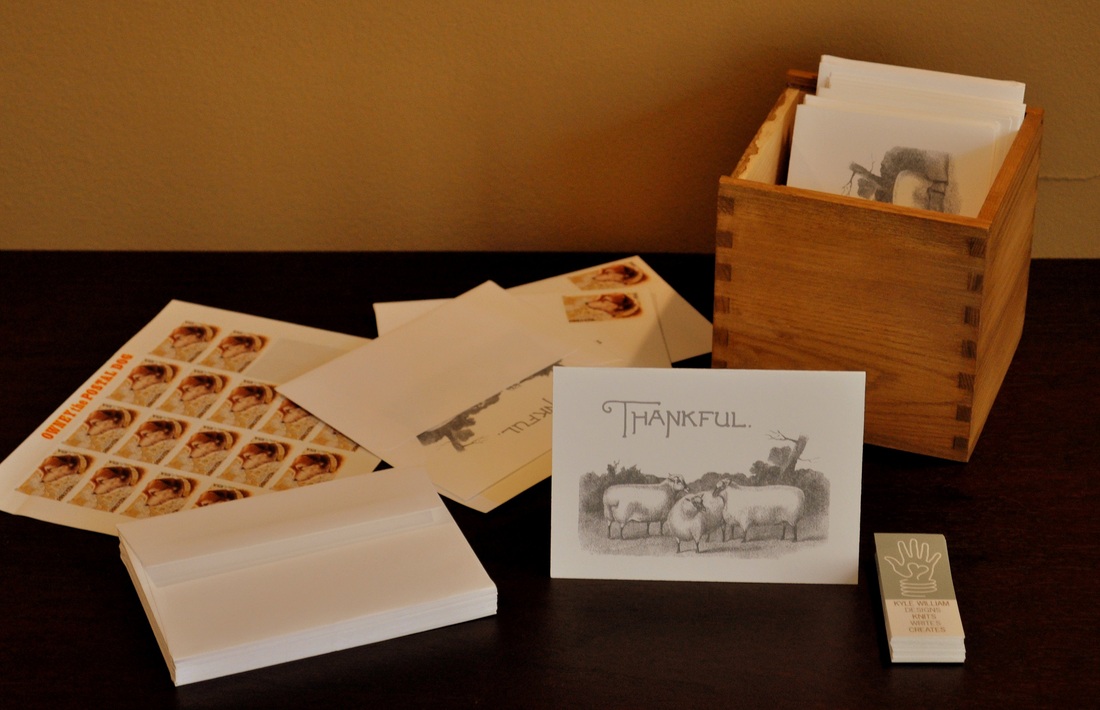
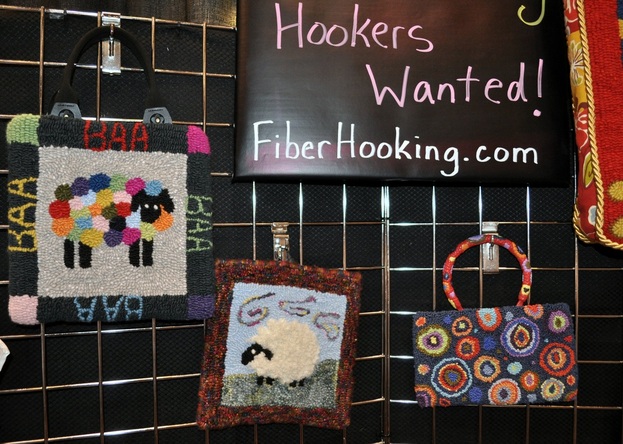
If you'd like to make the same card, I have attached the file for you to download. Print it on heavy card stock, purchase some A1 sized envelopes and you'll be ready to be "Thankful" with this card featuring a vintage sheep graphic.
Simply print the cards on 8.5" x 11" white cardstock. Carefully cut them out, fold, then fill them up with words of gratitude for those that deserve it. The cards fit in A1 size envelopes. (Envelopes and cardstock can be found at most office supply stores. To cut the cards out (if you're not good with a sharp pair of scissors,) a paper cutter will do or rotary paper cutters can be used at copy/print places like FedEx/Kinkos. No time to make these cards? No printer? A purchased "thank you" card would be a lovely subsitute, and of course, a simple, hand written note is always welcome in the mail or taped to a co-worker's keyboard or monitor! This doesn't have to be fancy; take the time to tell those around you how they impact your life. A few sentences can make such a difference. Who could get a thank you note? The list could go on and on for years. Pick one (or a dozen, or two) and write. It feels good to send love (especially when it's unexpected!) Your LYS (local yarn shop) Fiber company Family (distant or not, biological or not) Neighbors Co-worker Favorite place to eat Mail carrier Nurse/Doctor/Pharmacist Those who volunteer in your area (food banks, homeless shelters, etc.) - wherever someone is working to make your community a better place Police or Firemen - address the card to the entire crew The person who taught you to knit Childhood friends Teachers (and many, many more...) It feels good to put on paper a gesture of gratitude... an unexpected note of kindness can brighten a day and possibly change a life. Do some good. Be thankful. Print, write & share.
There's more knitting, weaving and creating going on here than I can talk about... but in time, I PROMISE to share all of it with you... every last stitch. OH - one more thing. Thank YOU for reading. I know that there are lots of blogs out there to read and I appreciate your reading this one... and while not everyone comments on the posts, I know you're looking and that fuels m. Having an online presence is a really fun thing - it affords me a place to sort out and organize my projects and thoughts and it has the added benefit of helping me stay connected to many of my online friends. For that, I'm thankful. Consider this post my "thank you" to you - for reading, being supportive of me (and other designers, knitters, artists), and for being the amazing person you are!! Like what you're reading? Please "Like" on Facebook or "Tweet" on Twitter. Want to leave a comment on the post? I would love to hear from you! Happy Thanksgiving! 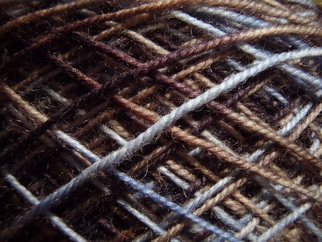 Knitting is my "go-to" activity whenever I have a few free minutes. I knit on my lunch break at work, I knit during down time when volunteering, I knit when riding with friends places... at the beach, at the movies... it's the first thing I do when I wake up in the morning (after checking email and ravelry) and the last thing I do usually before going to bed every night.
Recently, I have been doing some design work for publication and it has taken a lot of my time away from some of the other things I like to do (like my goal of posting more frequently on the blog about knitting). Those who have designed for publication know what it's like... coming up with an idea, swatching, swatching, swatching and then swatching some more... figuring out what the stitch pattern wants to be, then spending hours and hours knitting, ripping, knitting, ripping and knitting some more until a knitted item is born. LOTS of notes are made and revised, and once the piece is complete, knitting becomes a sort of math "word problem" where the goal is to calculate the various sizing requirements for the project. All of this takes so much time, and the publication process takes a few months more... so in the end, there's LOTS of knitting that becomes secret and takes up time and can't be talked about... what that means is sometimes I am working like crazy on projects and while I want to post about them I can't. I have also been working on a commission project that I prefer not to talk about until it's complete... (It's a fun knitting project and I can't wait to share the finished item with you!) I have to get back to knitting - but that's what's going on right now. Thanks for reading, subscribing to the newsletter, adding my blog to your blog reader of choice, and for sharing my website and link on your blog! Have a fantastic week! Like what you see? Click the "like" Facebook button or share this post on Twitter with your friends. Thanks! The Rialta scarf is an easy-to-knit, fun project that takes full advantage of the gorgeous color changes in Noro Silk Garden. Download the pattern and get a headstart on Holiday knitting! Based on the ripple or wave stitch seen in many, many stitch libraries, this scarf is easy to make with one row of pattern followed by 3 rows of plain knitting heaven! Alternating between two skeins of delicious color-changing Noro makes for an unexpected treat. You'll find yourself knitting on projects like this for hours on end; working to see what color combination will be next to appear. 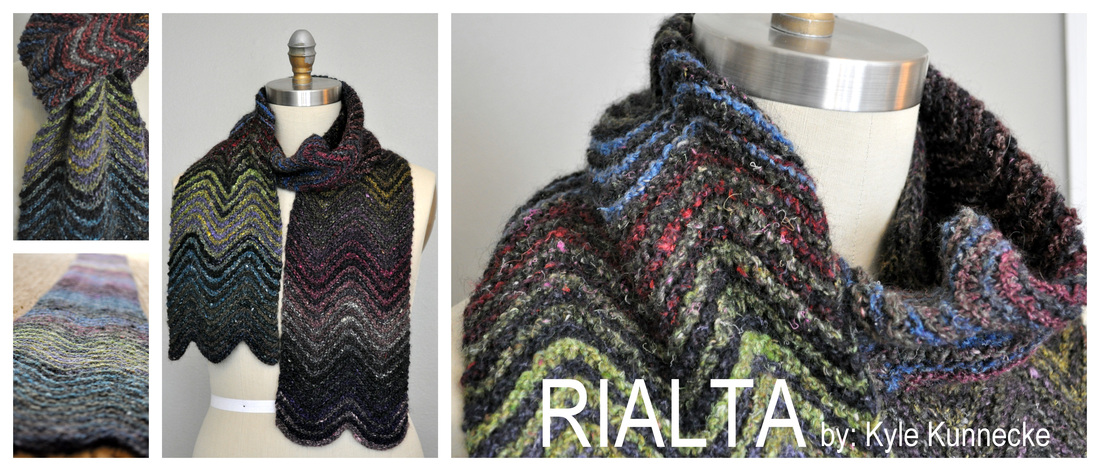 Click the "Download Now" button to download your FREE copy of the RIALTA Scarf pattern!  Here's a helpful hint: When knitting projects such as this using various colors of yarn that changes color, I am careful to alternate the joins in yarn. While working, continue alternating between the two skeins until approximately ½ of each of the skeins are used. Break the yarn of Color A and spit splice a new skein to the yarn tail, reserving the remaining yarn. Continue knitting until the end of your project, adding skeins of yarn as needed. When finishing the project, as you come to the end of Color A's yarn, spit splice the remaining ½ skein previously removed. Using this trick will make the joins almost impossible to detect. If the yarn ends that are spliced are similarly colored, the join will be invisible. I used this technique when making Technicolor (the sweater pictured below) - and used 12 different colors of Noro Kureyon for that project. 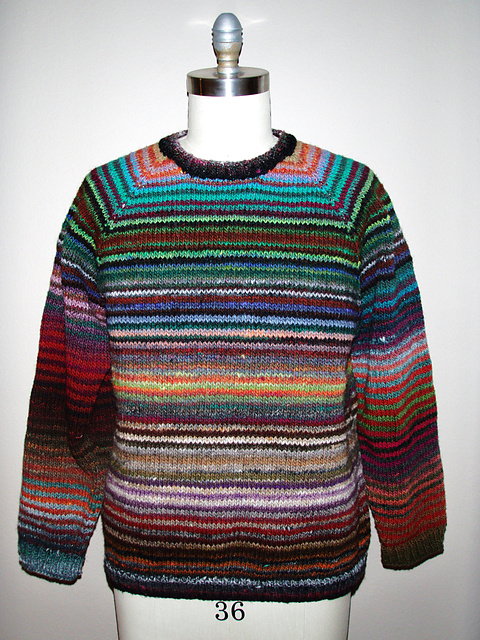 Like what you see? Click the "like" Facebook button or share this post on Twitter with your friends. Thanks!
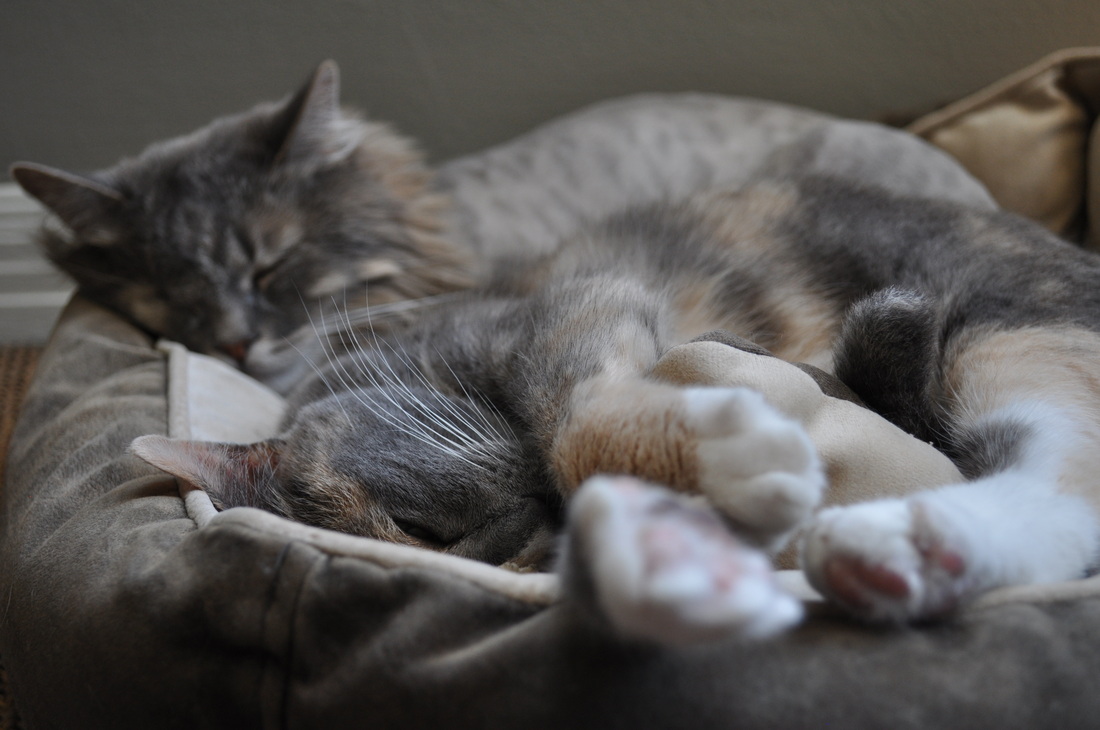 I wanted to share this photo of Willow and Wink taking an afternoon nap and tell you there's a LOT of great stuff coming here at www.kylewilliam.com! While the blog may seem a bit quiet, rest assured that I'm hard at work behind the scenes preparing all kinds of goodies!
Like what you see? Click the "like" Facebook button or share this post on Twitter with your friends. Thanks! Working with Kate, I never know what she's going to come up with next! The most recent surprise was this presentation folder that holds the Kyle William pin-back buttons! I love to give out these little buttons to my friends and students to remind them of the Kyle William website. Fiber enthusiasts love to put them on their knitting bags to show support of the shops, websites, and podcasts they love. Kate went above and beyond and designed this folder which I'll be using when giving out the buttons where I lead workshops. This is my new favorite way to present my button and contact information! 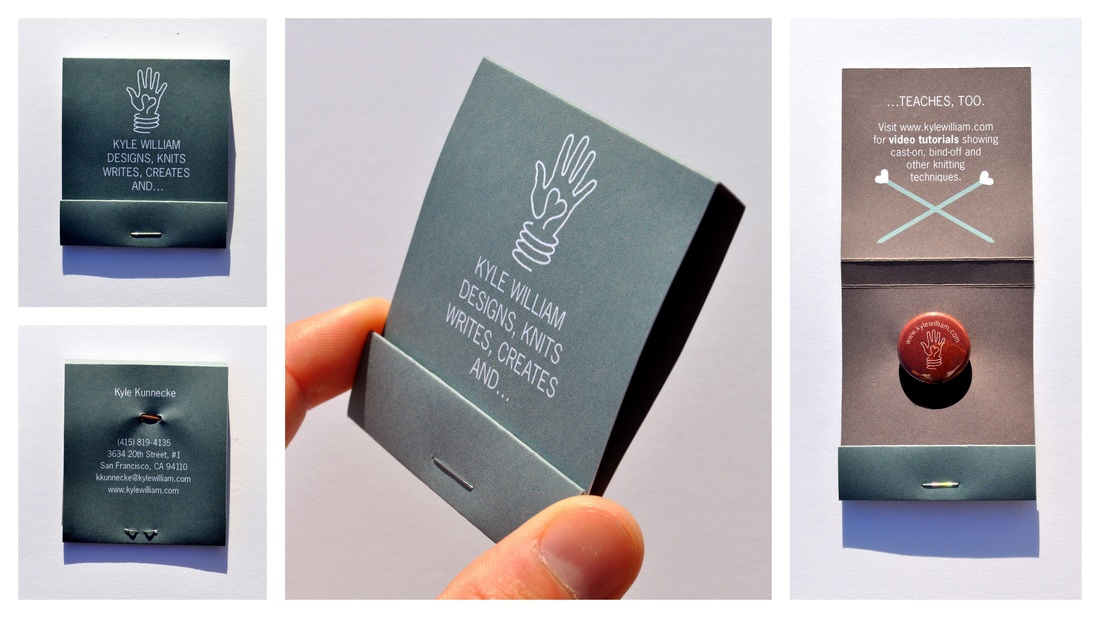 A big "THANK YOU!" to Kate for her tireless creativity. I am excited about presenting the first of these folders to my students today at the San Jose Museum of Quilts and Textiles! I know it's not possible to meet everyone who visits my blog to give them one of these buttons... so, to make sure you get a little something too, here's an online button you can use to put on your blog or website! Copy and insert the HTML code below onto your site and share the love:  <a href="http://kylewilliam.com/" ><img border="0" src="http://www.kylewilliam.com/uploads/7/0/0/7/700708/4094967.jpg?127" /></a> Like what you see? Click the "like" Facebook button or share this post on Twitter with your friends. Thanks!
I'm honored to be a guest on the latest issue of Fiber Beat! Having the opportunity to share my love of knitting with the listeners on Michael's podcast means a lot to me; I hope that the interviews he did with me and Deborah Corsini; the curator at the San Jose Museum of Quilts and Textiles will pique your interest to learn more about knitting as art and, if you're in the San Jose area, visit the exhibits and, if interested, take one of the workshops I'm offering. To hear the podcast, click on the image: 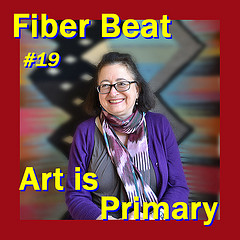 Be sure to subscribe to Fiber Beat; you never know who will be interviewed next! The podcast is professionally produced, concise, entertaining, informative and inspiring! Fiber Beat has interviewed such fiber celebrities as Kaffe Fassett, Anna Zilboorg, and Franklin Habit, among others! If you have yet to discover this great program, my suggestion would be to listen to each and every episode!  Like what you're reading? Click the "like" button for twitter or facebook below to share this post with your friends! Have a question for me? Please send an EMAIL.
|
Archives
July 2023
Categories
All
|
||||||||||||||||


 RSS Feed

|
ExploreFor Fun
|
Support |
Connect |
© 2006-2023 Kyle William. All Rights Reserved.