
Knitting with Purpose: Building Friendships and Making a Difference through Charity Projects7/14/2023 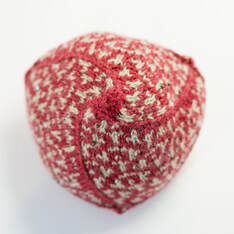 Designer Knocker made for Knitted Knockers, 2016 Designer Knocker made for Knitted Knockers, 2016 In our fast-paced world, knitting not only offers a peaceful retreat but also creates opportunities for connection and community. When we knit together, we not only enjoy the craft itself but also foster friendships and build lasting bonds with others who share our passion.
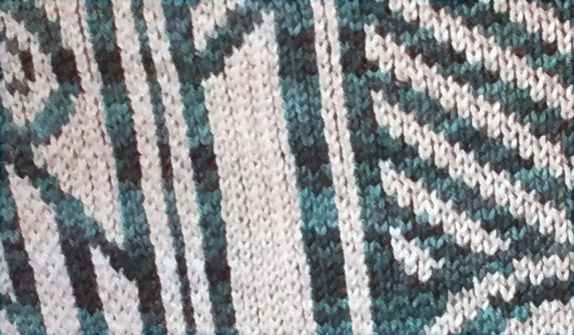
One of the beautiful aspects of knitting is its ability to bring people together. Joining knitting circles or attending knitting groups allows us to meet like-minded individuals who appreciate the craft. As we gather around a table, sharing yarn, patterns, and stories, we create a sense of camaraderie and support. Through the shared love for knitting, we form friendships that extend beyond the craft itself. Knitting in a group setting also opens the door to collaborative projects and collective creativity. We can work on a common goal, such as creating blankets, scarves, or hats for charitable causes. This collective effort not only enhances our knitting skills but also allows us to make a positive impact in our communities. Knitting for charity is a powerful way to help others. By channeling our knitting skills and dedicating our time and effort, we can contribute to meaningful causes. Whether it's knitting items for newborns in need, crafting warm blankets for the homeless, or making caps for cancer patients, our handcrafted creations bring comfort and solace to those facing challenging circumstances. Knitting for charity not only benefits those in need but also gives us a sense of purpose and fulfillment, knowing that our skills can make a difference in the lives of others. Through knitting, we become part of a larger community of knitters, both locally and globally. Online platforms and social media connect us with fellow knitters from around the world, allowing us to share ideas, patterns, and support. It's a beautiful way to bridge distances and embrace diversity, as we learn from each other's techniques, traditions, and cultural influences. So, let's not only cherish the personal benefits of knitting but also embrace its power to bring people together. Let's join knitting circles, knitting groups, or online communities to connect with fellow crafters and build friendships. Let's use our knitting skills to support charitable causes, spreading warmth and kindness to those who need it most. In this interconnected world of stitches, let us weave a tapestry of compassion, creativity, and community, one knit at a time. Locked floats (also referred to as "Armenian Knitting") is an amazing stranded knitting technique that creates a gorgeous interior. It reduces the challenges a person might have with their knitting tension and reduces the risk of fingers or jewelry getting caught on the interior of a sleeve. The finished work also has interesting patterning on the non-public side that happens by following the simple rule of securing/trapping the floating yarn every other stitch of the same color. 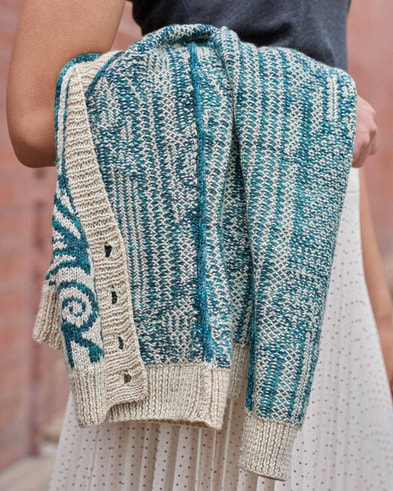 I received an email from Roxie the other day who is working on the All Who Wander cowl and the trapped floats are peeking through to the front of the work: I have taken a couple of your online classes and am comfortable with locked floats . I am currently working on your All Who Wander cowl. My challenge is to avoid having the secured strands show through on the front/right side. I have worked on my stranded skills and my work is flat without bunching. I can still see yarn in the back showing through. Do you have any suggestions that would improve my technique?
When I'm knitting, I like to keep the "rules" pretty simple. For locked floats, I encourage my students to secure the floating yarn every second stitch of the same color. We do this exactly the same way throughout the entire project. That means that when we are working a column of stitches that are all the same color, the place we are securing the floats will stack vertically. That's why every other column in that section of stitches also sticks up a little more than its neighbor. It reminds me a little of a farmer's field - with peaks and valleys. The good news is that if the entire project is stranded, AND you follow the rule of trapping the floating yarn when working every second stitch of the same color, then every trapped float has the same opportunity to peek through the fabric. Working consistently results in a fabric with repeated secondary pattern elements on the wrong/back side as well. 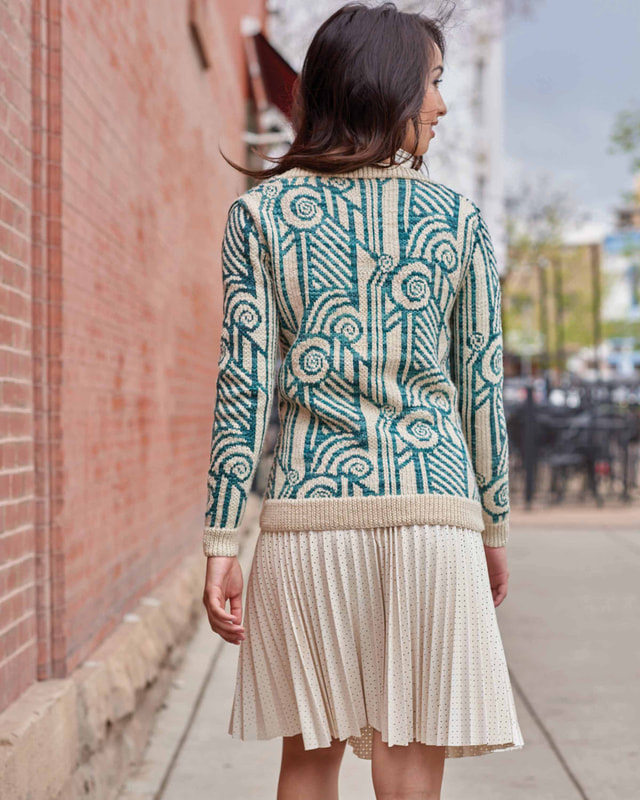 ...so, what can I do to minimize seeing floats on the right side of the fabric?When knitting a stranded colorwork pattern, there are a few decisions that are made which can help reduce the amount of sneaky, peaky floats. For a more successful finished object, take time to consider the following:
Needle Choice While knitting, consider using needle one size smaller if the space between stitches is too open. Even switching from wood to metal needles can sometimes affect gauge, so check out different tools to see what might be the best combination for your project. Practice It's true that the results improve the more we utilize a technique. If locking floats is new for you, allow yourself time to become confident in the method before tackling a large project. Need a refresher on the techniques? Check out my tutorial videos. If you have questions about locked floats or other knitting techniques, send me a message. It is always fun to hear from fellow crafters! Stay crafty,
-Kyle The I-cord cast on is one of my favorites. Yes, it takes a bit of time but I promise it is time well invested. The edge is a fun tube that has a bit of structure to it, and it works so well with built-in i-cord edges. Why do I love this cast on so much?
You've never tried the i-cord cast on? Here's a video that demonstrates how to do it! While casting on, I do think about the song One Step Forward by Desert Rose Band - in case you also need audio encouragement! OK! Now that you know how to do the i-cord cast on, what might you make with it? You will find it in a variety of projects, generally ones where the edge of the fabric doesn't need much stretch. Here are a few of my patterns that feature the i-cord cast on as the opening number:
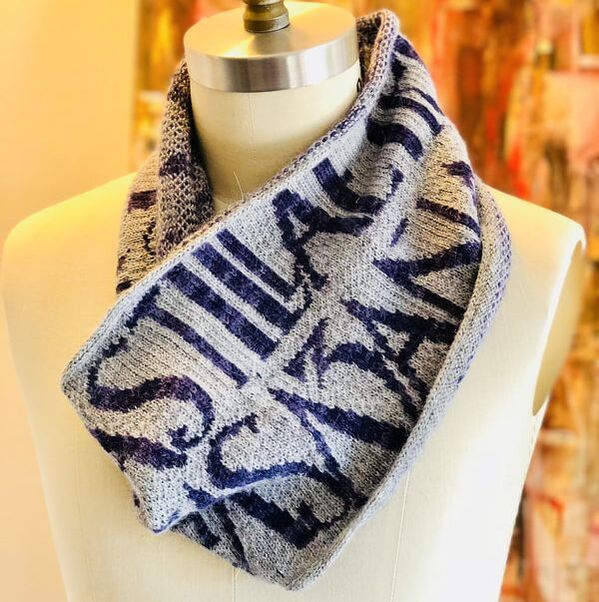
I'm happy to announce the release of Finley; a scarf that combines intarsia, stranded (color work), and locked floats. It's the type of project that I teach in my stranded intarsia class which I'll be leading again at Vogue Knitting Live in NYC in January. 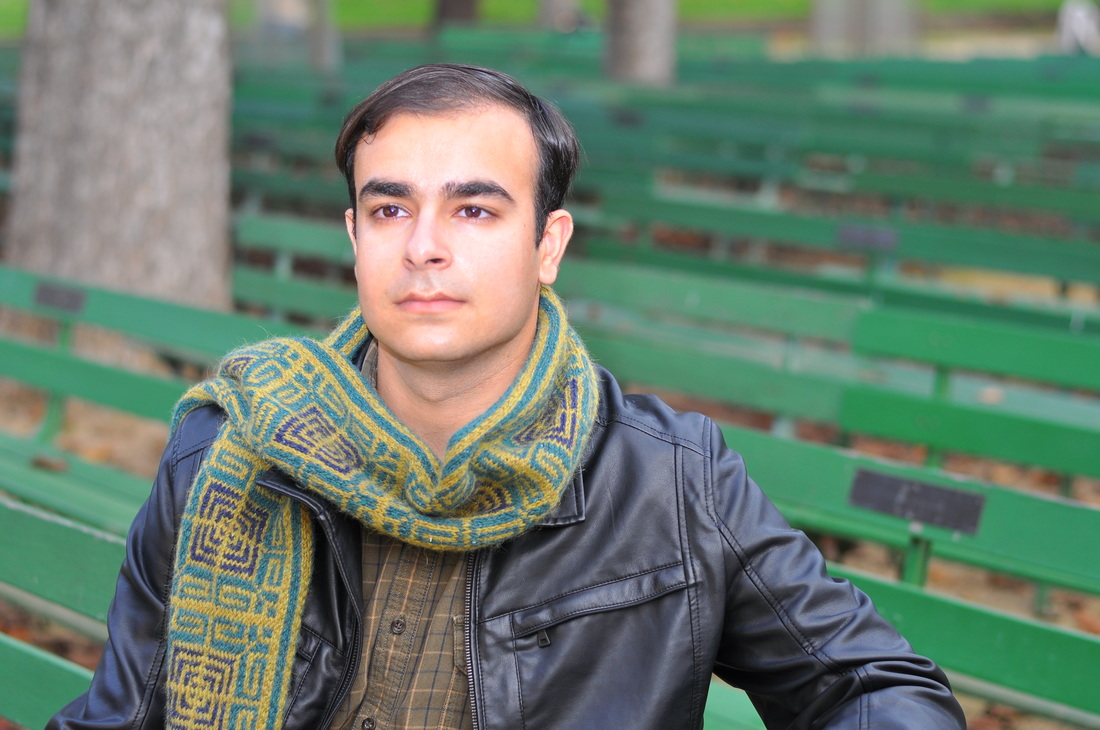 It's no secret that I love the concept of locked floats. The secured "reverse" of stranded knitting looks so beautiful. It means no chance of snagging, and also makes for a more even tension throughout the piece. Want to give Finley a go? It's available via Ravelry now as a digital download, and the print pattern will soon be available for wholesale distribution through Deep South Fibers. 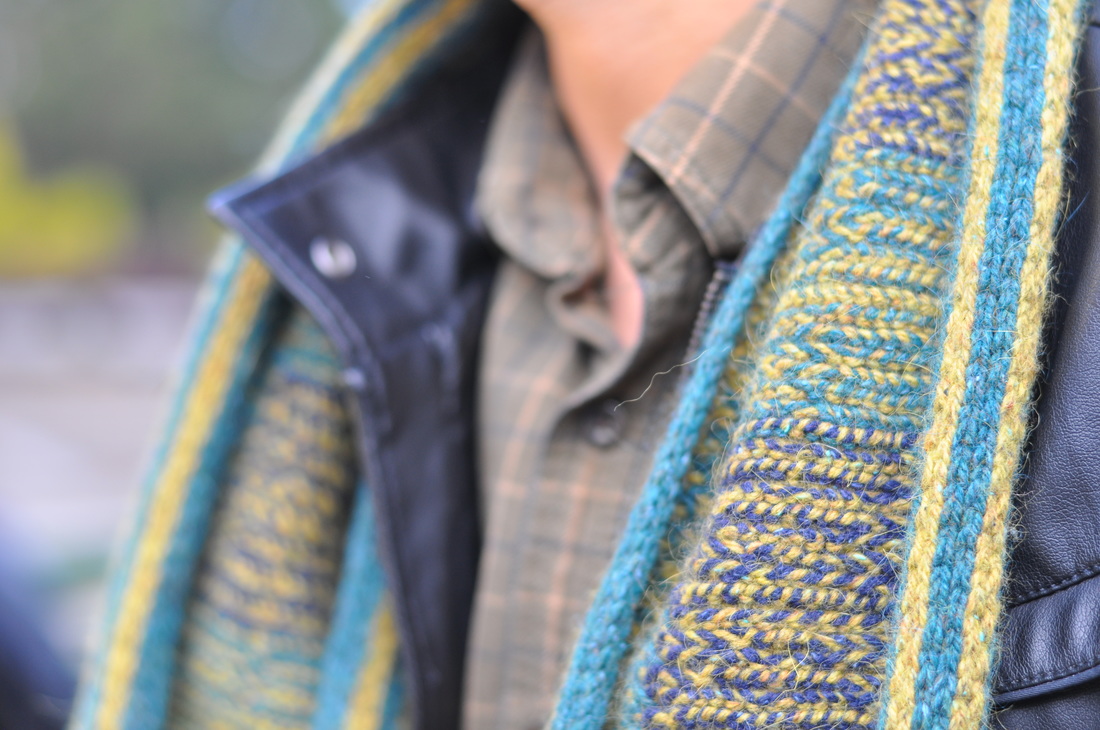 Here's hoping you have a beautiful rest of the week. I'm heading to Reno on Saturday to visit with the fun folks at Jimmy Beans Wool! I'll be there with a mini trunk show of the pieces from my book, and I'll also be signing copies of Urban Knit Collection as well. If you're in the area, be sure to drop by and say HI!
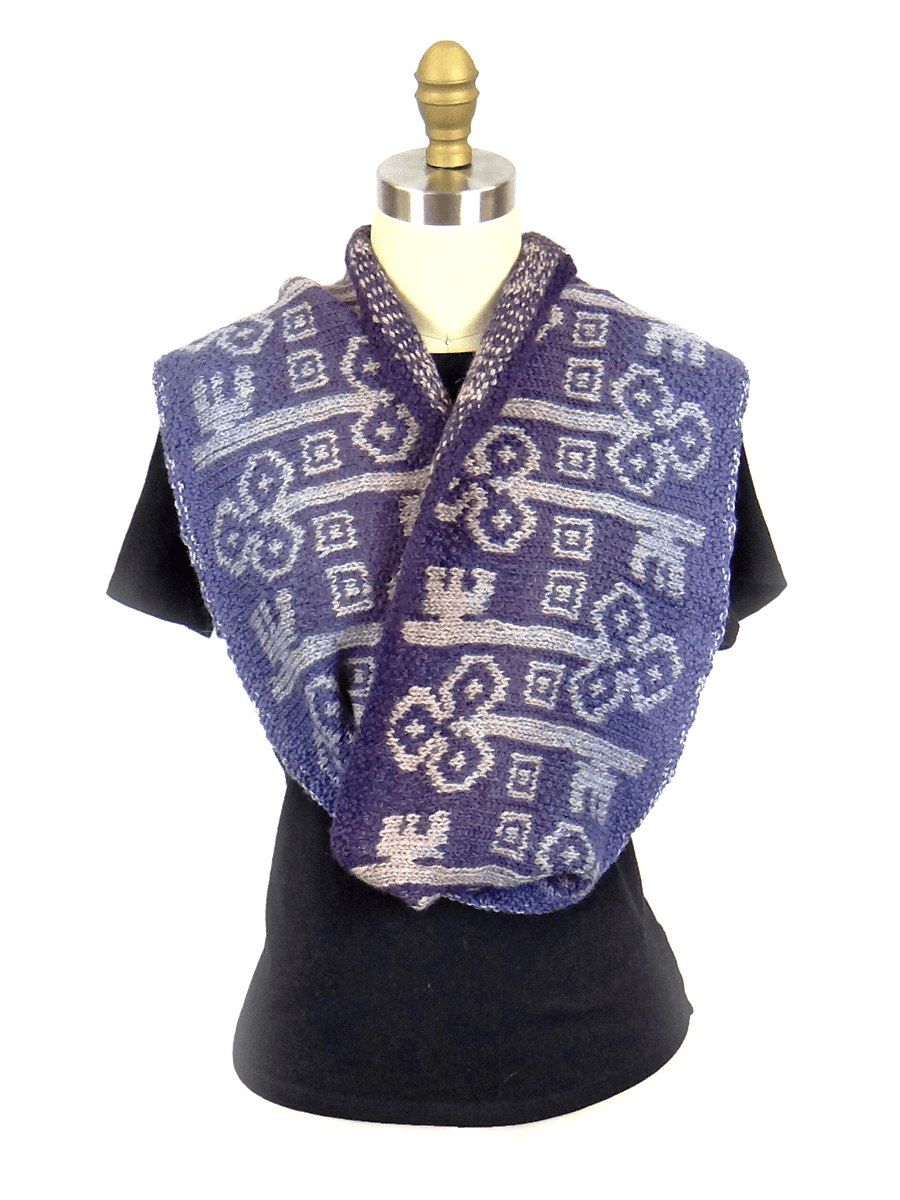
Happy Knitting, Kyle 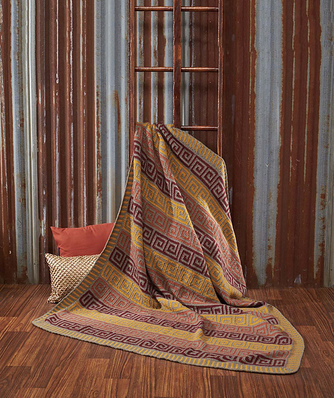 I'm happy to share a blanket that I designed for Willow Yarns!
You can buy the pattern alone as a digital download, or you can order the entire kit from Willow and make one of your very own! It's a fairly simple knit, requiring knitting skills including reading charts, knit/purl, and locking floats. The two-color edging makes for a fantastic finish. Don't want to knit a blanket? Make it narrower and it becomes a fun wrap! Happy Knitting, Kyle 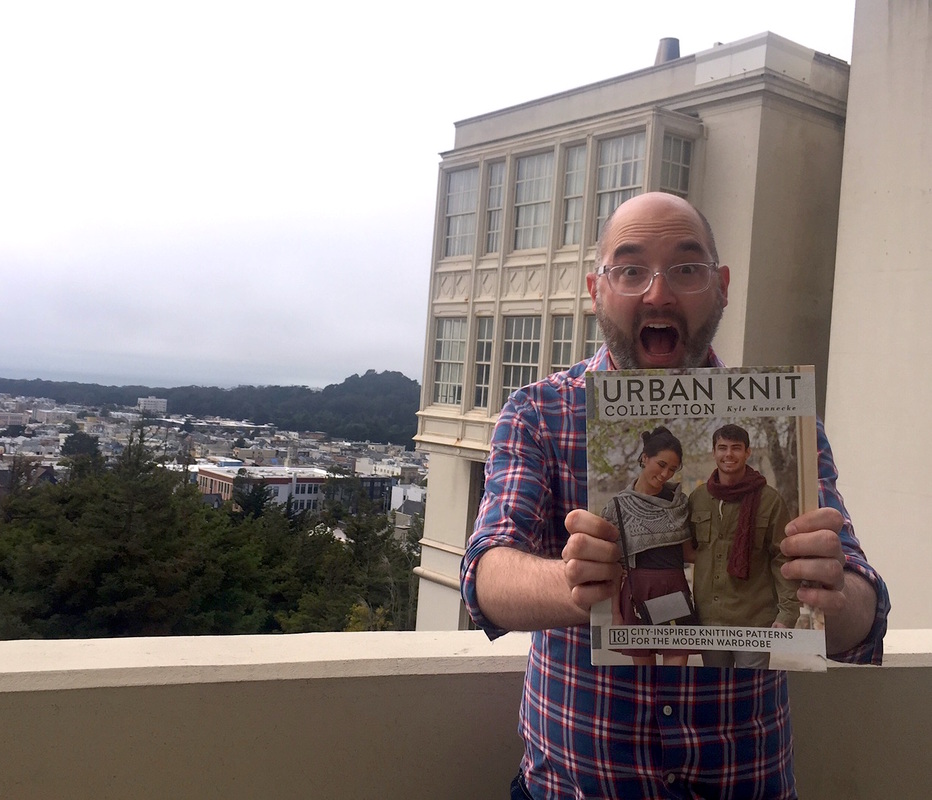 I'm BESIDE myself with excitement about the Author's copy of my book that just arrived! I'm busy preparing for a launch event at my local yarn shop, Imagiknit here in San Francisco and invite you to pre-order the book from there today. In the special instructions box, let them know if you'd like me to autograph it (and if I'm dedicating it to someone) and I'll be happy to sign it before they package it up and whisk it off to your home! I hope you'll find the book fun and inspiring. It has been a fantastic journey so far and it feels like a dream knowing that today it's a for-real book! There's lots more to do before the launch party, so I'm getting back to that now - but wanted to send out a note to let you know you can pre-order an autographed copy today!
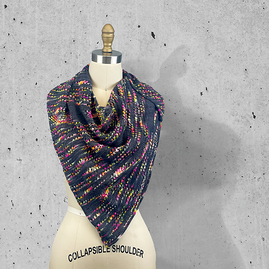
Happy Knitting! -Kyle 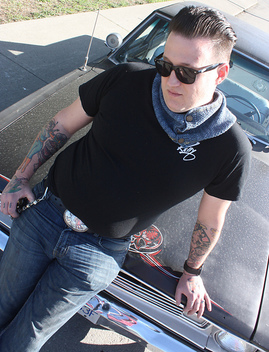 Photography: Andrea J Klassen Photography: Andrea J Klassen It's Friday, so it's the perfect day for the release of my newest pattern! This one is in partnership with the folks at Ancient Arts Fibre. Gorgeous hand dyed yarn in a blue that was inspired by denim. Of course when I heard this, I immediately knew I wanted to use metal tack buttons for this piece. Worked flat, the cowl is a simple pattern that is enhanced with a bit of yarn detail at the edges that is meant to mimic stitching on denim. The pattern is available now on the Ancient Arts Fibre website, and on Ravelry. Click on either image to be directed to the project page for more info. Happy Knitting! Kyle 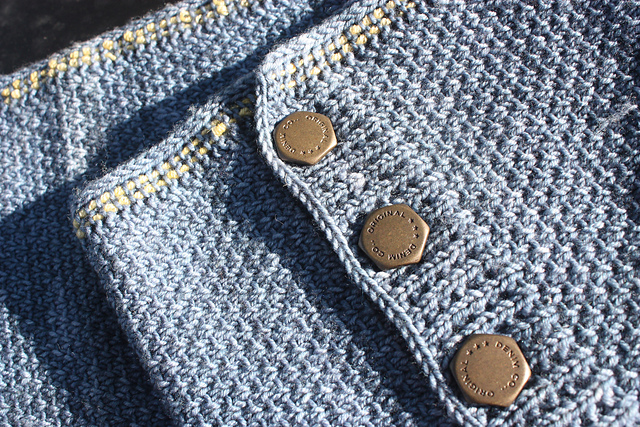 Here's a milestone of a post. Pre-orders for my first book are happening NOW! And on the cover you get to see two of the pieces; a men's vest using HiKoo Simplicity, and a woman's wrap worked in beautiful, hand-dyed Hazel Knits Cadence. The book is full of garments and accessories, and includes a variety of techniques including cables, stranded knitting, lace, and intarsia! 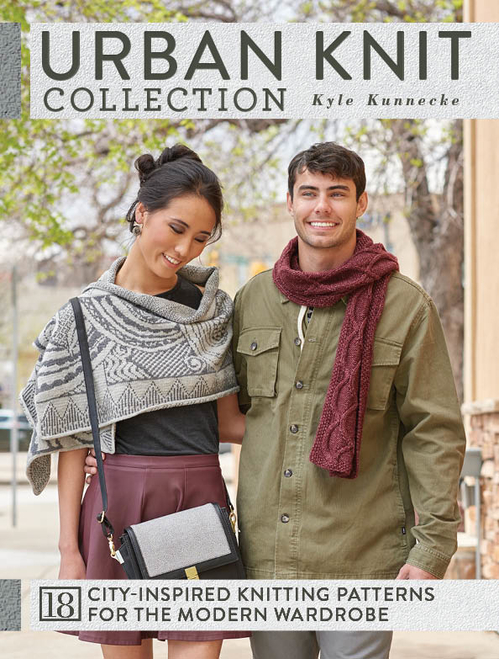 Writing a book is a HUGE labor of love. It's an incredible amount of knitting, designing, grading (sizing), thinking and re-thinking... and waiting; knowing that the final work will be out and it's going to be incredibly fun to share. That day is finally here and I couldn't be happier. The team at Interweave has really done an amazing job at bringing my book to life. Want to get in line and pre-order your book? Click the image above (or the button below!) to be directed to Amazon where you can place your pre-order now. There will be many more posts about the book, including book launch parties, pattern reviews, and perhaps even knit-alongs! Until then, a big hooray that the book is on its way! Kyle Paperback – September 23, 2016
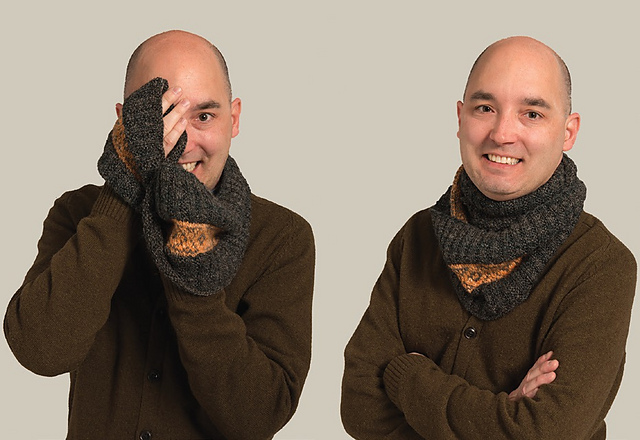 Photography: Michael Lichter A new FREE pattern! This is the Hayden cowl; something I designed for my trip to Schacht Spindle in November, 2015 to wear for the photo shoot for an upcoming campaign. My "personal story" will be published in "Spin Off" magazine in the Spring 2016 issue.
I made the sample in the photograph using yarn I spun on my Sidekick... the ribbed section is a 3 ply yarn, and the stranded section is two 2-ply yarns. Being able to customize my yarn made me feel so in control! The photoshoot at Schacht was a lot of fun. The photographer, Michael Lichter, was fun to work with, and his studio was so cool! fancy photo equipment, a beautiful seamless backdrop, and space to park a Harley! (He's a major photographer who focuses on motorcycles usually, but he also does lots of work with/for Schacht). After I made the first cowl using my handspun, I made a second using the amazingly delicious Brooklyn Tweed Loft. Two colors this time, and all the same thickness of yarn... but since Loft has such...um...LOFTiness (haha!) it all evens out beautifully. Enjoy the free pattern, courtesy Schacht Spindle Co. My favorite kind of announcement: The 75 Squares fundraising event raised $1500.00 for Project Open Hand! This is enough money to fund 750 meals to those in need. But taking it a step further, the funds were matched, bringing the total donation to $3,000.00! That means it's a donation large enough to serve 1,500 nutritious meals to the home bound, or critically ill. I'm constantly impressed by the generosity of the fiber arts community, and its never-ending desire to help others. 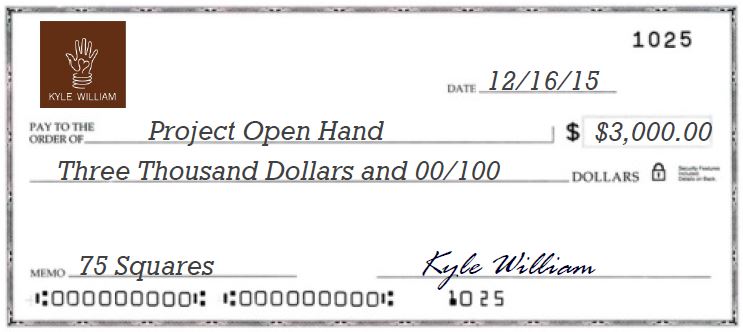 Thank you to everyone who donated their handmade scarves, shawls, and wraps to the event; to the Project Open Hand staff and volunteers who modeled the pieces; and to the incredible folks who purchased pieces and now get to wear them with pride.
Learn more about Project Open Hand and the good work they do here: www.openhand.org. Happy Holidays, everyone! Kyle |
Archives
July 2023
Categories
All
|
 RSS Feed

|
ExploreFor Fun
|
Support |
Connect |
© 2006-2023 Kyle William. All Rights Reserved.