
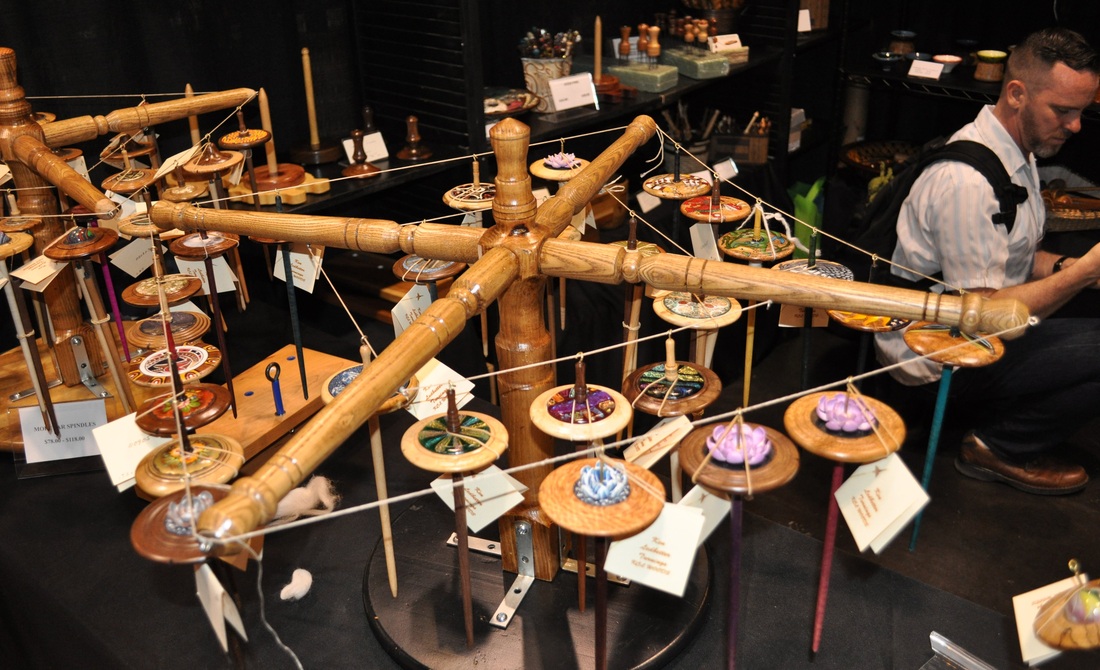
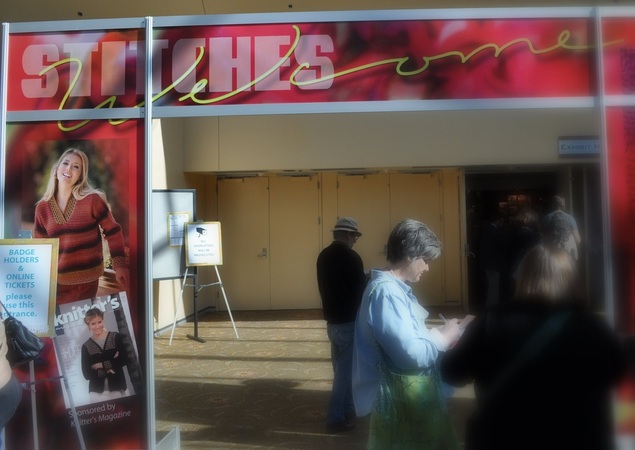
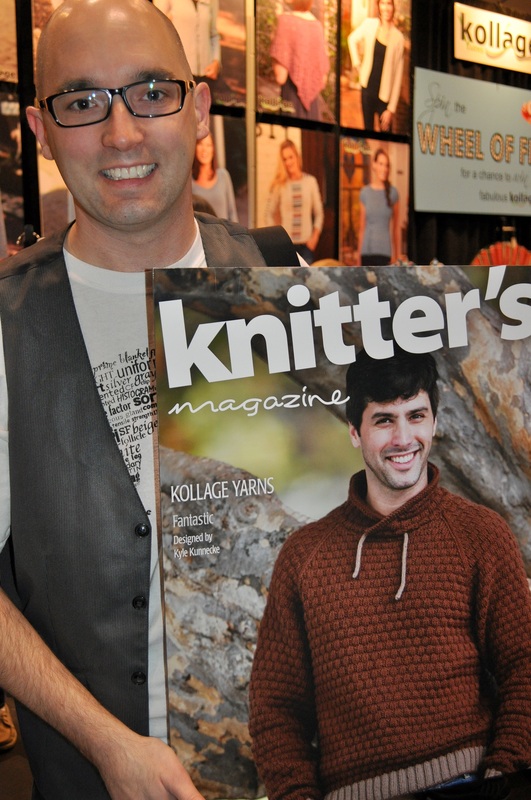
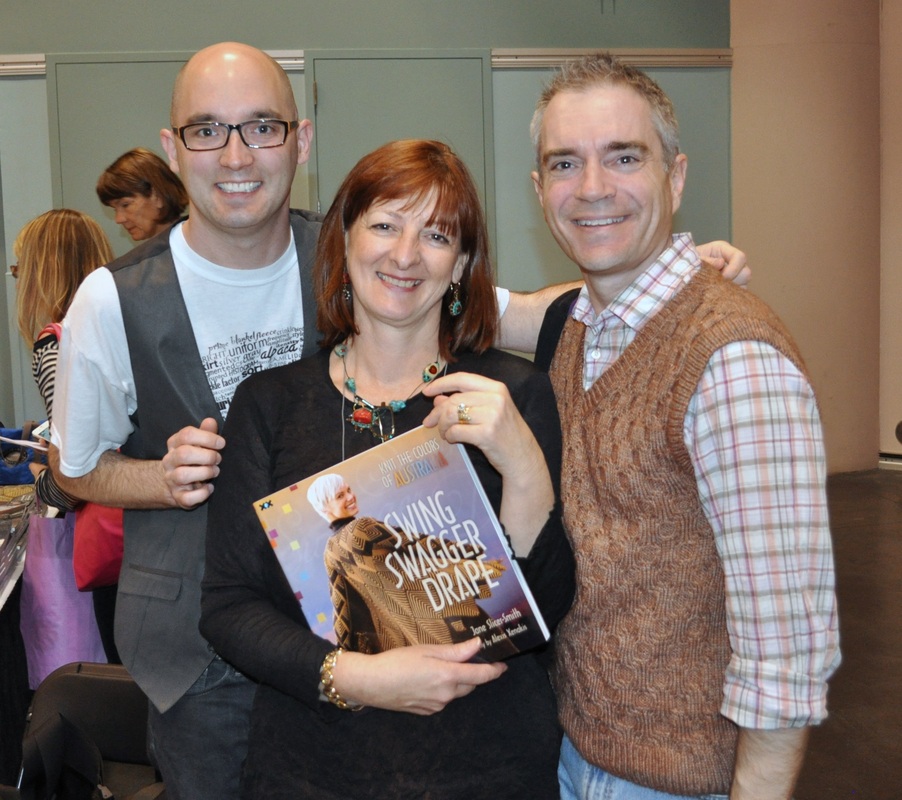
Stitches West 2012 inspired... as all Stitches events before did. This year, everywhere I turned, we were coming across a designer, yarn manufacturer or publisher and it felt really good to be surrounded by such talents. I look forward to the next event where we can all get together and share our passions. Congratulations to everyone who worked so hard to put on such an amazing event!
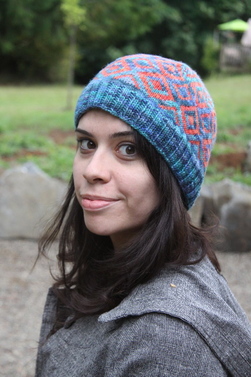 I am pleased to announce the release of Angkor - a hat I designed for Blue Moon Fiber Arts. Offered in two sizes, this project takes full advantage of the saturated color in the yarns offered by Tina and her team. Many people already know the yarns that Blue Moon Fiber Arts offer are AMAZING - and getting to design using her fibers and colors was truly a treat! I hope you'll purchase the pattern (by clicking HERE) and make one for yourself. Be sure to share your project on Ravelry so that I can see your version! 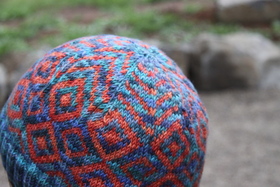  Along with the pattern, I created a tutorial video that shows how to do stranded or Fair Isle knitting. The technique is simple and this pattern is the perfect opportunity to try it out! The video (below) is also in the tutorial library accessed through the VIDEO tab at the top of the screen. The project is now posted on my ravelry page - HERE - and I'm really happy that I can (finally) share the good news with everyone! It was a great experience to work with Tina and I look forward to doing more work for Blue Moon Fiber Arts!
Like what you see? "Like" or "Share" this post on facebook or twitter. Comments are also appreciated. Thanks! (To set the mood for this post, click "play" on this song - "Home on the Range" by Billy Vaughn, 1962.) I'm happy to announce another fun finished project! As you may have guessed by the music playing (feel free to hit "pause" if it bothers you), I finished the "Buffalo" cardigan [#434] from Mary Maxim, circa 1955. A few modifications were needed; the recipient was sized differently than the standard pattern... So, after doing a gauge swatch, I added stitches to the pattern, removed rows to shorten it, and knitted, ripped, re-knitted, re-ripped, and knitted again. This project wasn't difficult - but it had the same blocking issues as the seahorse cardigan. When blocking pieces knit out of 100% wool, it's possible to "shrink" the pieces into shape. (Actually, it's almost easier than stretching them to shape!) - once completed, the sweater fit like a glove, and the recipient was pleased, and so am I! The horns on the buffalo were done using swiss darning or "duplicate stitch" - a video on this technique has been added to the video page. I also added it to this post for convenience. 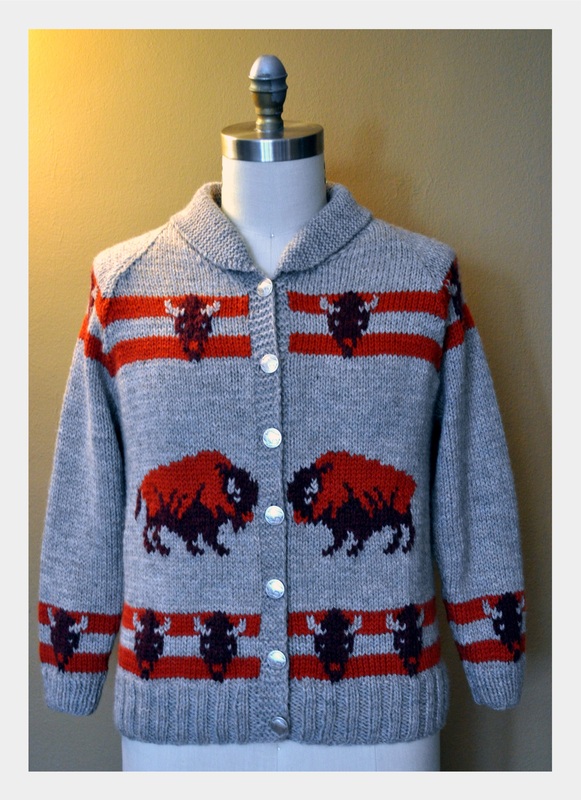 Yarn: Patons Classic Wool Merino (100% Wool) Colors: Natural (main), Paprika (stripes), Cognac Heather (buffalo heads) Needles: US5 (3.75mm) Size: Small (38) with modifications. All the effort in sizing the cardigan paid off; it fits the recipient PERFECTLY! And the buttons... You ask, where did I get the buttons? Why from ETSY, of course! When I first started to consider what buttons I wanted to use on this cardigan, I thought first that I should go to one of the amazing button shops in San Francisco then, realized that it's an opportunity to take advantage of the wide offerings on ETSY.... so, I did a search and scored wonderful buttons from Wicked Wool Gathering. Visit their shop by clicking their banner:  The buttons arrived QUICK and are perfect for this project! I would recommend checking out this Etsy seller the next time you're in the need for cool buttons - she's speedy, friendly, and her shipping costs are down-right reasonable! I ended up having one extra button so, while making the shawl collar, I added a button hole in the back center to make use of that last lonely button. I didn't want it to be all alone without its brothers and sisters... This touch helps hold the collar down, keeps things nice and tidy, and if the wearer wants to pop the collar up it's as simple as unbuttoning the button. If you'd like to see more about this project or "favorite" it on ravelry, you may do so by clicking HERE. 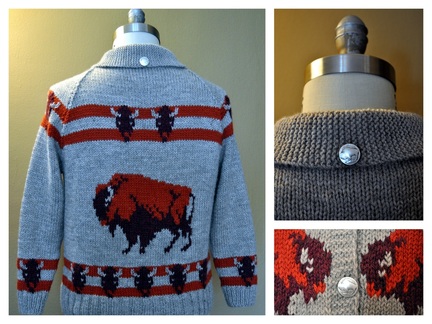 Hints for making sweaters such as this: 1. Use 100% wool. (as mentioned before, it makes blocking easier!) 2. Swatch! (seriously). Now swatch again. 3. Rip (if it's not the right size). It's only knitting. You did it once, you can do it again. 4. Block before seaming. Of course, these suggestions are valid for lots of projects... paying attention to what we're doing... recognizing when something seems to be going awry, and taking action are some of the best rules to live by as we create! Here's the video showing how to do Swiss Darning (also known as Duplicate Stitch): Like what you see? Click the "like" Facebook button or share this post on Twitter with your friends. Thanks!
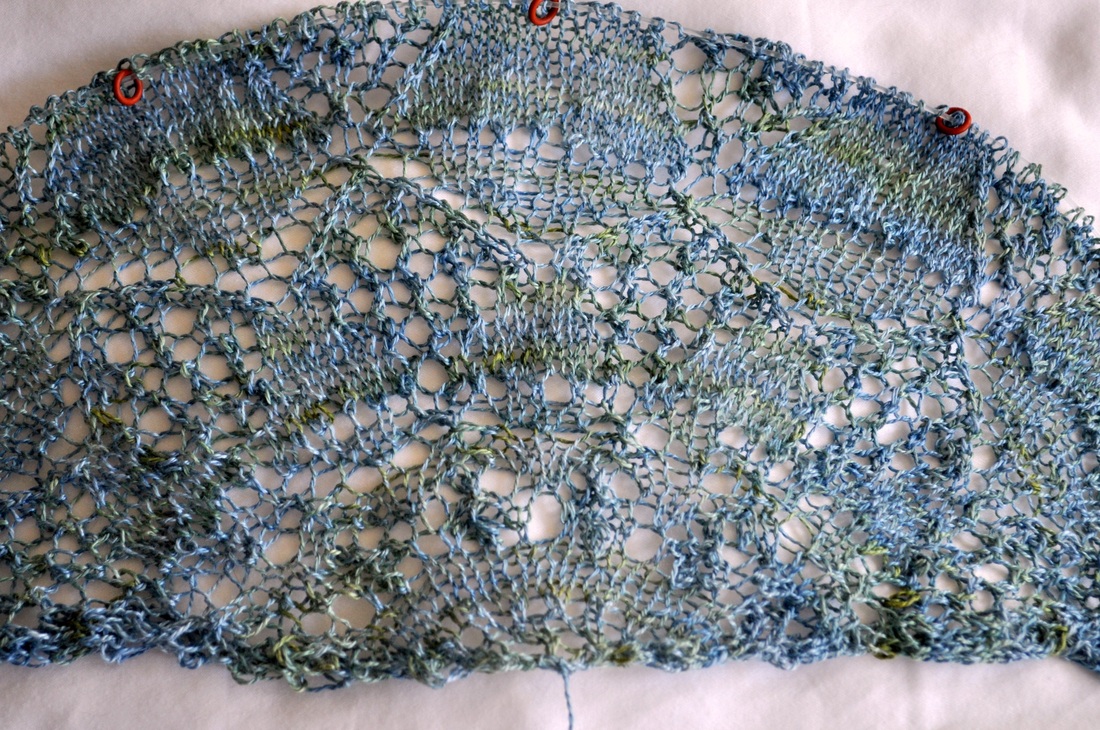 I got a BEAUTIFUL hank of Shimmering from A Verb for Keeping Warm about a year ago (even before I moved to San Francisco!) and was planning on knitting some lace with it as a knit-a-long with my buddies. It's 100% silk lace weight (3.5oz) in a generous 1093 yards, hand dyed in a color they call Azure. We all attempted the lace but, for one reason or another, decided that knitting lace wasn't for us at that time. The yarn taunted me though. It bugged me that this really gorgeous hand dyed yarn was sitting all wound up in a yarn cake, nestled in a handmade project bag (also from AVFKW) and stored away with the intended lace pattern... and that's where it sat and hibernated - for a year! I just finished a project (a pair of socks that have been on the needles for a while; more about those as soon as they're blocked and photographed) and I needed a new project. Although I feel ready to tackle more socks (and soon) I just felt like a change of pace would do me some good. After remembering this lonely skein of yarn and the Mystic Star Shawl by Anna Dalvi, I decided to cast on and make the semi-circular version. This, people, is my very first piece of lace. The first time (ok, times) I attempted this pattern last year, I was trying the circular version and getting frustrated in the fiddle beginnings of knitting 1.) lace, 2.) in the round, 3.) on DPNs 4.) for the first time. My decision to do the semi-circular shawl seems to be working; after a number of false starts, I am able to concentrate on the pattern row, count carefully between my markers, and do the "rest" row back. Yes, it's lots of purling but maybe I'm strange; I don't mind purling. Actually, when I'm in the "knitting zone" I have to examine my work to even realize what stitch I'm making! My semi-circular shawl can be seen on Ravelry HERE. So far, I have learned that lace isn't difficult as long as you don't mess up! I'm well on the way through chart C now and feeling optimistic about this project.  In other news, Willow spent the earlier hours of the morning struggling to get into the sunbeam. She struggled and struggled, at times even laying half off the edge of the chair arm to get her little head and ears in the warm light. (Don't worry; I moved the chair so she could sunbathe right after I took this photo).
Wink asked that she not have her photo taken; she hasn't had her hair done in weeks and said she feels a wreck! 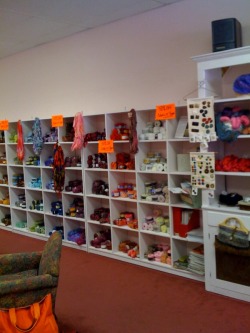 Seriously - sad day in yarn land - Simply Knitting is shutting its doors - if you're in the area, it's 50% off EVERYTHING (she's selling her bookcases, furniture...everything) so get up there...  This is an extruded form I did last year - it was fired and ready to go when the raku option came around... so i tried it and love the way it looks! I think it might end up being a planter (but I have to line it first) 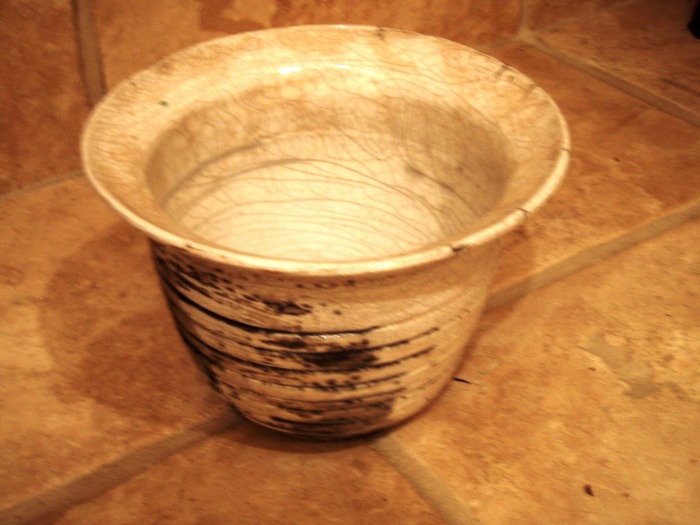 on to fun news... I got to do RAKU on Saturday in ceramics... this white bowl is approx. 7" dia x 5" high and will be used as a planter. Raku is not food safe, and is not watertight but with a liner, it'll make a cute little planter. I apologize for the poor photos - but wanted to share. What is raku, you ask? Well, once a piece is made and dried, it is fired to ^6 (cone six) which is around 1830 degrees I think - after that firing, the piece is called bisqueware. Then, special raku glazes are addes to the piece, using whatever techniques the artist wishes - and those are allowed to dry a minimum of 24 hours. After that, the raku kiln is taken out (we did it outside) and the kiln is loaded and the pieces are heated back up to ^6 - THEN while the pieces are glowing red hot, the kiln is opened (deep breath; hope nothing explodes from the thermal shock of "normal" air temperature hitting the wares), the pieces are removed using tongs and put into metal trash cans filled with anything combustible - newspaper, straw, dried leaves, sawdust, even vegetable oil! The material burns hard and fast, and a lid is put on the can - the flames go out, smoke billows out, and the oxidation process takes place. After about 15 minutes, the can is opened, the piece removed, put on a fireproof tile, hosed gently down and allowed to cool slowly. In the end, you get beautiful color... it's unpredictable - the colors react with the burning pieces... and chancy - the pieces can break or explode... but it's super fun and felt like Christmas all day long! 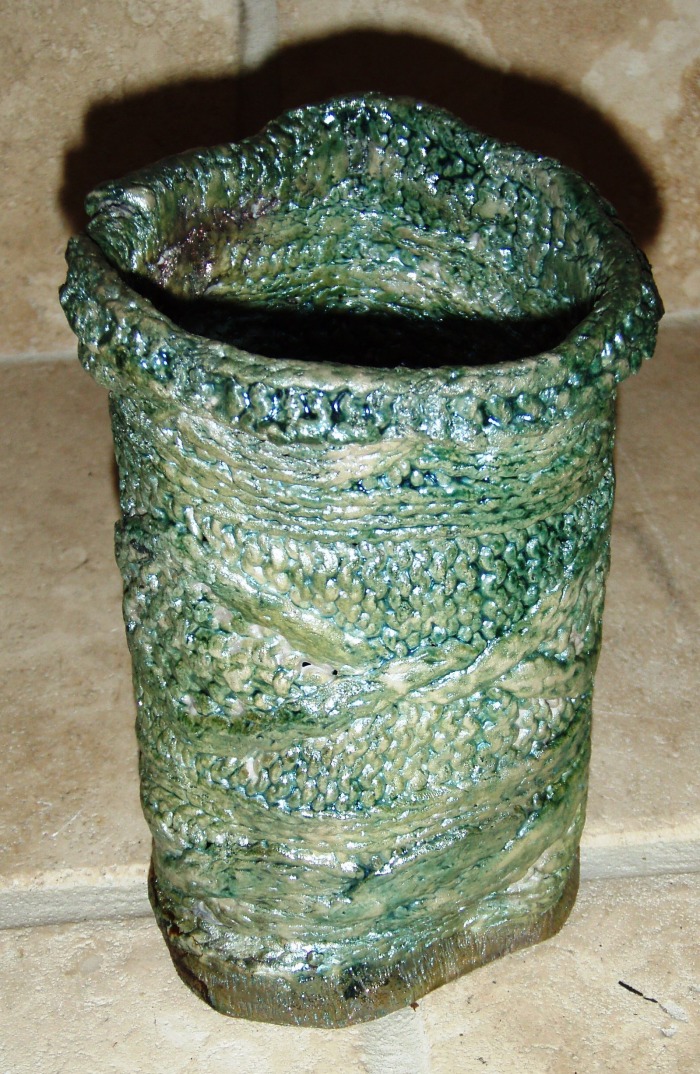 Knitting Needle Vase - knitted ceramics - approx. 4" dia x 5.5" high  "Knitted" ceramic platter (flat piece) approx. 7" x 10"  starburst interior with fish scale exterior, hand painted wax resist and raku bowl, approx. 7.5" dia x 3" high 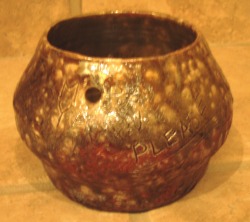 "More Yarn Please" raku yarn bowl (suitable for sock yarn or something small) - approx. 5" dia x 3.75" high 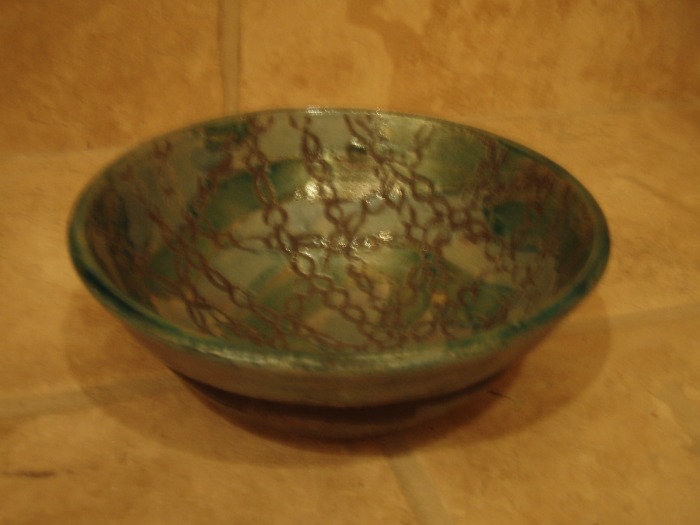 Link Bowl - wax resist and 2 color raku interior, black oxide exterior with raku rim, approx. 7.5" dia x 3" high 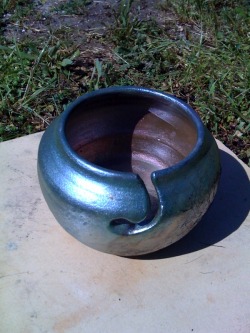 And the best for last... Raku Yarn Bowl, approx. 6" dia x 4" high (approx. 4" opening) - this is what the pieces look like... as far as the type of coloring. I am considering putting ALL of them up for sale - so if you're interested in any of them, EMAIL me and let me know how much you are offering - of course, we'll have to ship these (in most cases) so there's that additional cost... as always, a portion of any sales I make from the website go to Living F 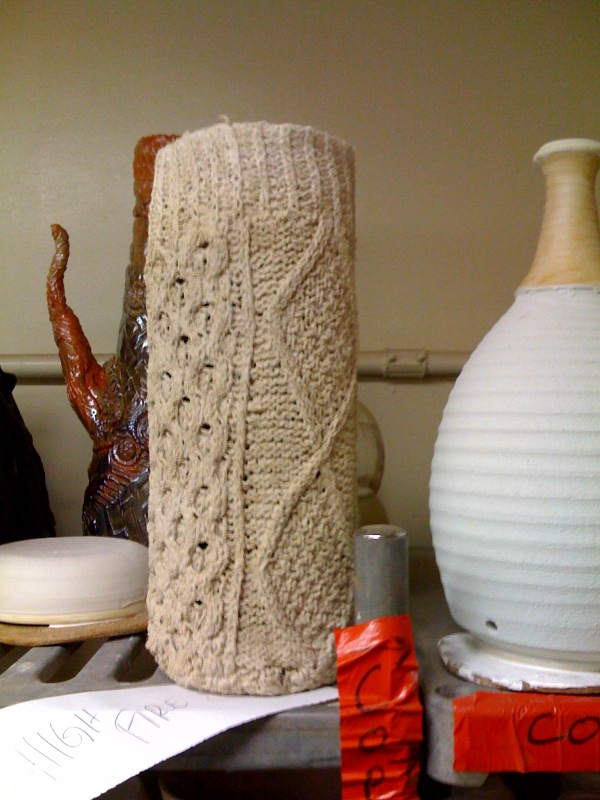 in progress.... waiting to get into the kiln! The survey is wrapping up - final submissions MUST be made no later than Sunday, March 22, 2009! THANK YOU for all the people who have participated - we're at just over 900 (can you believe it?!) responses - all of them valued and appreciated! 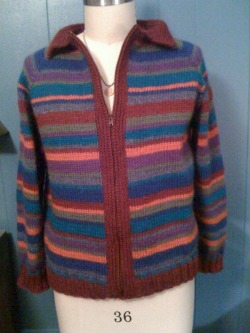 Just a quick note to announce the completion of my first sweater for 2009- it's a test knit of the stacatto hoodie (minus the hood) that will soon be available from www.throughtheloops.typepad.com - keep an eye out - it's an incredibly fun knit - and next time I'll be knitting the hood as well! 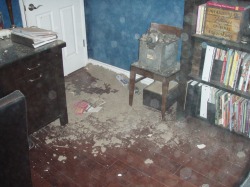 While we were putting away things and cleaning up from the holiday decoraing, I had the bright idea of putting things in the attic. We have a big attic by Southern California standards, but not huge... (you can stand up in it) - anyway, early Sunday morning, while Gregg was putting things away up there with my help, he accidentally put his leg through the ceiling of the office - making about an 18" x 18" hole and dumping 30 year old insulation (no asbestos, thankfully) all over whatever was below...  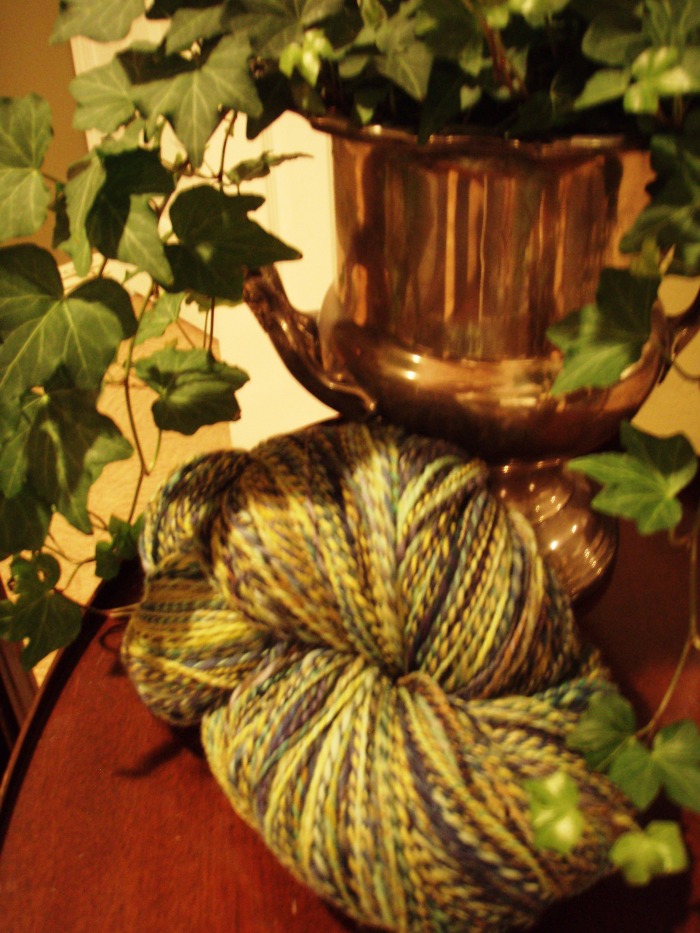 As a wonderful thank you from Kristen Kapur (Through the Loops) for test knitting a pattern for her, I was given 880 yards of 100% merino handspun custom dyed by String Theory on Etsy - it's AMAZING - I can't wait to figure out something to make with it - it appears to be about DK weight - I am thinking it might be enough to eek out a vest... I LOVE the colors - and am so thankful for the opportunity to test knit her pattern AND to get to work with her gorgeous Handspun! (Thanks, Kristen!) 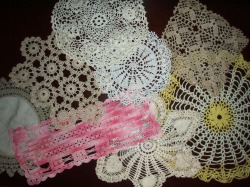 Sunday afternoon (after falling through the ceiling) we picked our friend Chuck up from the airport and went antique shopping in Pomona, CA - I got caught up in doilies... I have an idea of what I want to do with them - I'll let you just be curious for now :) 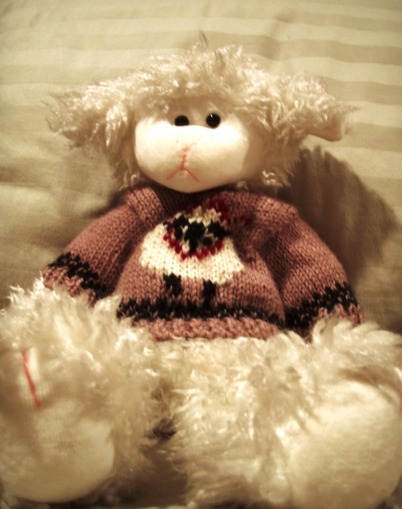 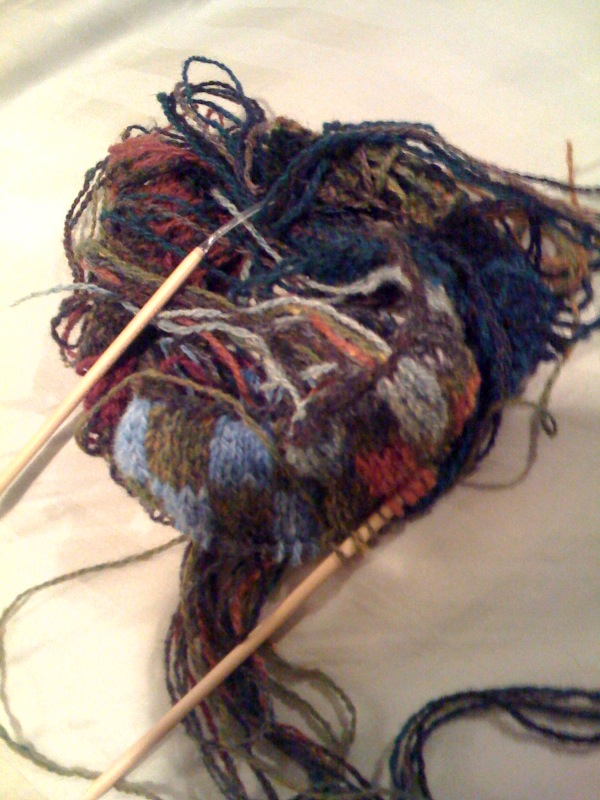 My partner is saying that I'm insane... but after finishing the back of the Dave sweater on Saturday, I was itching for something new to work on - I wanted a "break" from the monotony of knitting plain knit and purl row after row... but this... Kaffe Fassett is a genius (and wayyyyy amazing) - I'm starting the Gridlock Cushion and I have done 10-12 rows so far. Ther notes aren't 100% accurate in the pattern - the pattern for the cushion is the same as the one for a blanket in the book - but the blanket "squares" are 25 stitches across, and the cushion "squares" are 20 stitches across... This means that everything within the pattern has to be adjusted accordingly - it's a pattern that you have to stop, move slowly and pay attention to in order to keep it looking they way it's intended...  I also started a month or two ago this seed stitch scarf - we bought the yarn early one morning (after a brunch with friends) and I started the scarf while watching "MILK" (great movie!) - After the movie was over, I had knitted quite a bit but decided it was too wide so ripped back, cast on less and began again... it has been sleeping in my closet - I decided to take it out tonight for sleepytime knitting... I love this yarn - 240 meters, (Austermann Murano) - it's 51% wool and 49% acrylic - the way the colors change it's pretty cool... we'll see what it looks like when (if) it is finished...  It's a new year - and I can't believe that weeks and weeks have gone by without my showing off the giant head I made in ceramics! Forgive the coloring of the main photo; I took it at night with no natural light - it's big - we had to make the pieces at least 12" high before firing. Ceramics lose about 12% of their size in the firing process, and even after that this one is over 13" tall! :) - 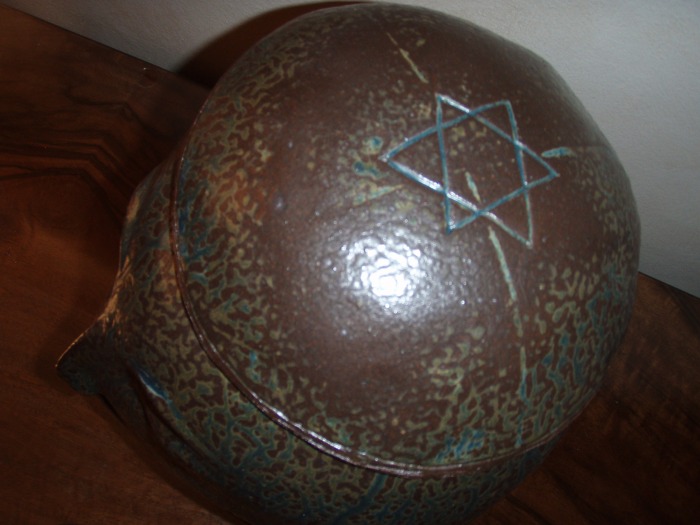 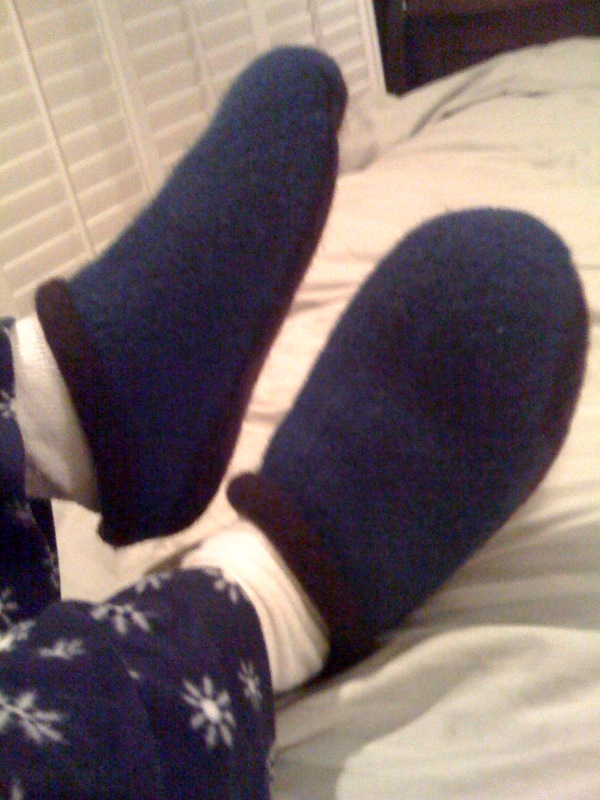 I also felted the slippers I was working on - they fit Gregg's feet perfectly and they're super fun to make... I made a second set but haven't photographed them yet... all in good time... |
Archives
July 2023
Categories
All
|
 RSS Feed

|
ExploreFor Fun
|
Support |
Connect |
© 2006-2023 Kyle William. All Rights Reserved.