
|
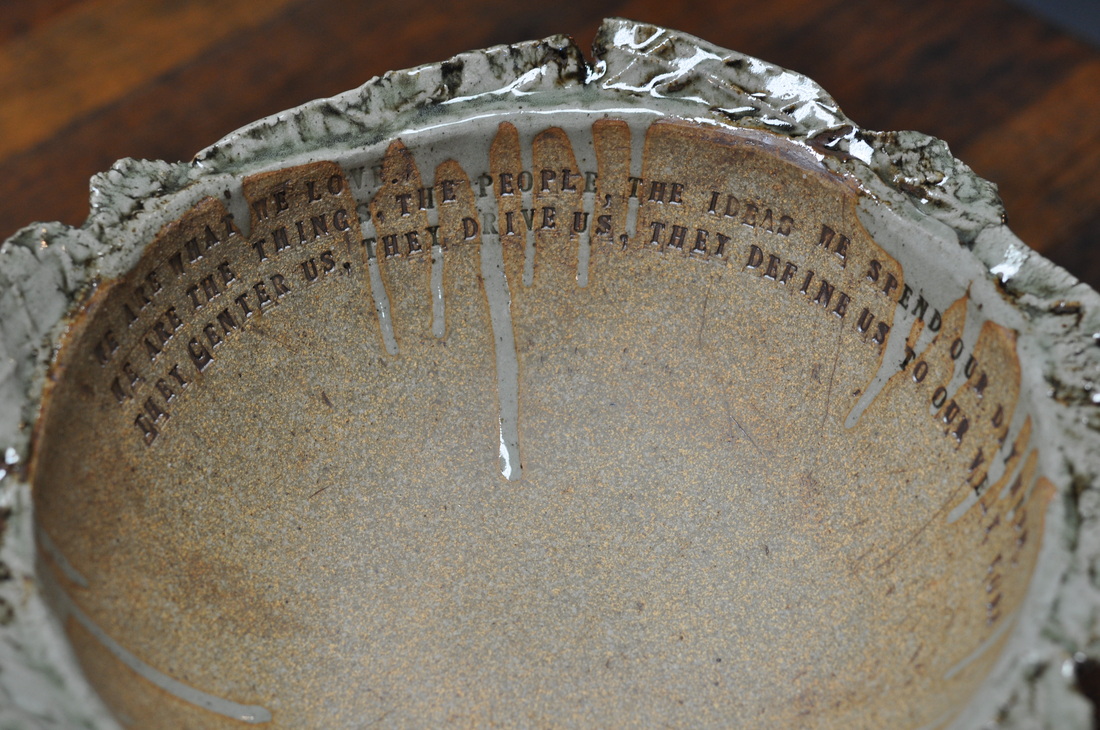
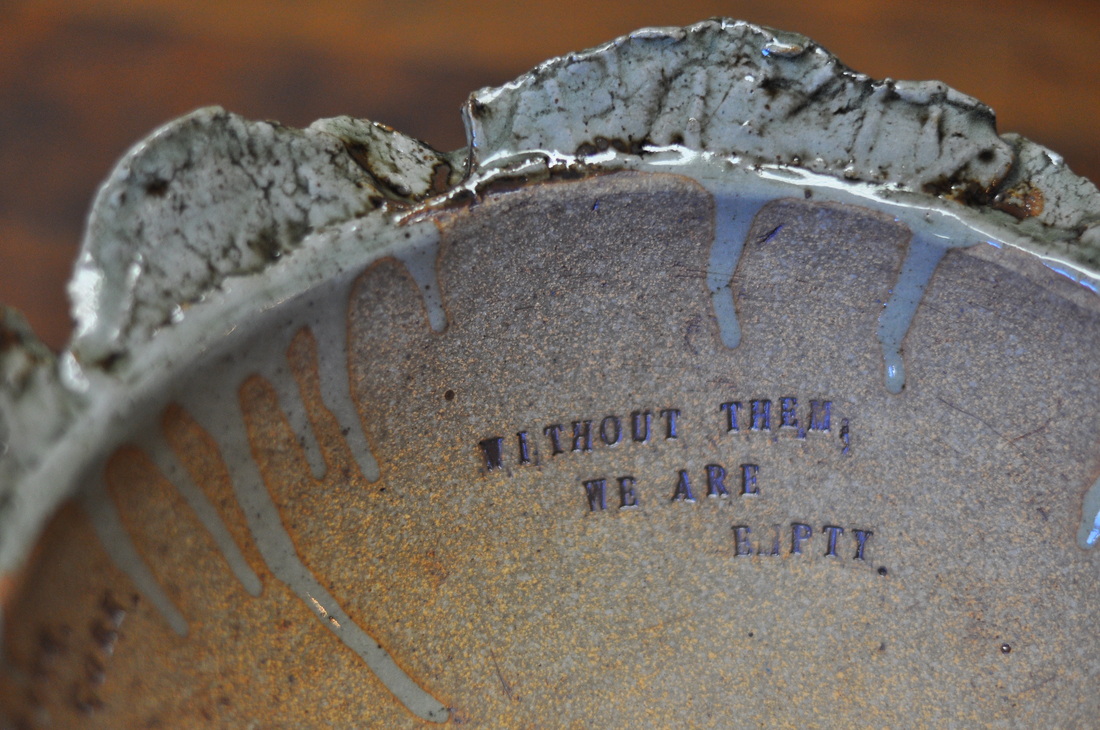
My ceramics class finished for the year a few weeks ago. I wanted to share some of the finished pieces with you! I had a good time spending the start of 2013 getting up really early and making the trek across the city to say good morning to the Golden Gate Bridge and to get my hands dirty in clay. I love it because it's so different from knitting and the other fiber arts... A key lesson in ceramics is when making something, you make 2 or 3 (or 10!) of the same thing, and with each one, you learn more. Working in multiples also allows for the inevitable problems that happen in ceramics... like firing mistakes, glaze issues, and cracks. 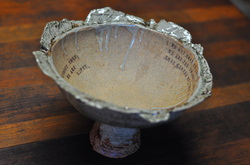 11.5"W x 11.5D x 7.25"H 11.5"W x 11.5D x 7.25"H During this class, I focused on making footed pedestal bowls with these "torn" edges. This one is my favorite (and was also the last one finished. There were (I think) 5 or 6 by the time I finished the course. One was a big failure [lesson?] because there was a glaze problem and it stuck to the kiln shelf. Another turned out wonderfully but there was something in the clay that melted and burned a funny drippy hole in the bowl. (In this program students are provided, and required to use, recycled clay. That means there's often foreign objects in the clay and, from time to time, they make their way into a finished piece.) As you probably know, I'm drawn to text on art. In paintings. On knitwear. And in ceramics. This quote from Daisy Whitney resonated with me and something about it reminded me that I do the things I do (and surround myself with the things I love) because I love them. It's sort of an artsy twist on "you are what you eat." We are what we love. We are the things, the people, the ideas we spend our days with. They center us, they drive us, they define us to our very core. Without them, we are empty.
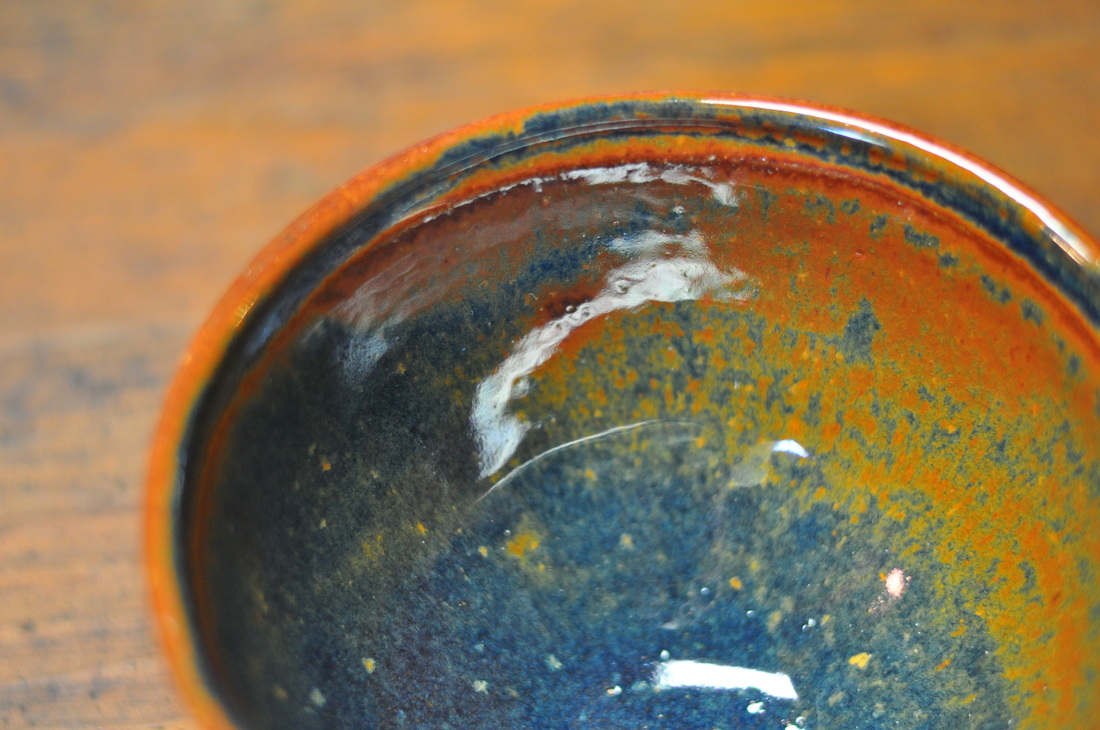
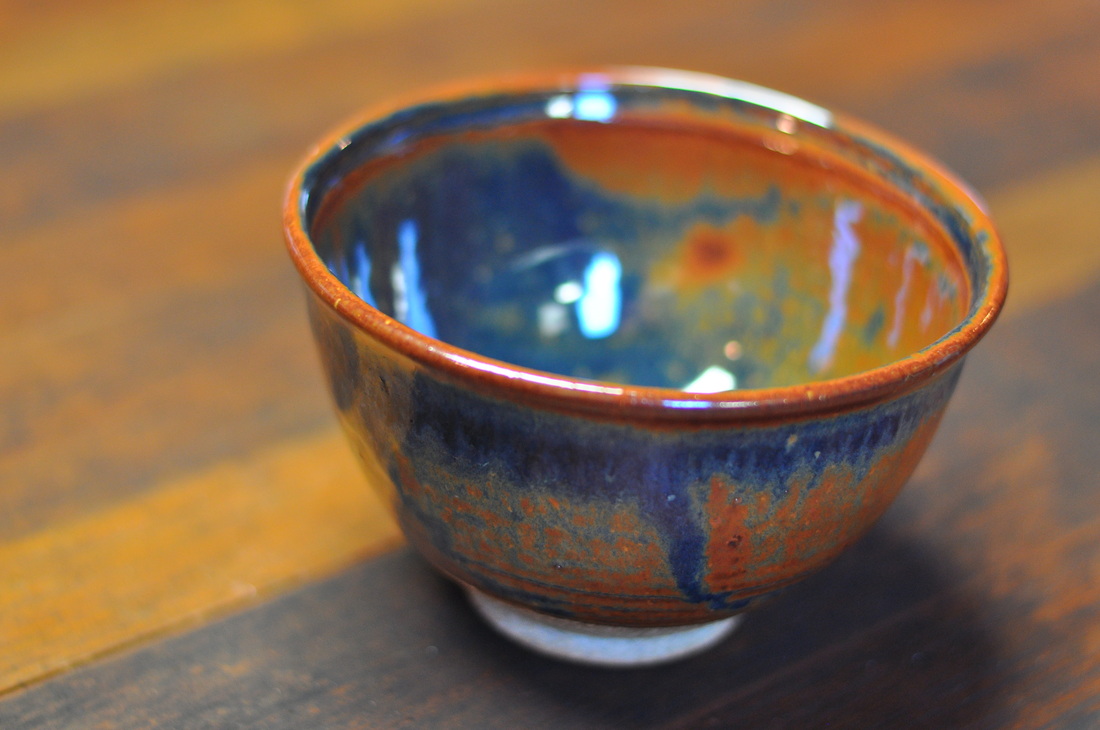
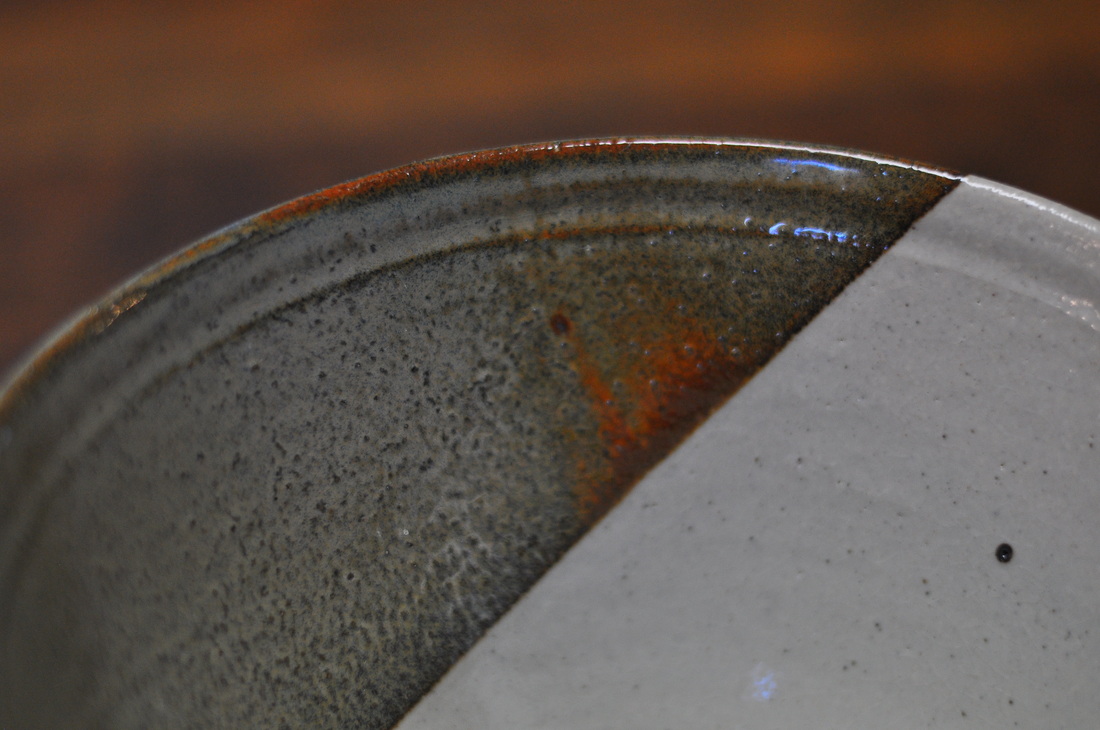
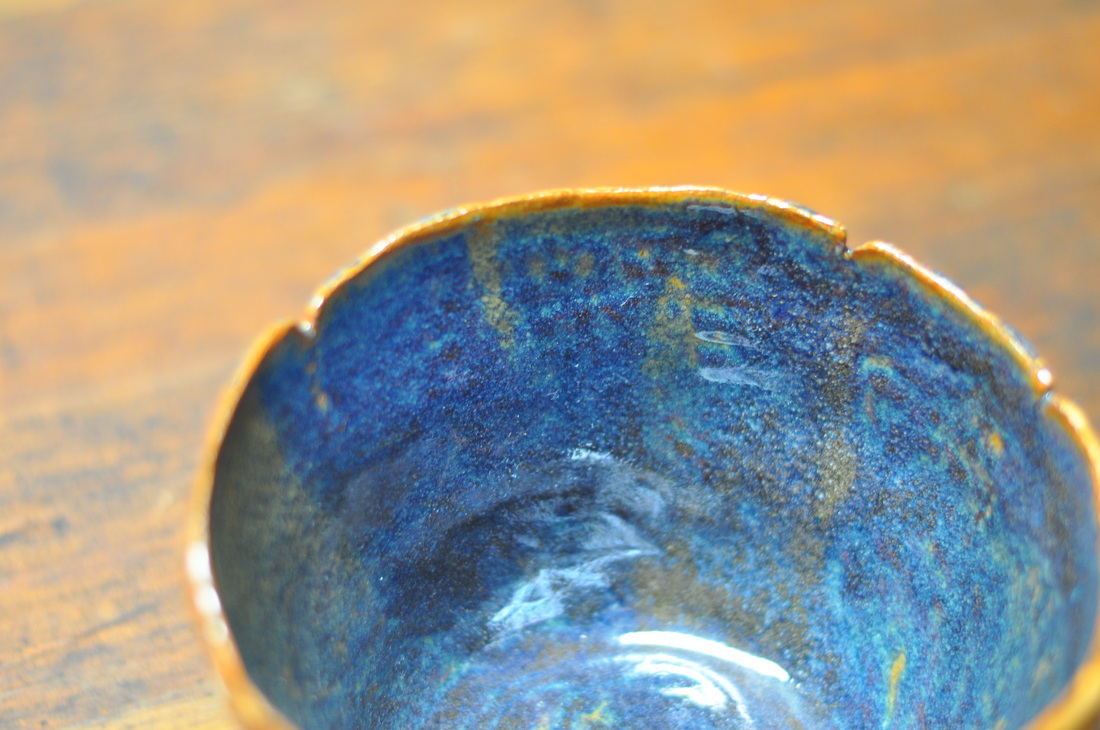
Another goal in the class was to make proper cereal/ice cream bowls. There's nothing like eating out of a handmade bowl. Among my favorites was this one - blue and rust and organic looking glaze over a simple bowl. I am enamored with the wheel, and if I had time and was able to focus, I could spend weeks making hundreds of bowls. This one has yet to be used!
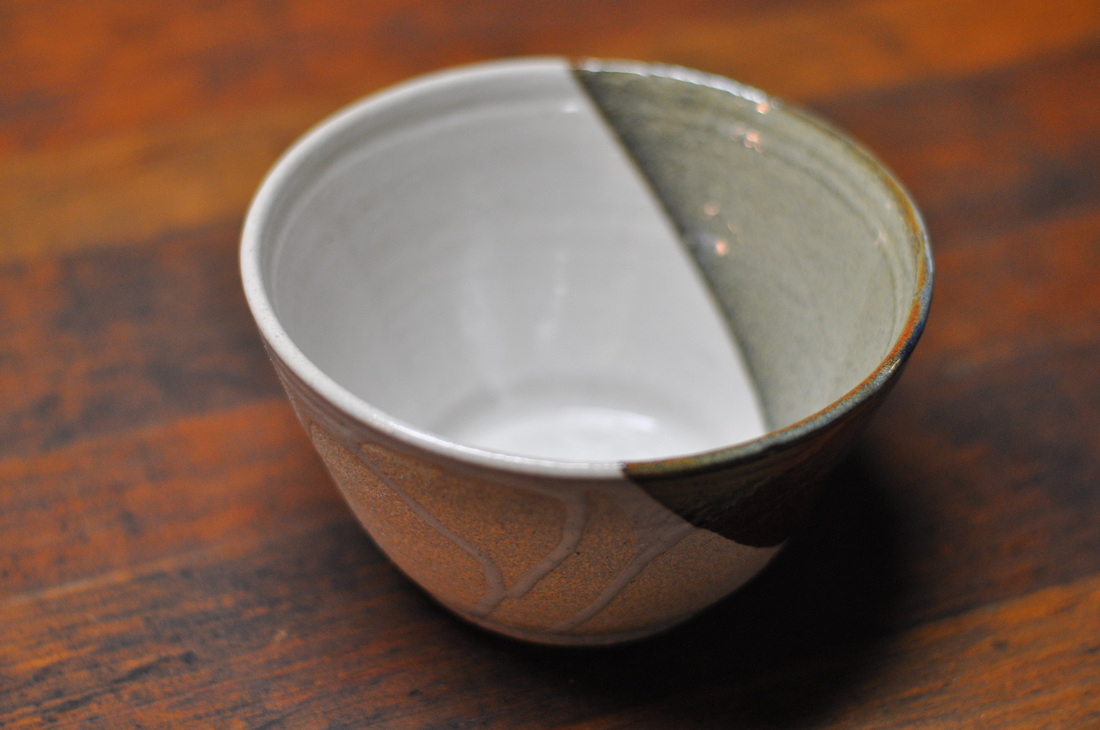 7"W x 7"D x 4"H 7"W x 7"D x 4"H ...and then, there's this bowl. I was in a mood experimenting with pouring glazes and leaving the outside of the bowl raw. I wanted to show that clay that was making me so frustrated. The interior is smoothe and glazed but outside it's full of drips. One side dipped in a different color allowed for interesting contrast. Mixing glaze on glaze like this makes for unique results. Taking notes and trying combinations over and over gives an idea of what might happen but in the end, the final result is up to the "kiln gods"... I think this bowl might end up living in the studio and holding yarn. It's a nice sturdy bowl with a wide brim and I like how it looks on my old wood table.
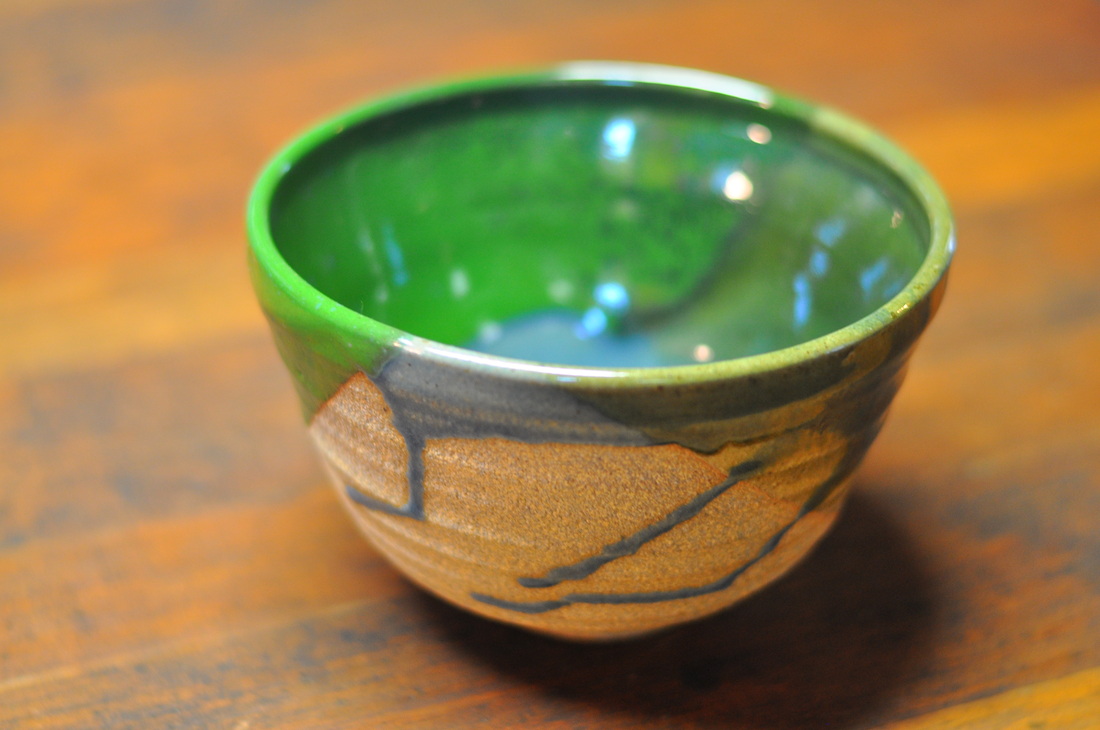
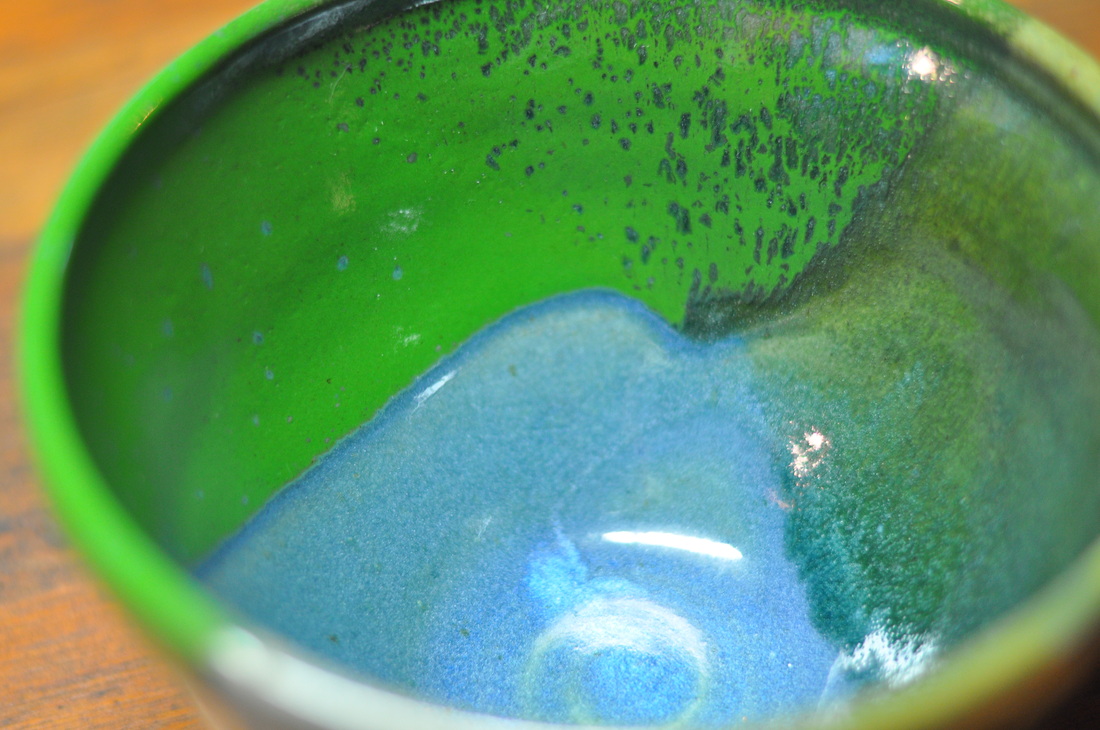
I talked about this bowl on Facebook. 3 colors of glaze poured and dipped on this bowl. the one green got super duper green! - outside it's raw clay again (and I know now it's a bit more rough to the hand that I prefer) but I like the bowl still. Another candidate for ice cream or cereal.
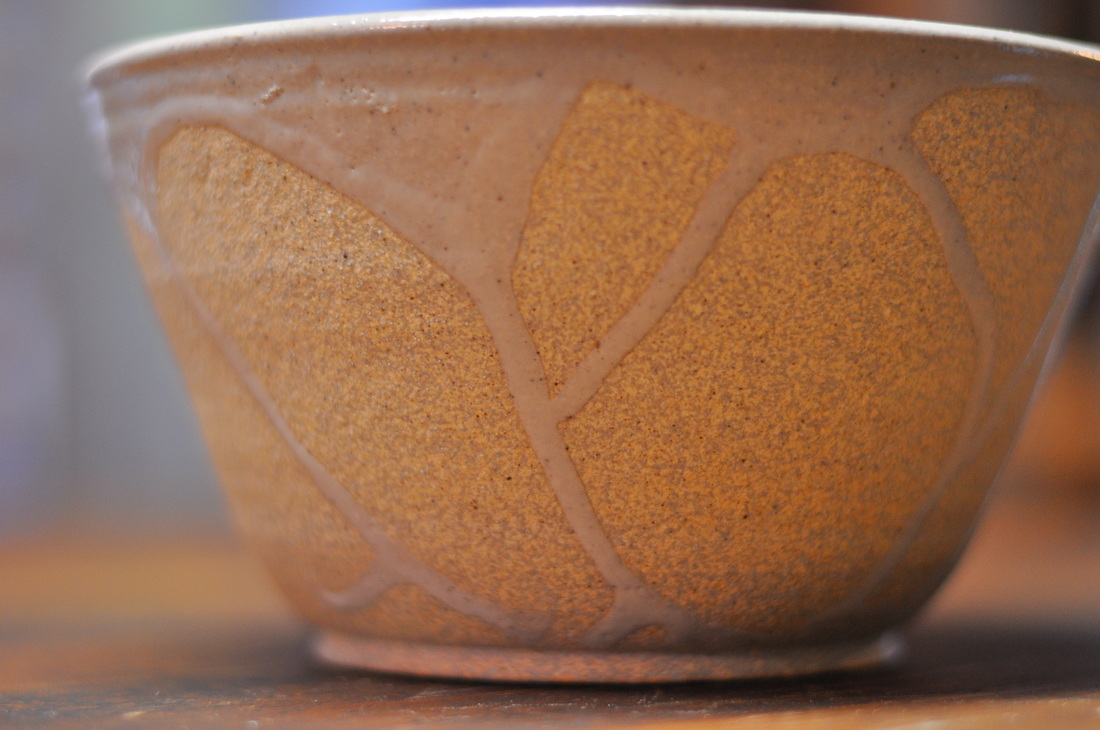
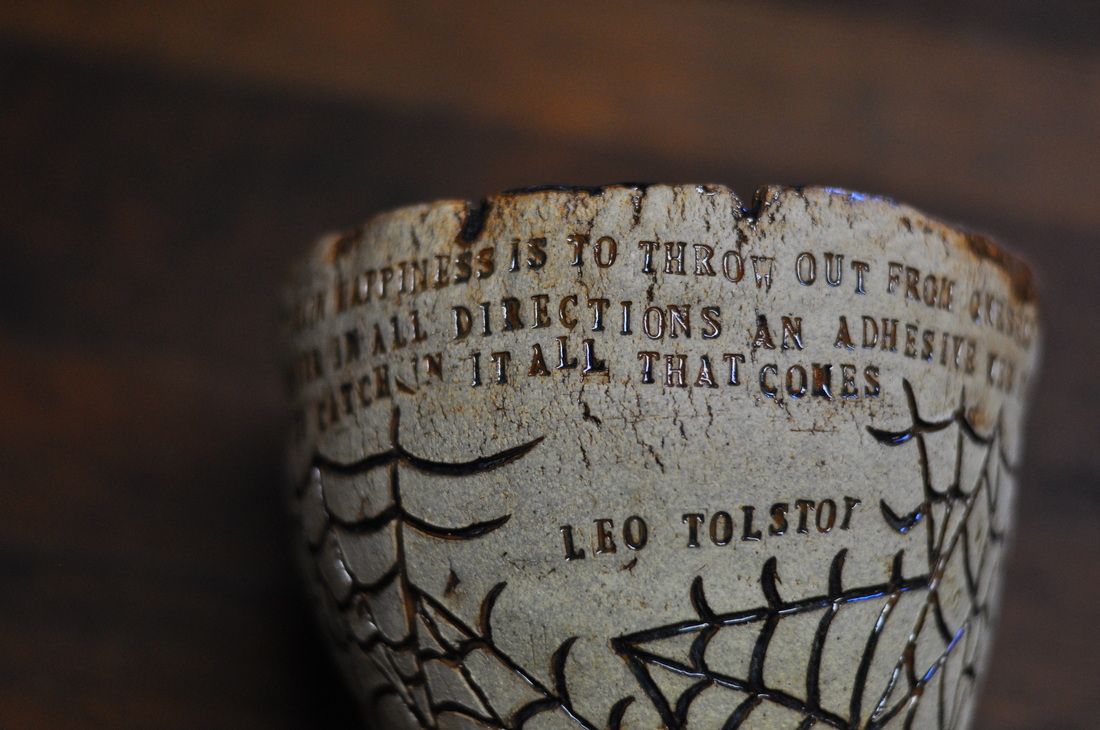
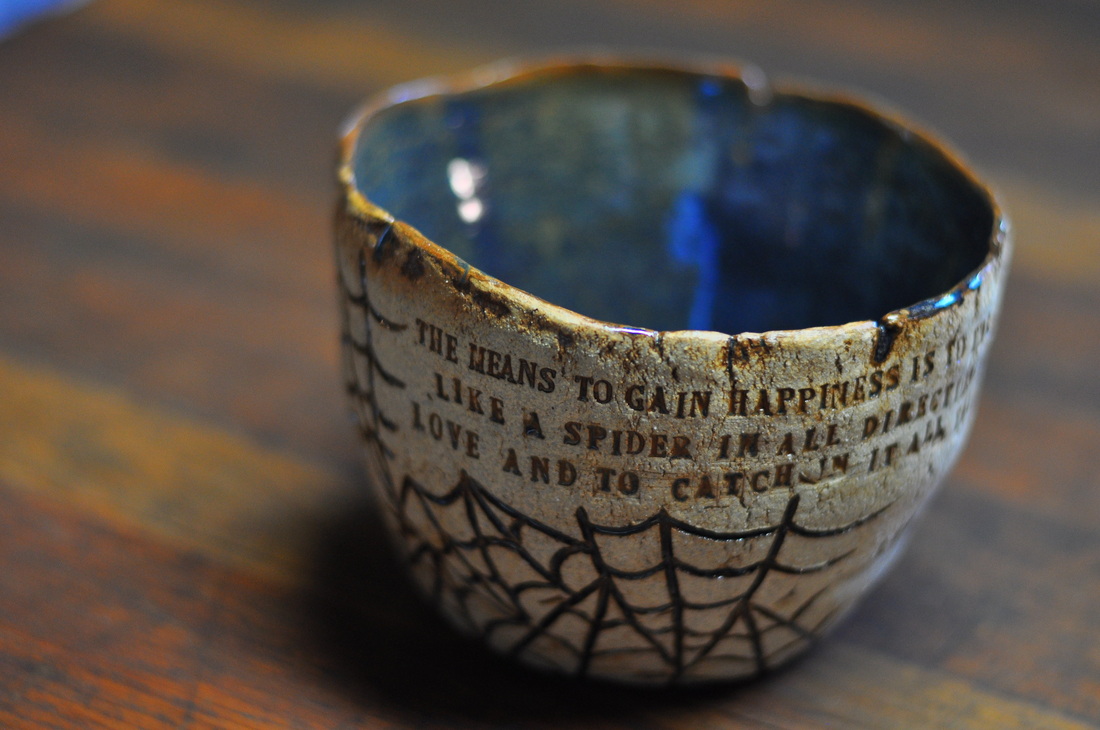 6"W x 6.25"D x 4"H 6"W x 6.25"D x 4"H Going back to the very start of the class, this was one of the first pieces I made. It's also one of my favorites as far as the way the glazing turned out. I carved spider webs into some pieces during this course, much like I did a few years ago when I was doing ceramics in Los Angeles. Then, I used my little letter stamps to impress another beautiful quote, this time from Tolstoy. After it was bisque fired, I dipped the entire piece in glaze, then, after it dried, wiped most of the glaze off of the exterior. A final "kiss" of clear glaze on the rim finished this piece. It feel organic and free. This one might also live in the studio - but I suppose not everything can live in the studio, right?! - perhaps some of these should become gifts.... The means to gain happiness is to throw out from oneself like a spider in all directions an adhesive web of love, and to catch in it all that comes.
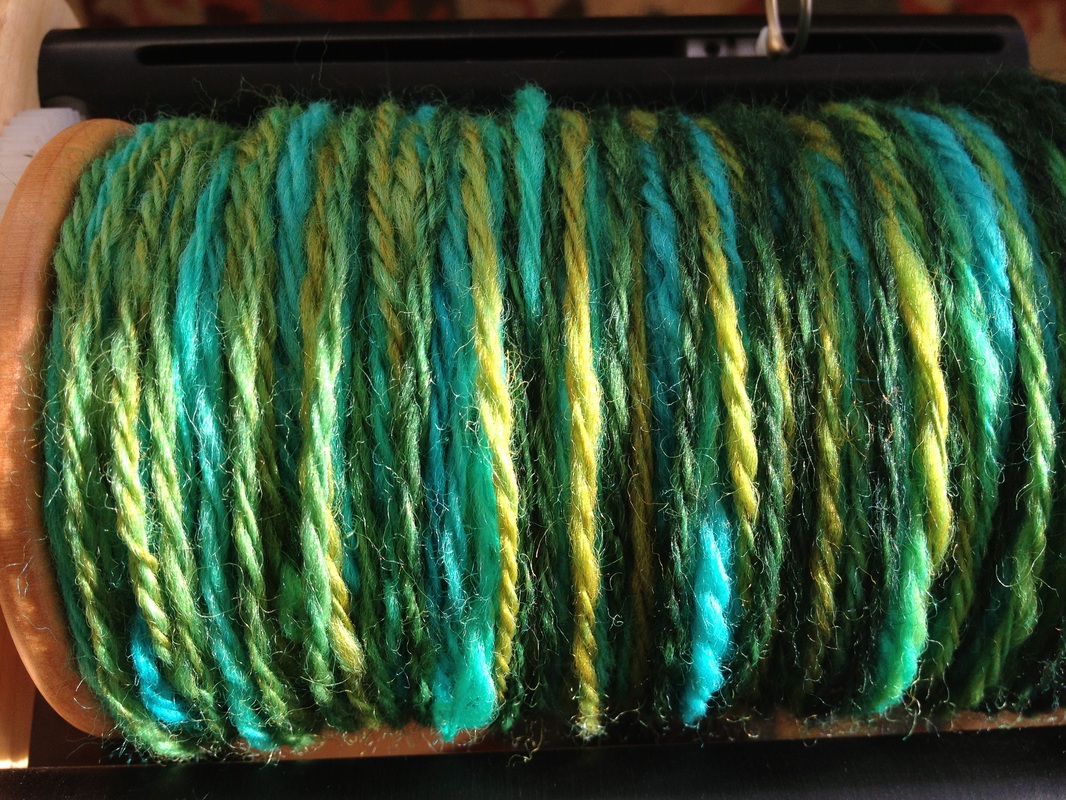
So that's some of the ceramic work I did this year. There's lots more, of course... but these were among my favorites. Class is done, so my tools are all packed away, along with my ceramics notebook; waiting for the next adventure in clay. Shop UpdateToday I listed a few more hand dyed tops - I have grand plans to spend a day or two in the dye lab. Here's hoping for a larger update soon! It's so fun to turn on the music, mix up the dye and spend a day creating color. Perhaps this weekend will bring more time for that! 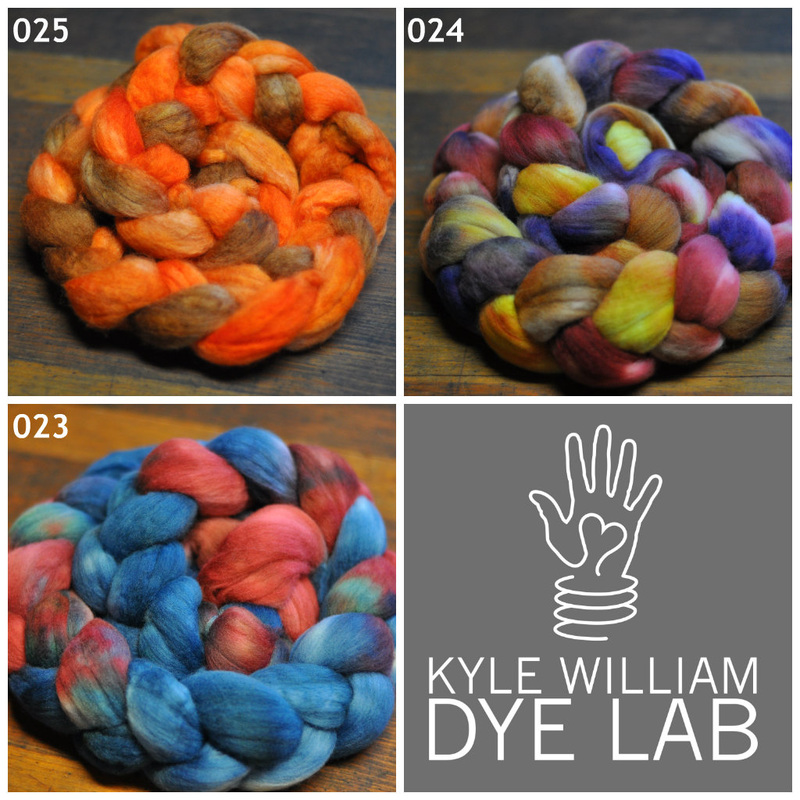 Current SpinningI've spun up one of these 4oz braids made by Lisa Merian of Spinners Hill that are from Trumpet Hill in Albany, NY - I split it in half lengthwise, then spun it and finished by Navajo plying it - making a nice 3-ply yarn. Hank #1 has 102 yards and hank #2 has around 120 yards... I have another braid to spin up and can't decide if I want to do it now or save it for another time....
Current Knitting The knitting I've been working on recently isn't very exciting. yet. I'm busy working on a design that's got me unsure of what it should be. It started as one project (which is complete), then I thought the motif would work better as a different kind of project (which is on the needles)... and now, as I work on that design I think it might need to be something different than THAT... so I'm a bit thrown by that project.
In other knitting news, I've created a few swatches and concepts for proposals and that work takes time away from knitting things I can share. It's work I love to do, though, so it's quite worth it. The only thing I don't like about it is the WAITING to talk about it all! While working in clay while living in Los Angeles, I was introduced to this technique of applying images to clay. There's enough iron in the toner that once it has been bisque fired, it leaves an image! (The following video, found on YouTube, is the one that convinced me to find one of these machines.) When I moved to San Francisco, I sold my copier because I didn't have space to store it. Now that I'm in a place where I have a studio (even if it's mainly fiber art) and I am able to do work in a ceramics class, the desire to get another of these *very hard to find* machines has become overwhelming. Below, you'll see one of my platters from a few years ago where I used this technique... featuring vintage knitting images. I simply HAD to find another copier! 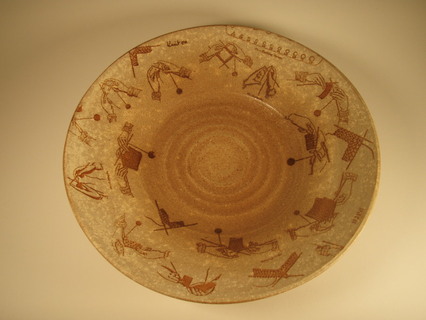 I searched high and low... and finally located one about 1.5 hours outside of San Francisco. After some negotiating (and the aid of a good friend!) I headed out to pick up my new toy. The drive was beautiful and I took a few photos out the car window while we traveled to lovely Lodi, CA to make the purchase. 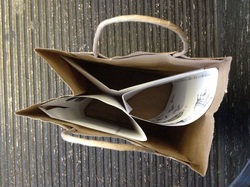 On Monday morning, I made my image copies and then considered how to get them from my studio to the classroom where I was going to use them. After some pondering I discovered if I fold the paper in half, then fold the blank side of the paper up (maybe 1/2") to create some space, I can tape the edges together and create a pie-shaped holder that will keep the images from smudging. I put these in a little paper bag and carried them gently on the 1 hour ride on public transit to the ceramics studio. 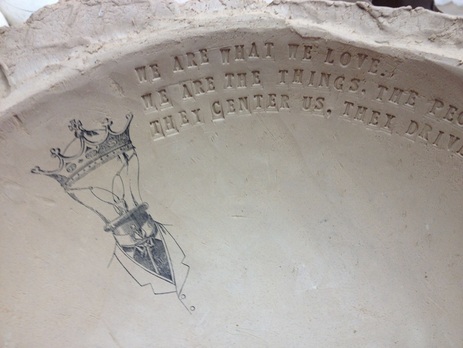 ...and so far, it worked! I made two pedestal bowls that day. The second one received the first transfer from my new machine... it's an assemblage of vintage images from the graphics fairy... and as always, I'm stamping text into my pieces. This piece features one from Daisy Whitney:
“We are what we love. We are the things, the people, the ideas we spend our day with. They center us, they drive us, they define us to our very core.Without them, we are empty.” 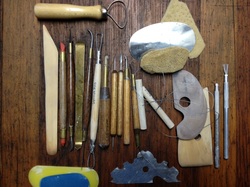 It's time to re-visit my other favorite craft... ceramics! I dusted off my tools the other day in preparation for day 1 of ceramics class in San Francisco. Monday morning I ventured out early, headed off to class and to meet my new instructor. He seems very nice... has been teaching at Fort Mason (in view of the Bay, Golden Gate Bridge, & Alcatraz) for around 20 years, and has been working in clay for over 30. It's a different setup than I had in Los Angeles, but I'm happy that the opportunity exists for me to delve back into clay 2 days a week. I'm prepared to head back tomorrow with my tools at-the-ready, and to remember what it is about ceramics I love so much. (Actually, I remember very clearly - and I'm VERY happy that it's time to get dirty!) 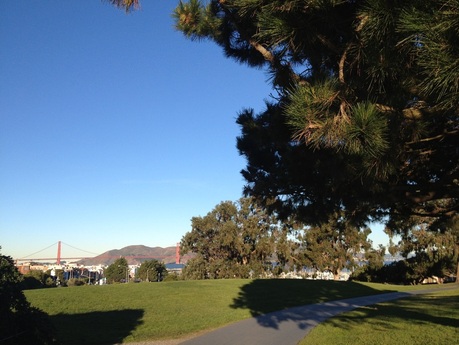 The Golden Gate Bridge says "Good Morning" during the walk across the grounds to campus 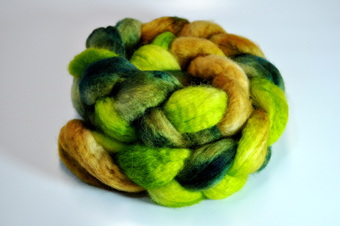 Other news includes releasing a new colorway of hand dyed roving. This time it's on rambouillet and is named "Sherwood". Hand dyeing roving is a fun adventure as well - and believe me it's hard to post and sell the roving instead of spinning it myself. (Confession: I dyed 2 sets of this one but promptly took one to spin as a sample... it's on my wheel right now calling my name). If you're interested in this or other rovings, check out the shop.  Last but not least, I'm really happy to announce custom dyed roving service offered through the shop. With this service, YOU get to select your very own color combination. Want green/purple/orange? OK. Prefer grey/brown/tangerine? Okey-Dokey. NEED purple/lilac/indigo? Whatever your heart's desire, I'll be happy to make it for you. Turnaround should be quick but I specified 5-7 business days.
Click on the "Custom Dyed Roving" image to the left to get started. Have a great week!  I think the wheel is becoming my new friend - I made 3 bowls last night - 2 of them turned out pretty well (this is one of those) and the third one is OK enough to keep going forward with, but it was a little more wonky... I learned that the base of the bowl should be about 1/2" thick and the sides about 1/4" - I have a tendency to make the bottom too thin - but that makes it almost impossible to trim when it's leather hard... 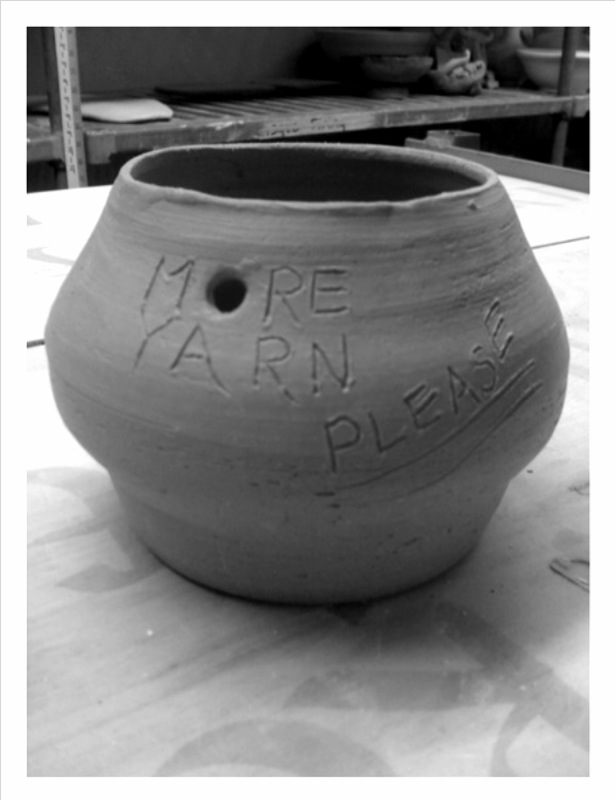 This is the "first" pot I threw on day 1 of the class this semester... it's not perfect that's for sure - and too small for a "real" yarn bowl (it'd work good for sock yarn I guess) and the walls were too thin for me to cut the notch to the yarn feed hole... but it's still worth working on... someone may want it :) - I plan on making bigger yarn bowls once I know what I'm doing..  I like how this one turned out - you can't see the foot of the bowl but it's there - tucked nice and deep beneath the bowl... we learned the basics of trimming and what makes a good bowl - following the interior and exterior curves so they match each other is important... and it takes practice. I'm happy at this point getting what I set out to do... that's not happening yet but the series of "happy accidents" has been fun! 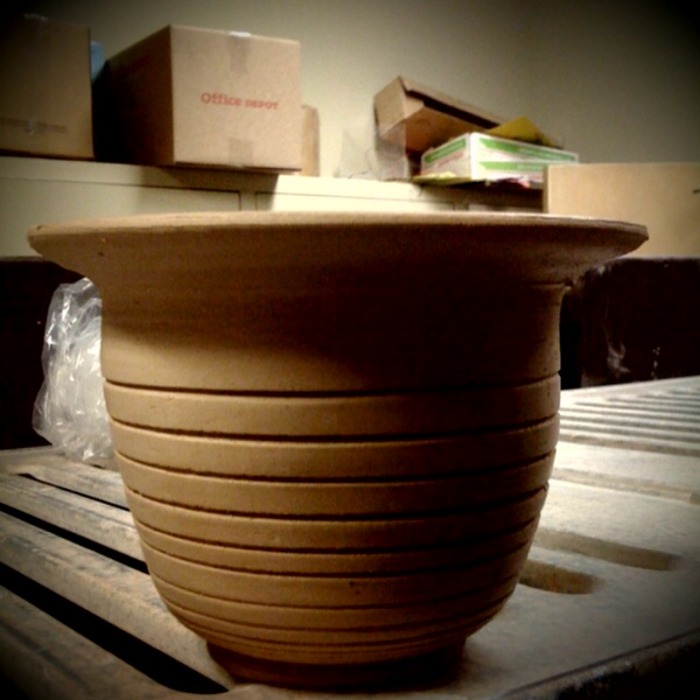 I got a little brave with the trimmer on this one... the foot turned out good but as I was carving the lines up the bowl's sides, I got VERY close to cutting the piece in half! You can see the mark pushing through on the inside of the pot... I don't know if it'll look good after it's first firing, but it's on the shelf, waiting to be loaded and fired! 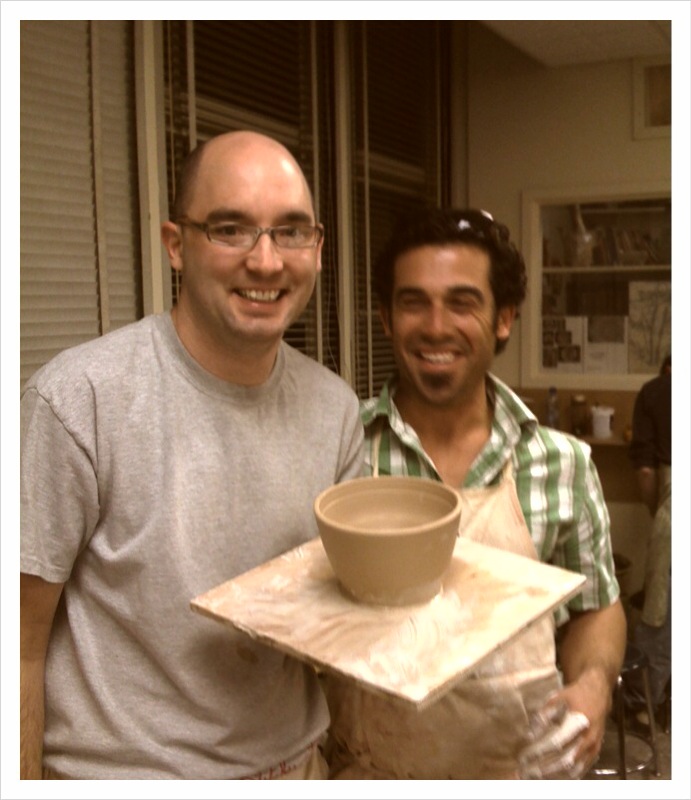 The photos are from my cell phone - I am VERY proud of my first bowl that I made tonight (with the help of a few amazing fellow students) - Nick (right beside me) has been making me laugh all night and when I "just do it" I am learning that it's easier... don't worry so much!  Here's the second bowl I made - the inside is finished much better on this one. I have miles and miles to go before I'll be able to make a bowl and know what I'm making before I stop the wheel, look at it and say "that looks pretty good; I think I'm done" - but even though it's like a "lucky start" I am SO happy! I can't wait till next week when I get to get muddy and messy again! :) 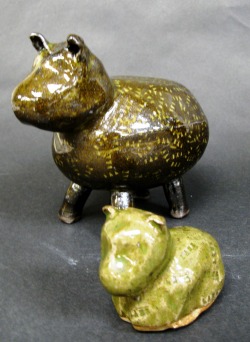 I never showed off the lamb and sheep I made in ceramics - two clays, embossed, engobed, glazed, fired... voila! little lamby friends! not sure who this grandpa is singing "Mares eat oats" but I love him and the song... makes me smile!  It's a new year - and I can't believe that weeks and weeks have gone by without my showing off the giant head I made in ceramics! Forgive the coloring of the main photo; I took it at night with no natural light - it's big - we had to make the pieces at least 12" high before firing. Ceramics lose about 12% of their size in the firing process, and even after that this one is over 13" tall! :) - 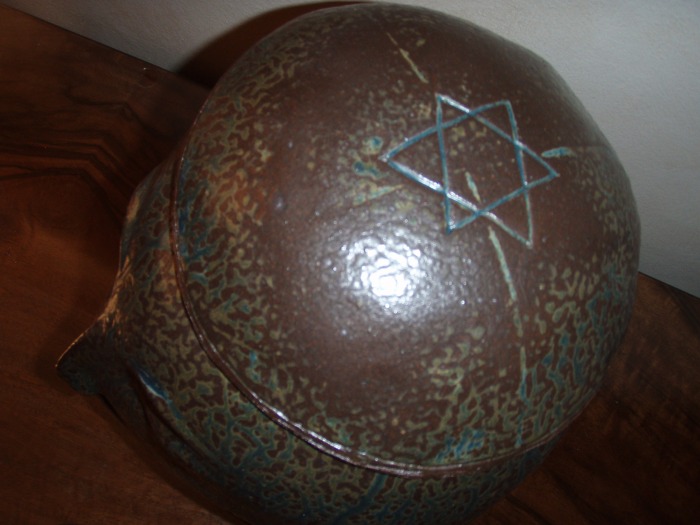 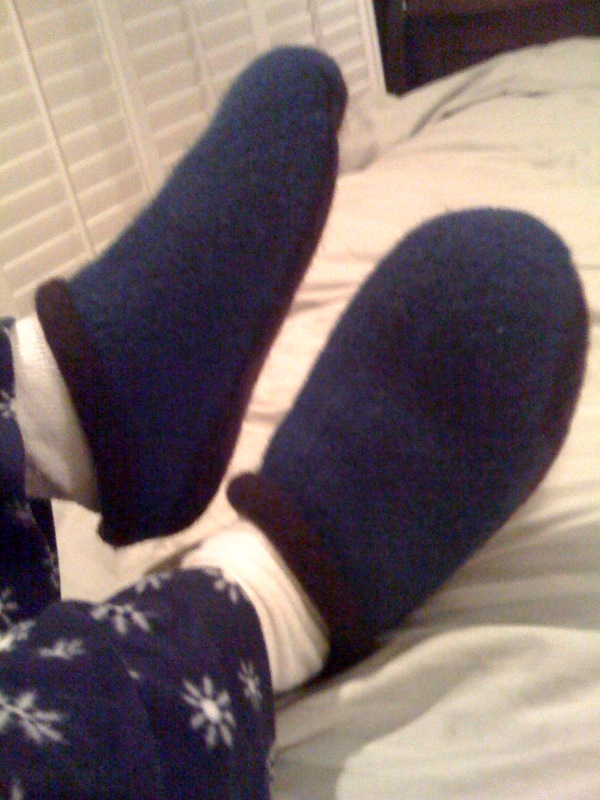 I also felted the slippers I was working on - they fit Gregg's feet perfectly and they're super fun to make... I made a second set but haven't photographed them yet... all in good time... 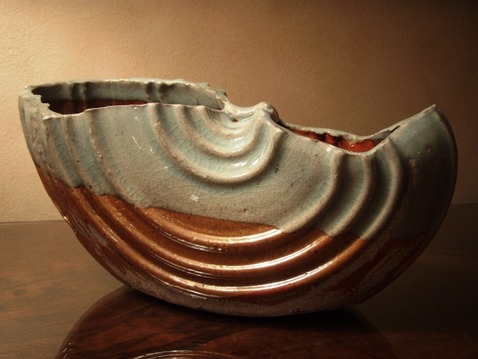 On the way to acrylic painting class last night, I took a detour to go by the ceramics lab. At the same time as my painting class they have a raku workshop that I'd LOVE to be in - the instructor (who had taught ceramics in the LAUSD system for almost 30 years) was about to start firing and doing the final reductions on some wares! I came back with a friend later and we witnessed the process - absolutely magical! the wares (ceramics) are heated to around 1800 degrees for a few minutes... then the kiln is opened, and they remove the red hot wares and put them in metal trash cans full of paper, leaves... anything flammable... a big flame erupts and it burns for a while. they put the lid on the can and let it smolder for a while... then, pull the piece from the ashes, clean it up and voila - a gorgeous unpredictable piece of pottery! 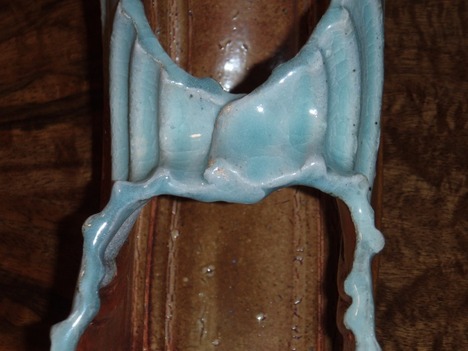 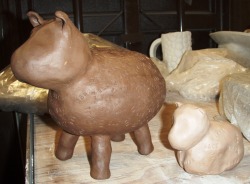 I had a lot of fun last night at ceramica working on my sheep and baby lamb - they're supposed to look "primitive" - giving a nod to the style of pre-columbian pottery... they are not finished yet (as I hope you can tell!) but wanted to share and show them off... stay tuned :) ...and just because it's Friday, here's a little fun scene from Sesame Street... I remember this one from my childhood! yip yip yip! :) 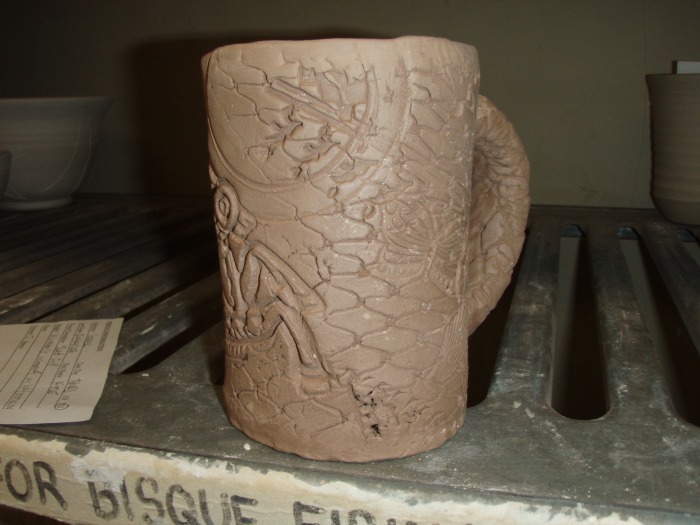 So I must admit that I am loving ceramics class. Yesterday I was able to set this cup on the shelf for its first firing. Once it's bisque fired I'll be able to glaze it and then it'll be "high fired" and ready for enjoyment!  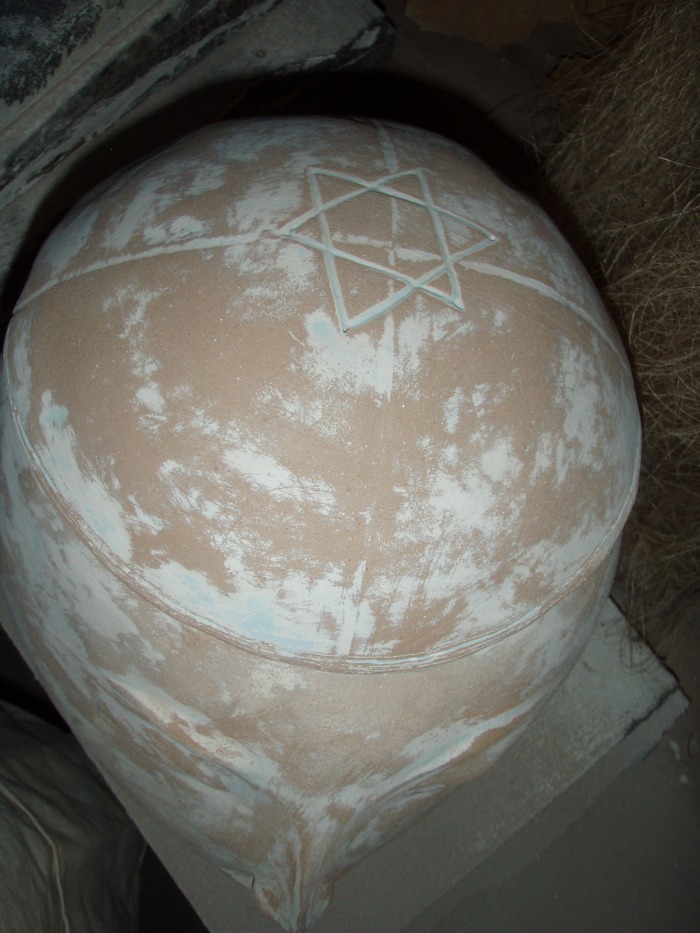 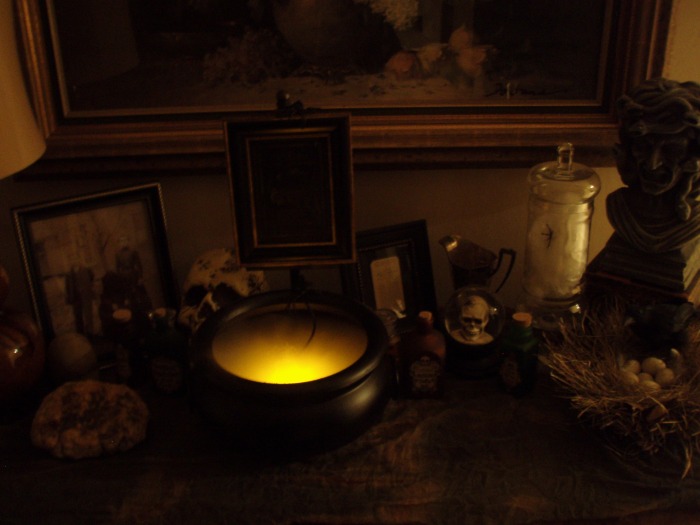 Happy Halloween everyone... stay safe and be good! :) |
Archives
July 2023
Categories
All
|


 RSS Feed

|
ExploreFor Fun
|
Support |
Connect |
© 2006-2023 Kyle William. All Rights Reserved.