
 My latest pattern, Maras, was inspired by a linoleum floor I saw during a trip to the Sacred Valley in Peru. It's a dynamic, repeatable design that translated into the most amazing of wraps. Worked in the new yarn Roslyn from Cascade, (65% wool, 35% silk) it's so drapey and lovely. The pattern utilizes the technique of locked floats, which makes the back of the piece appear almost woven. Members of TKGA have access to this pattern in the latest issue of CAST ON Magazine (Winter 15/16). Sign on to the TKGA website HERE and join/download/cast on! Happy Knitting, Kyle 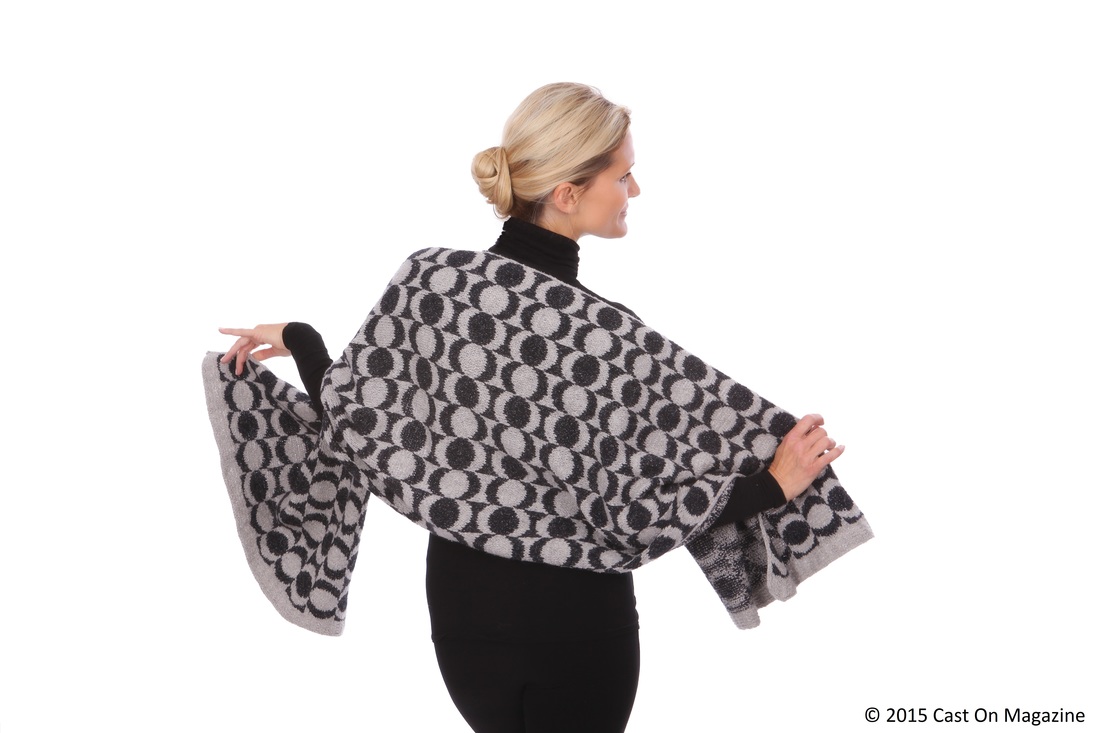 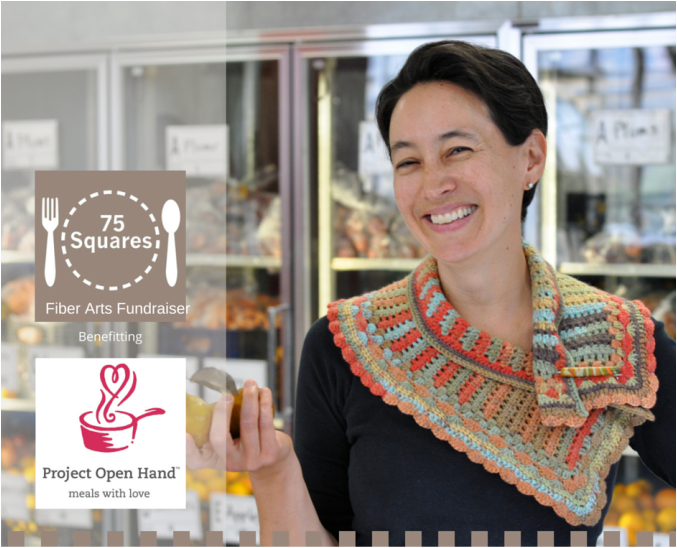 It's time to buy with heart! We have over 30 different handmade pieces listed in the 75 Squares fundraiser! Each one is $150.00, and that donation is enough to serve 75 meals to those in need.
Click the image or HERE to be directed to the shop. Here's to helping others! Kyle 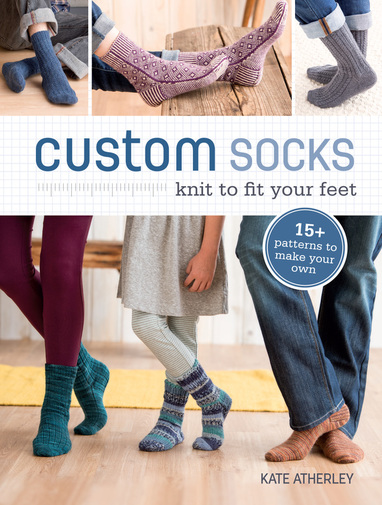 Oh... you want to knit socks that FIT? Well... have I got the book for you! Usually when I get a knitting book to review, I go directly to the patterns. Of course I did flip quickly through the book, but found myself captivated almost immediately by the first chapter that talks so clearly about how socks should fit. There's discussion about yarn construction (how many plies? what kind of fiber content is best?) as well as a nice exploration into the topic of ease (how the sock fits on the foot). Taking time to read these first chapters in topic-driven books can almost be as informative as a class on the subject. (OK, it's not exactly the same as a class, in fact, I highly encourage you to take classes on the subjects you like. If socks are your thing, then sign up for every sock class you can find! You'll be amazed at what you'll learn; not only from the instructors, but also from the students and venues.) BUT - in addition to this book, there's a VIDEO that Kate did with Interweave as a companion! I must admit. I'm not really a sock knitter. I LOVE handknit socks and treasure the ones that friends have made for me (as well as the few that I made myself). But as I knit with friends, I find that most folks seem to have a sock that they knit over and over. They have memorized a formula of sorts, and know what fits them. In this book, Kate talks about different techniques you might use to customize a particular pattern, and shares the reasoning behind the decisions. More than this, she shares formulas and the calculations (again, along with explanations!) that are involved in crafting a pattern of your very own. I've looked at a LOT of books... and I can say that this is the first book that made me consider designing socks. Until that day comes, I'll follow Kate's lead. My favorite socks in the book? Of course they're colorwork:  I also love some of the lace socks, but would probably replace each YO with a M1 so that they're a bit less "lacey" - Jarvis is quite handsome, and I think this treatment would work well with the design. 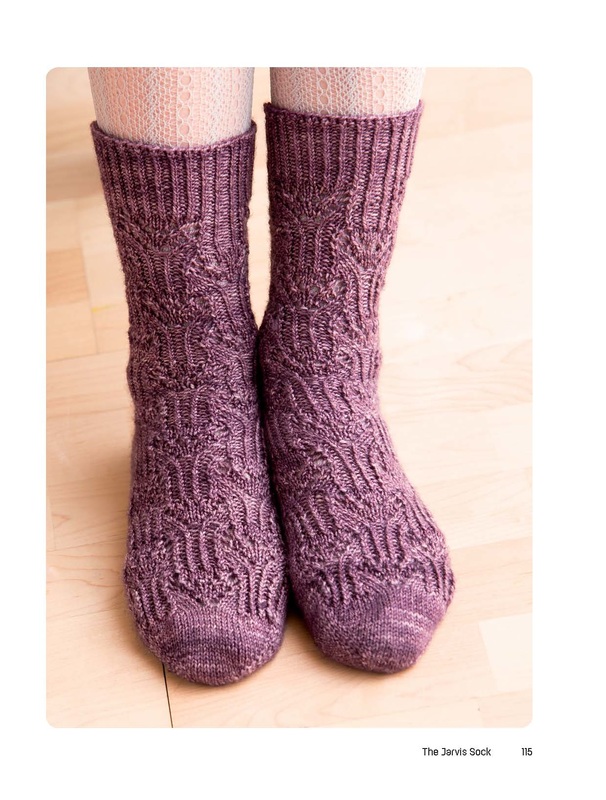 Regardless of your preferences in construction (top down, toe up, two-at-a-time) I am confident this book offers something for you.
Want to get a copy of your very own? Visit HERE and order it today. The holidays are just around the corner... and handknit socks are one of the BEST gifts one can give. Happy Knitting, Kyle I don’t get to update the blog as much as I’d like, but I assure you things are buzzing at the studio! Two designs were just completed and sent off to magazines, and I’m getting ready to release a new Kyle William pattern in the next day or two! Beyond this, of course there are other designs in various stages of completeness (please don’t peek at the studio right now; it’s a mess!) – And I am getting some fun things prepared for my trip to Chicago in October when I teach at Vogue Knitting Live. The latest issue of Knitsy magazine features an article about me and my work. Head on over here to check it out: 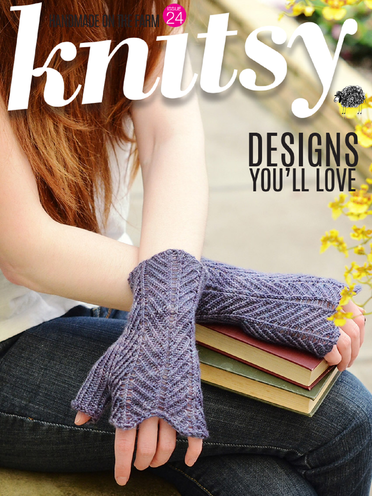 http://www.mycraftacademy.com/desktop_course_magazine.asp?page_no=14&id=262 Last but not least, I’m working on the final preparations for 75 Squares. A photo shoot is scheduled, and behind-the-scenes preparations are in the works so that everything is ready for the launch. I’m honored and excited to be working with Project Open Hand; with this event working to raise money to help serve nutritious meals to those in need. So that’s what’s going on in this corner of the world. Here’s hoping that you are enjoying the last bit of summer! Happy Knitting, Kyle  I'm honored to be joining an amazing group of teachers at Vogue Knitting LIVE Chicago in October. If you're going to be attending the event, it's a chance to take six different classes from me. Click on the banner (or the badge) above to be directed to their website. Space is limited in these classes so that I have the chance to interact with each of you. Also, be sure to make  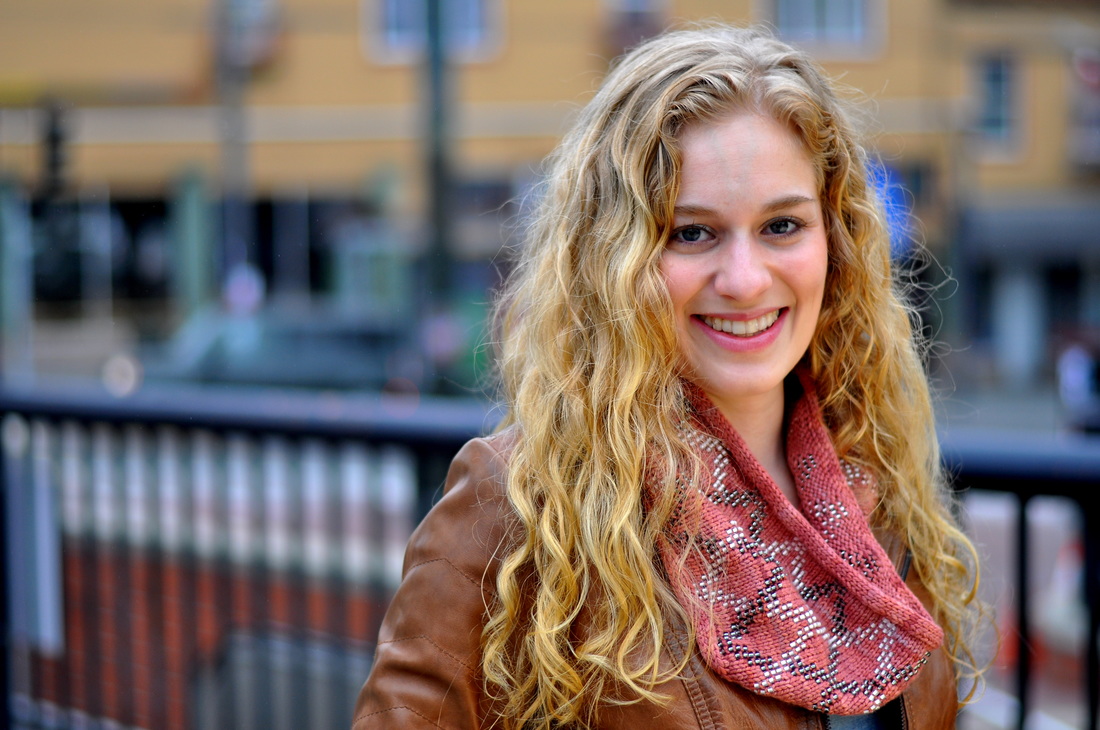 I'm happy to announce the release of a new pattern, Francine. Worked in Kollage Yarns Happiness, it's a dance in beading fun. The knitting itself is pretty simple; a stockinette cowl bordered in i-cord, and the following of the chart is also pretty easy. Even if you've never worked with beads before, this is a project I'm confident you can handle. 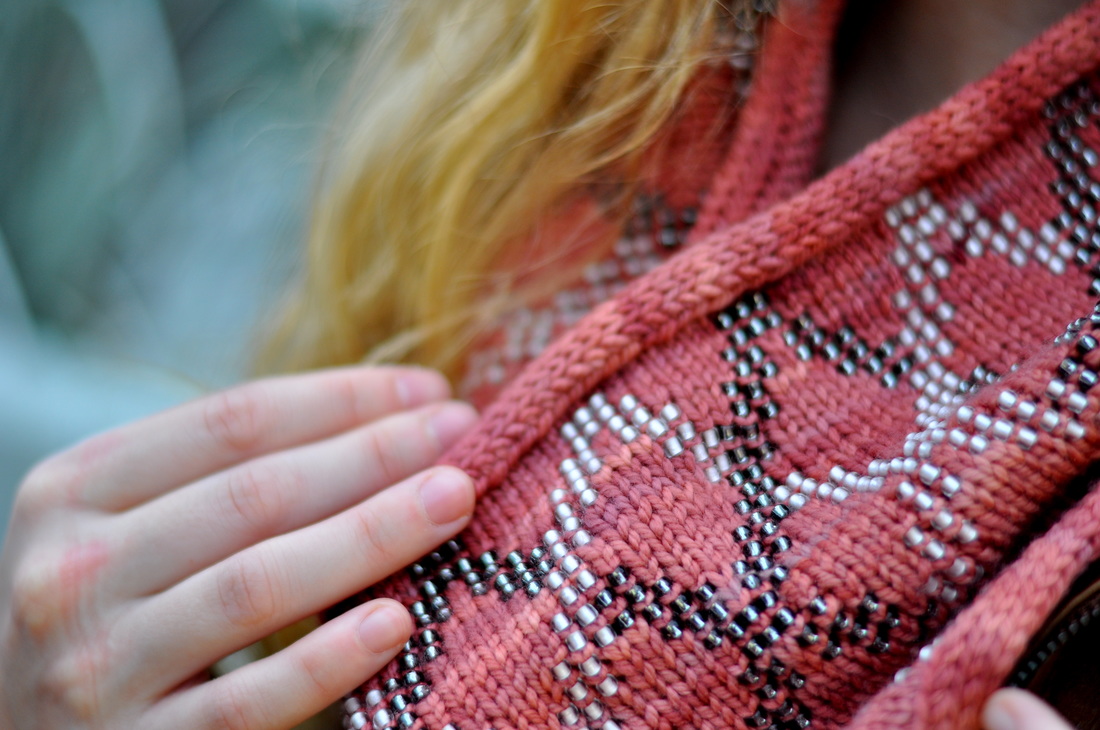 Ready to cast on? I'm offering a 50% discount on this pattern through 5/31/15. Use code BEAD to save $2.00! $4.00 (.pdf pattern download)
 It's time to announce the call for submissions to the 75 Squares fundraiser! This event benefits Project Open Hand; a nonprofit whose mission is to provide "meals with love" to seniors and the critically ill. In one of their larger programs, a single, healthy, well-balanced, "square" meal costs Project Open Hand about $2.00. 75 Squares is a fundraising sale of handmade scarves, cowls, wraps, and shawls that is planned to launch Saturday, September 26, 2015. As a donating artist, the "feel good" comes from contributing a piece (and the time it took to make), and watching that item be the reward for another person who makes a contribution to Project Open Hand. Then, the knowing that as the piece is loved and worn, that the wearer carries the story of how through this fundraiser they were able to help provide nutritious "meals with love" to so many. Please consider donating a scarf, cowl, shawl, or wrap that you've made to the event. Each piece will be listed for sale online for $150.00, and all the proceeds will go to feed the clients of Project Open Hand. Each item sold in this fundraiser will feature a 75 Squares label, reminding the wearer that 75 wonderfully nutritious meals were served to those in need as a direct result of their purchase. Note your interest by filling out the sign-up form HERE, and send in your work as soon as possible. All items must be received no later than Friday, July 31, 2015. Questions? Email me HERE.
If you haven't seen my manic Facebook posts lately, you don't know that I've been bit by the sewing bug. Just like I'm obsessed with knitting, recently I have found myself dreaming about bag construction. After many late nights of practicing, I made a bag that I'm very proud of!  Isn't it lovely? I am SO happy. Oh and it has a few details I'm especially happy about. First, I am excited at how well the fabric lined up at the top: 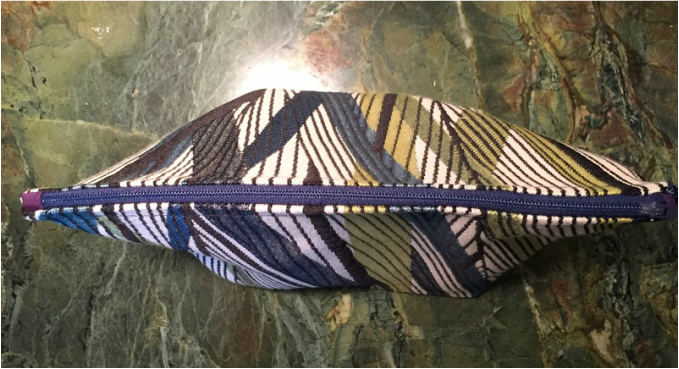 ... and inside? Yes! I installed a cute little zippered pocket. It even has a Kyle William label! This bag measures about 8" tall, 12" wide, and 5" deep. 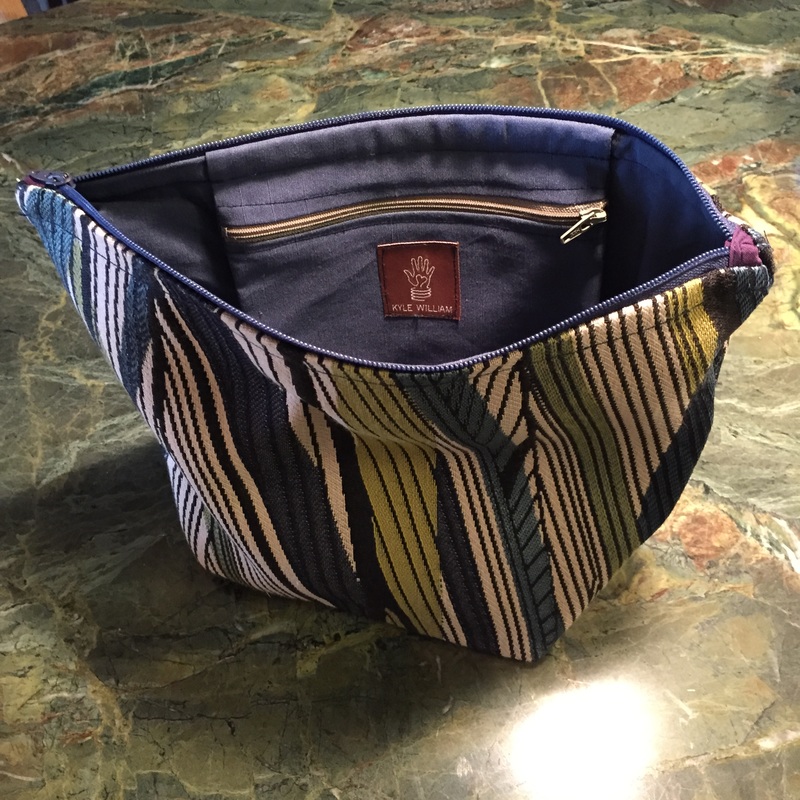 I love this one but I'm ready to give it away as a prize. Here's how to win:
Go here: https://sf.aidswalk.net/kylewilliam Make a $25.00 donation (yes, only $25.00!) That'll give you 5 entries. (Note: That's the minimum amount that can be donated through the system.) Do this before Friday night at 11:59pm PST, May 15, 2015. I will draw the winner on Saturday, May 16, 2015. I'll cover shipping costs (anywhere in the world). Enter as many times as you want. Any donation in multiples of $25.00 during this time enters you into the drawing. (A $50.00 donation enters you into the drawing 10 times) The money I raise will go directly to Alliance Health Project to support the wonderful work we do to help those in need. Have fun! (and thank you in advance for your generosity) Kyle PS. Yes, I put just a tiny touch of purple on the bag to tempt my purple loving friends! UPDATE: Congratulations to Charles Clark II - the winner of the bag drawing! Thank you to everyone who contributed!! 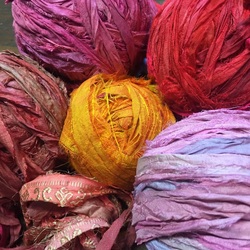 Hanging out with the girls from Darn Good Yarn at Stitches WEST, I was talking with them about how much I love their sari silk ribbon yarn. It's made using waste from the sari industry (the bits of fabric not used during clothing production) and the strips are sewn or knotted together in skeins. Imagine my joy when a few weeks later a package with a few skeins of this fun stuff arrived in my mailbox. "Have fun!" said the note from Maggie. I knew immediately what I wanted to do with this yarn. Sew! Yes, that's right. sew. Now, I'm not a tailor at ALL. In fact, as a kid I remember being known for breaking needle after needle in my mom's sewing machine. I did take a class at the community college that introduced the basics of sewing, and that helped me conquer my fear of the machine. Now, I know a little more about what to do when the machine goes "clunk". 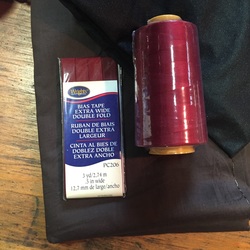 Off to the fabric store I went. Armed with an idea! I found some simple brown cotton fabric (I thought a solid would work best), some basting tape in a color that I thought worked well with the colors I had in my yarns, and coordinating thread. Once the project moved forward I ended up using a brown thread instead of this one... I also bought a bit of iron on stabilizer and some spray adhesive as options for temporarily securing the bits of silk until they were sewn. 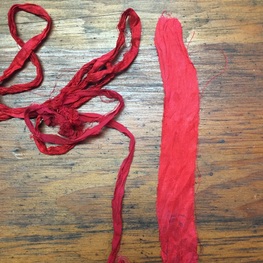 I then balled up the skeins of silk, and took some from each ball to iron flat. I cut the strips where they were knotted, turned on some fun music, set my iron on the setting for silk, and steam/pressed each piece flat. I then separated each set of colors (hanging them on the end of the ironing board) so that I had an idea of the color palette I was working with. This was also the time that little magic glittery bits of fabric appeared. Embroidered pieces with gold thread, little flowers... They were scarce but in the end just enough difference to add a bit more interest to the project. This project only uses some of each skein of ribbon yarn. There's enough left over to make LOTS more pillows! 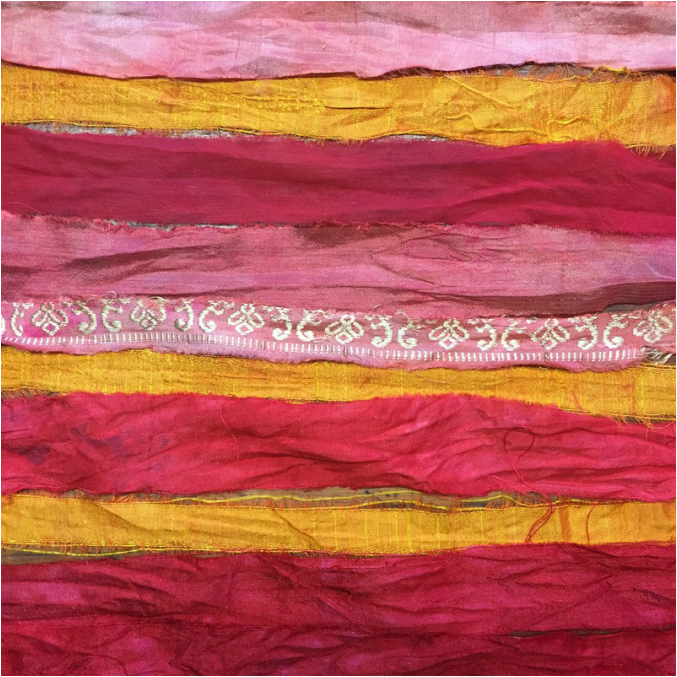 Then, it was time to cut the fabric. I decided on a 18" x 18" pillow, so I cut a 19" x 19" square, and two rectangles (for the back) 14" x 19", and 13" x 19". Starting with the back, I sprayed one of the pieces with a light coat of adhesive (meant for fabric) and then pinned it in place on my blocking board. I laid out the strips of silk so that they covered the backing fabric (which means some of the pieces overlapped a bit). Then, I trimmed the ends of silk that were hanging off the ends of the backing. 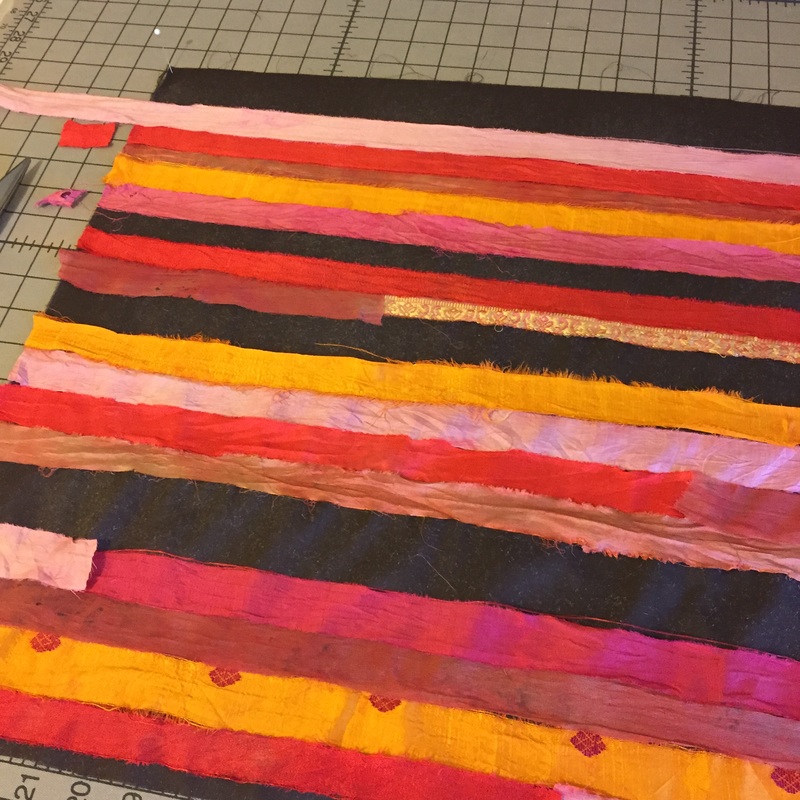 Time to start sewing! Truth is, I did a sample swatch first - using some of the silk and backing fabric set up the same was as the pillow pieces, I tried out a bunch of different stitch patterns to determine which one I liked the best. I settled on a big zig-zag stitch for this pillow because it worked well to catch the little rough silk edges and strings, and it made a fun pattern across the strips. 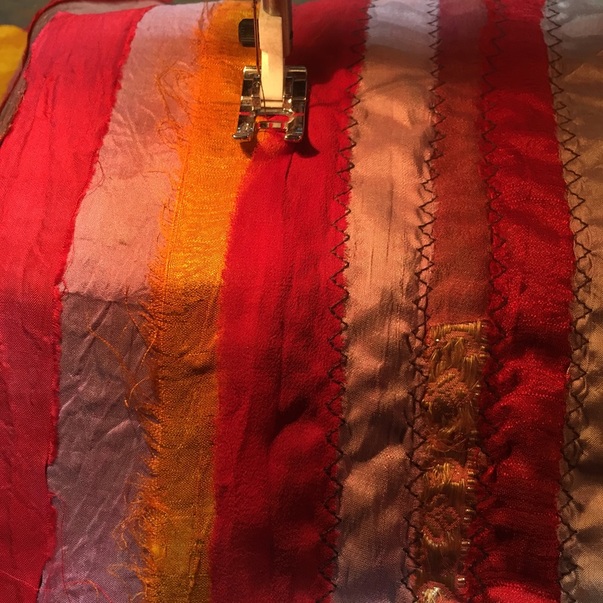 Of course there's more to making a pillow than I am saying here... I used a tutorial from YouTube for general guidance. Here is the link to that tutorial: https://www.youtube.com/watch?v=4LJnPEvjdDo The only other change I made is using bias tape on the ends of the flaps of my pillow instead of doing turned hems. I like the bulk of the tape and think the contrasting material and color is fun. 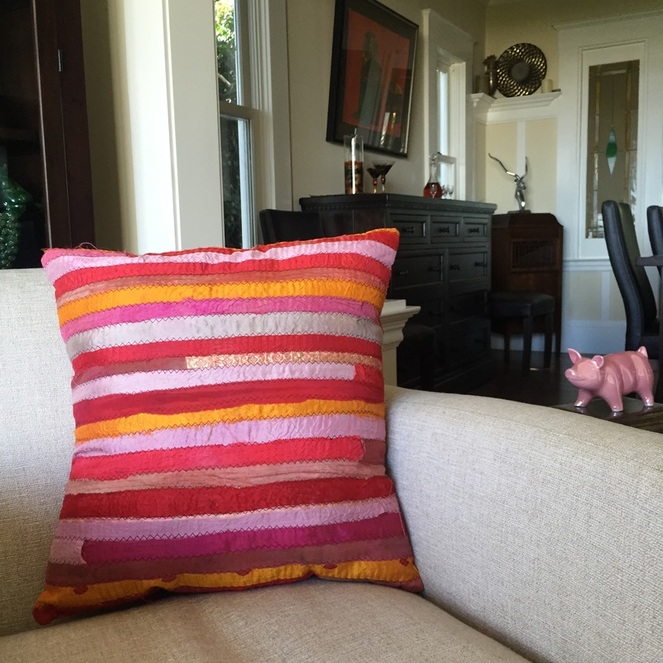 And on the back of the pillow, I decided to add a few patch numbers I bought at a antiques show. The numbers don't mean anything; they're just a fun little added surprise. 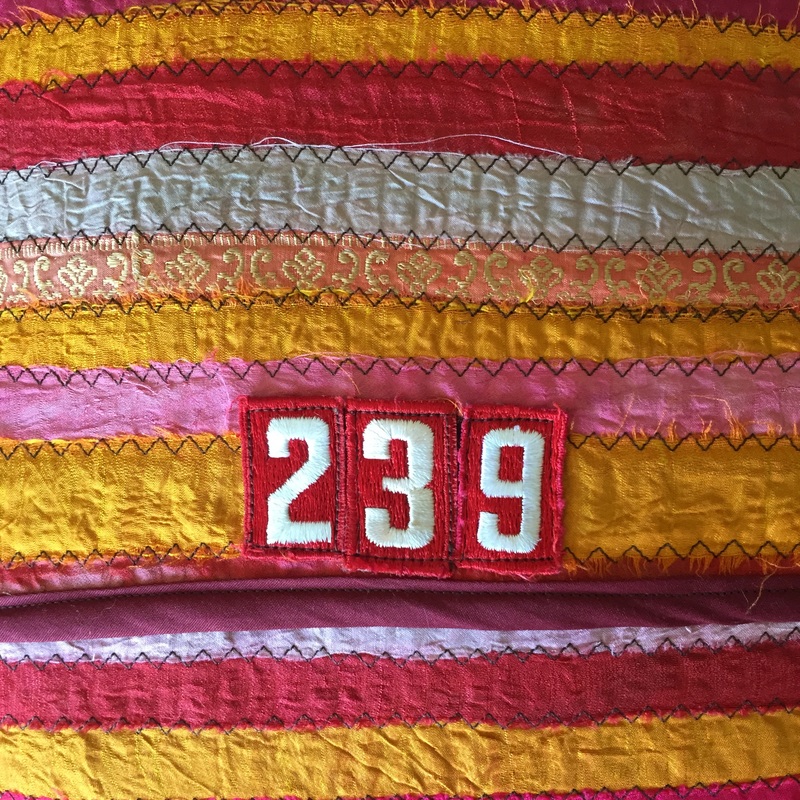 There you go! Another fun way to use one of the ribbon yarns from Darn Good Yarn! I have another project idea in mind for another of their materials... can't wait to see how it turns out!
Happy crafting, Kyle 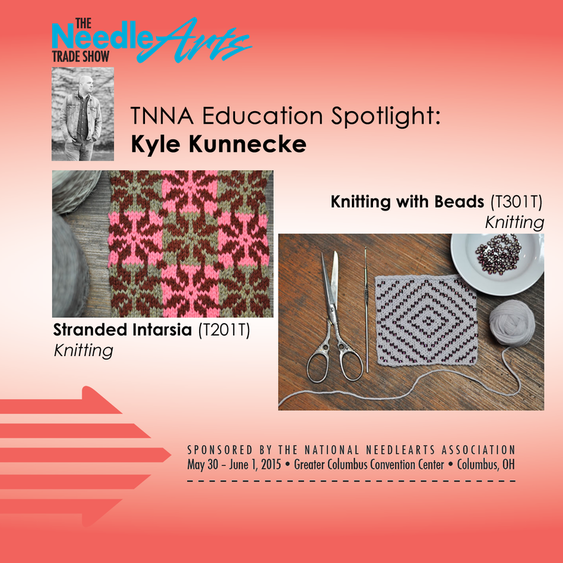 I will be teaching two classes at the TNNA Summer trade show in Columbus, OH!
This year they selected: Stranded Intarsia - Thursday, May 28, 2015, 12:00 - 3:00PM Knitting with Beads - Thursday, May 28, 2015, 3:30-6:30PM (Click on the class title to learn more) Registration is open now, and I encourage you to sign up as soon as you decide you'll be attending so that you are able to get the classes you want. Happy Knitting, Kyle |
Archives
July 2023
Categories
All
|
 RSS Feed

|
ExploreFor Fun
|
Support |
Connect |
© 2006-2023 Kyle William. All Rights Reserved.